How to Make a 3D Fringed Paper Christmas Tree (Easy DIY Holiday Craft)
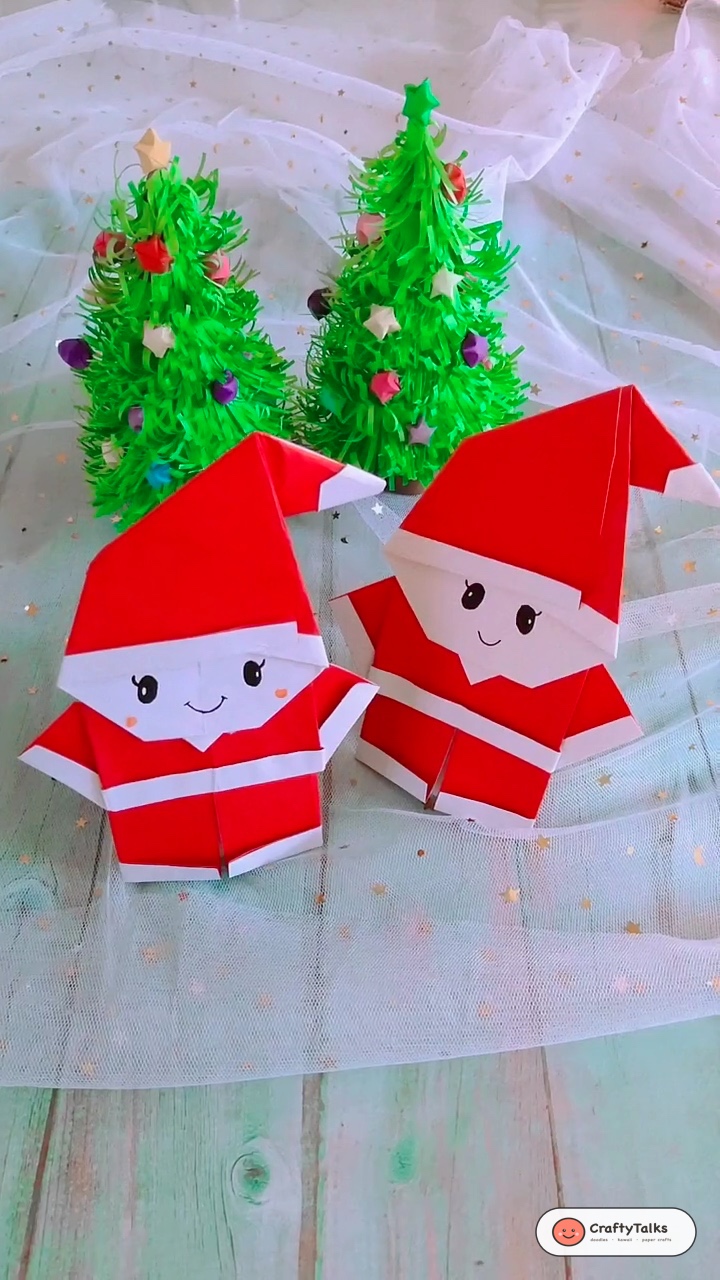
Bring the enchanting beauty of a snow-dusted evergreen forest indoors! This 3D Fringed Paper Christmas Tree is one of the most delightful, textured holiday paper crafts you can create. Built with layered spirals of finely snipped paper fringe over a sturdy conical core and topped with colorful origami star baubles, this miniature tabletop pine tree adds instant warmth to your mantel, desk, or holiday dinner tablescape.
Unlike flat paper cutouts, the secret to this craft’s realistic, bushy evergreen texture lies in the accordion-fringed needle technique. When wrapped in ascending spiral tiers, thousands of delicate paper needle tips feather outward to create authentic botanical depth. Best of all, it requires zero expensive specialty materials—just basic colored craft paper, scissors, and a dab of glue!
Craft Overview: At a Glance
⏱ Time Needed:
15 – 20 Minutes
🎯 Skill Level:
Beginner / All Ages
📄 Recommended Paper:
80 GSM Green Craft Paper + Cardstock Core
🎄 Occasion:
Christmas Tabletop & Mantel Decor
Supplies & Materials Checklist
Before making your first snip, gather your materials on your crafting table. Pairing the right paper weights ensures a sturdy tree that never wilts or sags:
Paper & Core Materials
- Vibrant Green Craft Paper (70–80 GSM): Standard lightweight copy/origami weight is crucial here. Lighter paper allows the snipped fringe needles to curl and fluff naturally without stiffness.
- Sturdy Cardstock Sheet (120–160 GSM): For rolling the central inner cone armature that supports the weight of all branch layers.
- Brown Craft Paper Scrap: For rolling the tree trunk base cylinder.
- Assorted Pastel & Bright Paper Scraps: For folding miniature 3D origami lucky stars, baubles, and the treetop star.
Tools & Adhesives
- Sharp Craft Scissors: Precision shears make quick, clean vertical snips through folded paper without chewing the edges.
- Craft PVA Glue or Glue Stick: Fast-tack glue secures each garland tier instantly without warping the paper core.
- Ruler & Pencil: For marking consistent 4 cm fringe strips.
- Optional LED Tea Light: Placed beneath the hollow trunk for a soft glowing holiday centerpiece.
Watch the Step-by-Step Video Tutorial
Follow along with our real-time video demonstration below to see how each fringed garland tier is snipped, curled, and spiral-wrapped around the tree cone:
Pro Crafter Secret: The 4-Layer Accordion Snip Trick
Cutting hundreds of individual fringe needles one by one could take an hour! Here is the master crafter speed secret:
- Accordion Fold Your Strips: Cut long 4 cm wide green strips. Fold each strip in half, and in half again, creating four stacked layers. Snip through all four layers simultaneously, stopping 5mm before the top edge. This cuts your preparation time by 75%!
- Pre-Curling the Needles: Before applying any adhesive, run the tips of the paper fringe gently between your thumb and index finger (or over a round pencil) to break the paper fibers and give them a natural downward droop.
- Cone Geometry Foundation: Just like we discovered in our foundational tutorial on drawing with the 4 Magic Shapes and our 3D Paper Cone Snowman craft, a stable 3D cone is the ultimate structural backbone in paper sculpture!
Step-by-Step Tutorial: How to Make a 3D Fringed Christmas Tree
Step 1: Roll the Central Conical Armature
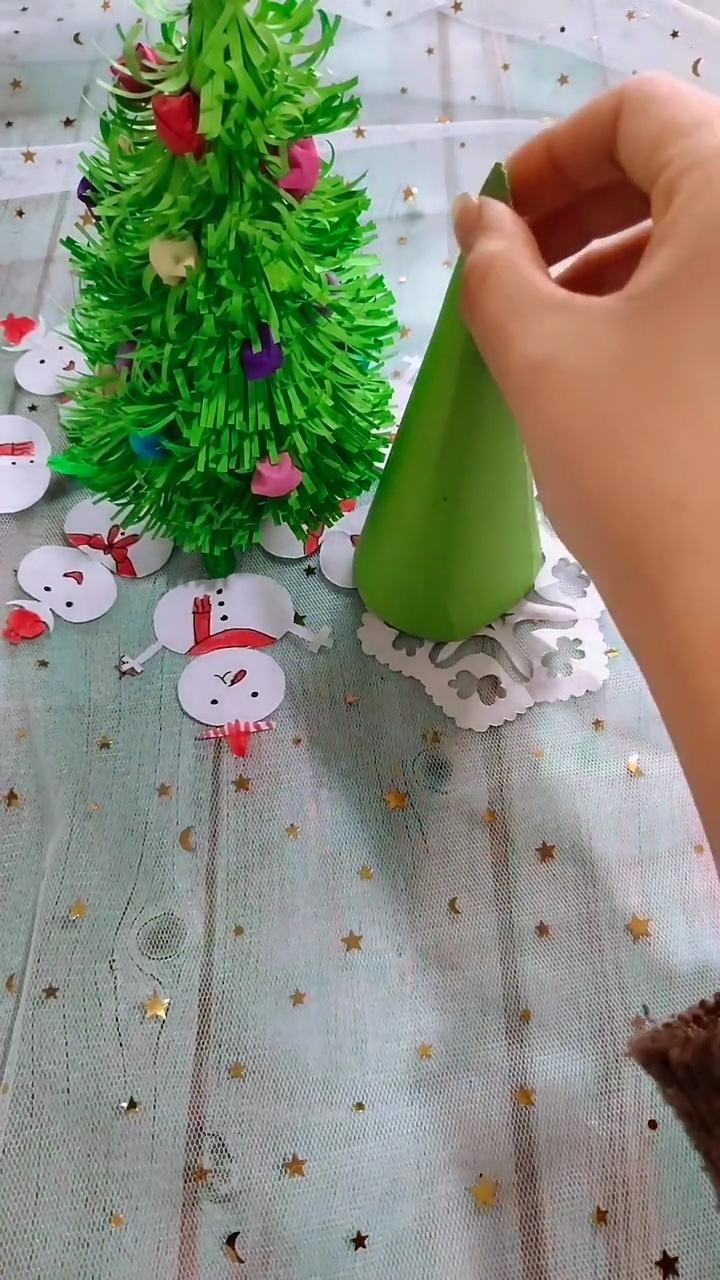
Begin by cutting a wide circular sector (a quarter-circle, radius 18–20 cm) from your sturdy green cardstock. Roll the straight edges toward each other to form a sleek, pointed cone with a level circular base.
Apply a line of craft glue along the seam, press firmly for 15 seconds, and test that the cone stands flat on your tabletop without tilting. This forms the rigid backbone that will carry all your branch tiers.
Step 2: Snip Slender Pine Needle Fringe
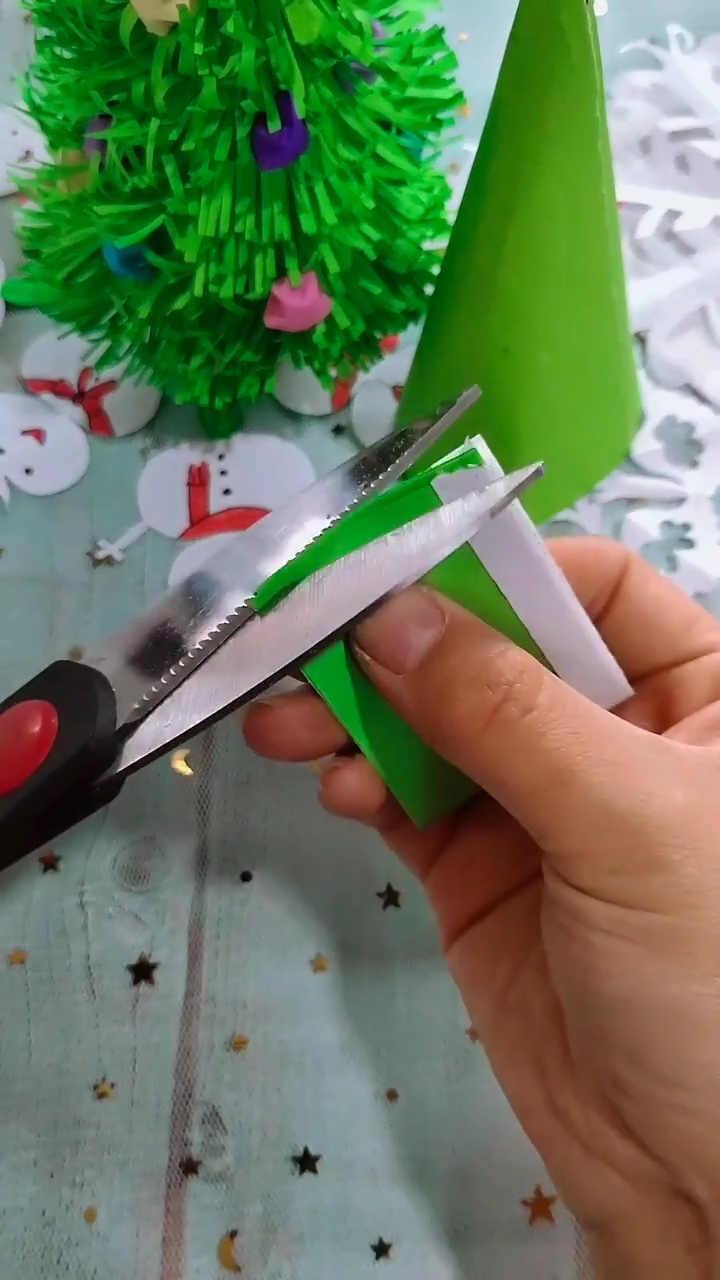
Cut several strips of lighter 80 GSM green paper measuring 4 cm tall by 30 cm long. Fold them into manageable quarters. Using your precision scissors, snip narrow vertical slits (about 2 mm wide) along the length of each strip, leaving an uncut 5 mm margin along the top edge.
Take care not to snip entirely through the upper band, as this solid border is what adheres directly onto the cone.
Step 3: Unfold and Fluff the Pine Garland Strip
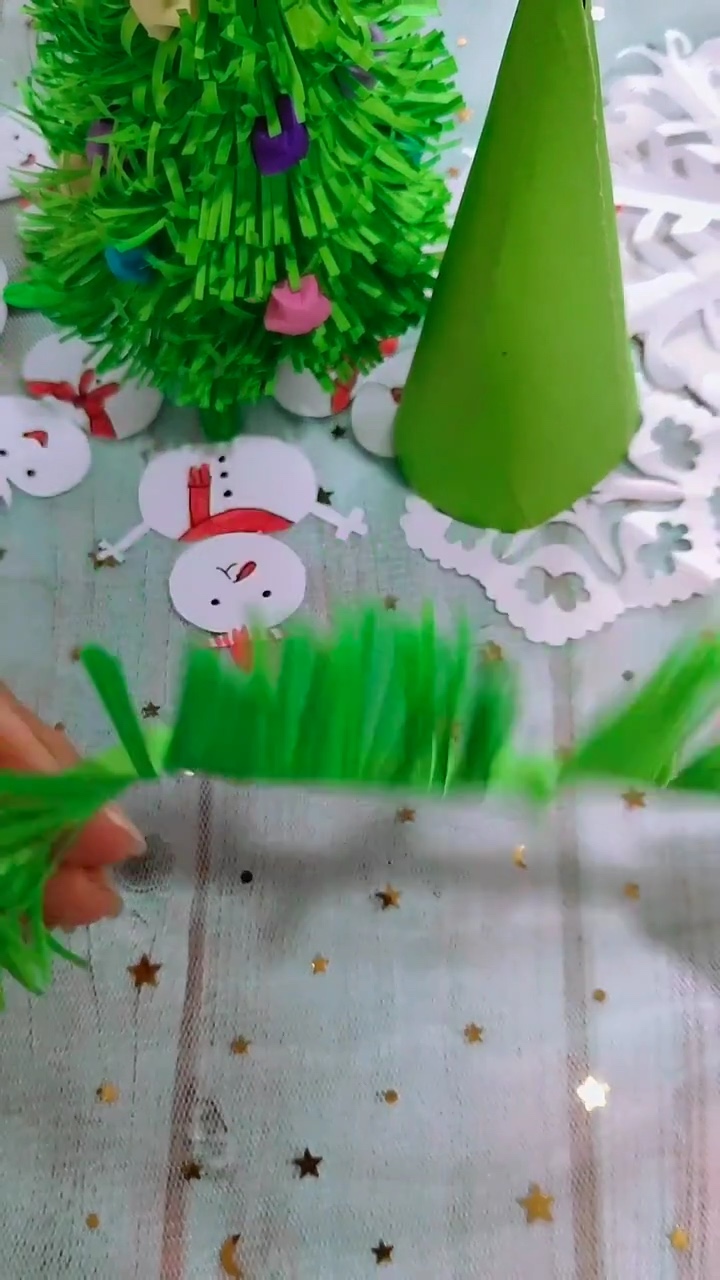
Unfold your snipped strips completely to reveal a lush, continuous ribbon of delicate paper pine needles. Gently ruffle and fluff the tassels with your fingertips so the fringe separates and expands with lively, natural volume.
Curling some fringe strands slightly outward creates the authentic multi-dimensional look of natural fir branches.
Step 4: Spiral-Wrap the Fringe from Base Upward
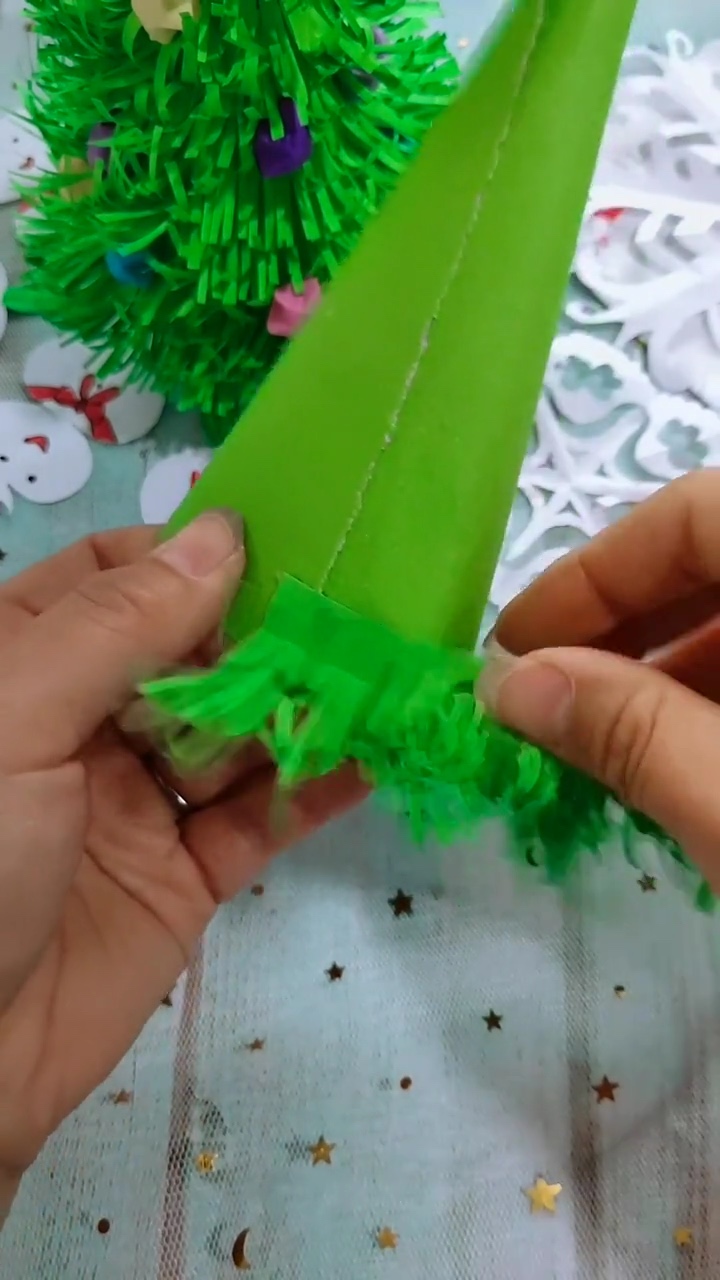
Starting at the very bottom rim of your green cone core, apply a thin bead of craft glue along the uncut border of your fringe strip. Wrap the garland horizontally around the base perimeter to establish the bottom branch skirt.
Continue winding the garland strip in an ascending spiral upward around the cone. Each new tier should overlap the previous layer’s solid band by roughly 50%, ensuring that only bushy green needle tips remain visible.
Step 5: Layer Tightly to the Conical Peak
As you near the top, taper your spiral tightly around the narrow cone tip. For the very top inch, use a shorter strip with slightly finer fringe to create a dense, bushy evergreen crown.
Once the adhesive dries, gently brush your hands upward against the grain of the fringe to puff out the branches, eliminating any flat spots.
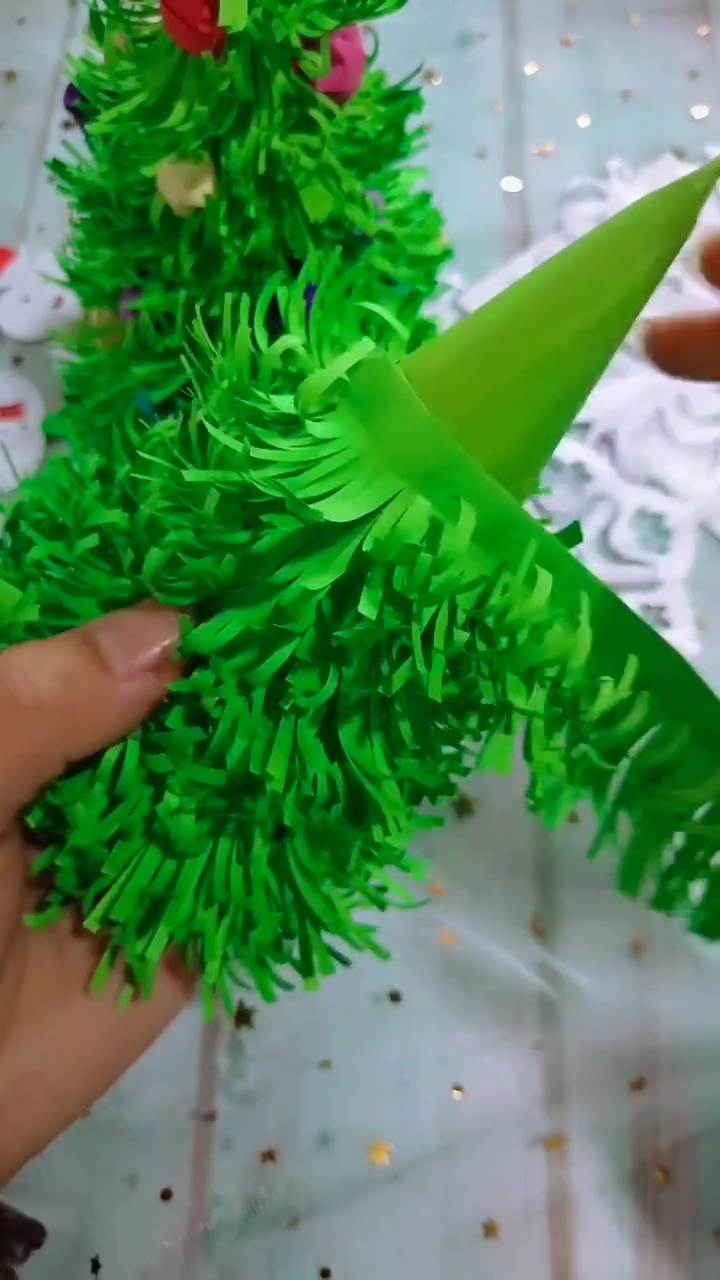
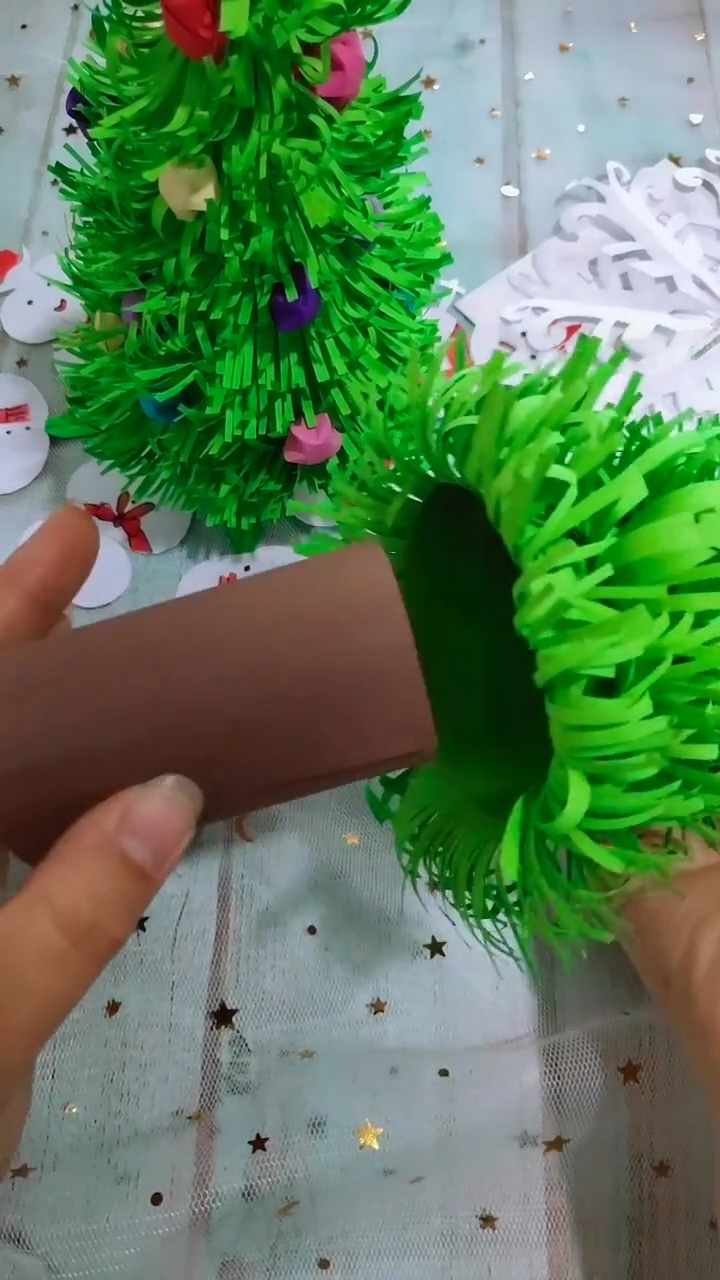
Step 6: Insert the Tree Trunk & Add Star Baubles
Roll a small rectangle of brown craft paper (6×10 cm) into a tight cylinder and glue the seam to form the tree trunk. Apply glue along the upper rim of the brown cylinder and press it firmly into the hollow underside of your tree cone.
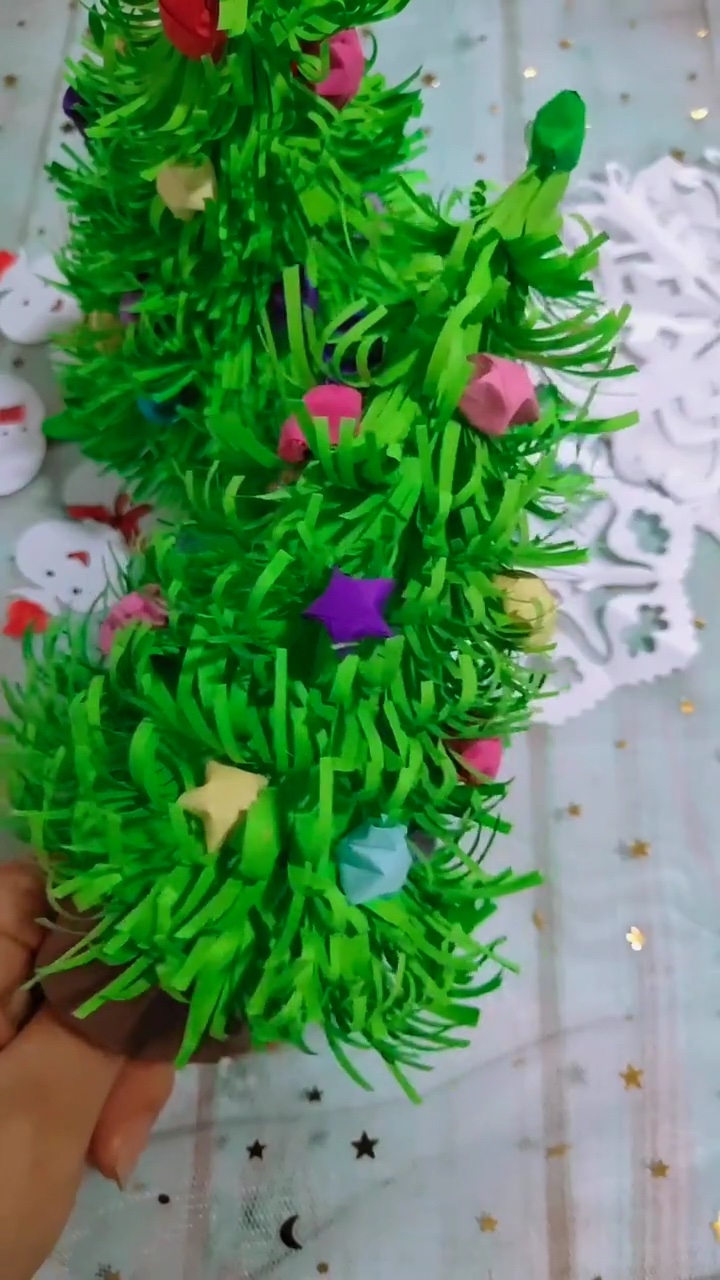
Finally, crown your tree with a vibrant yellow or gold origami star! Dot the branches with tiny folded paper lucky stars, metallic sequins, or mini paper pom-poms to resemble festive holiday ornaments.
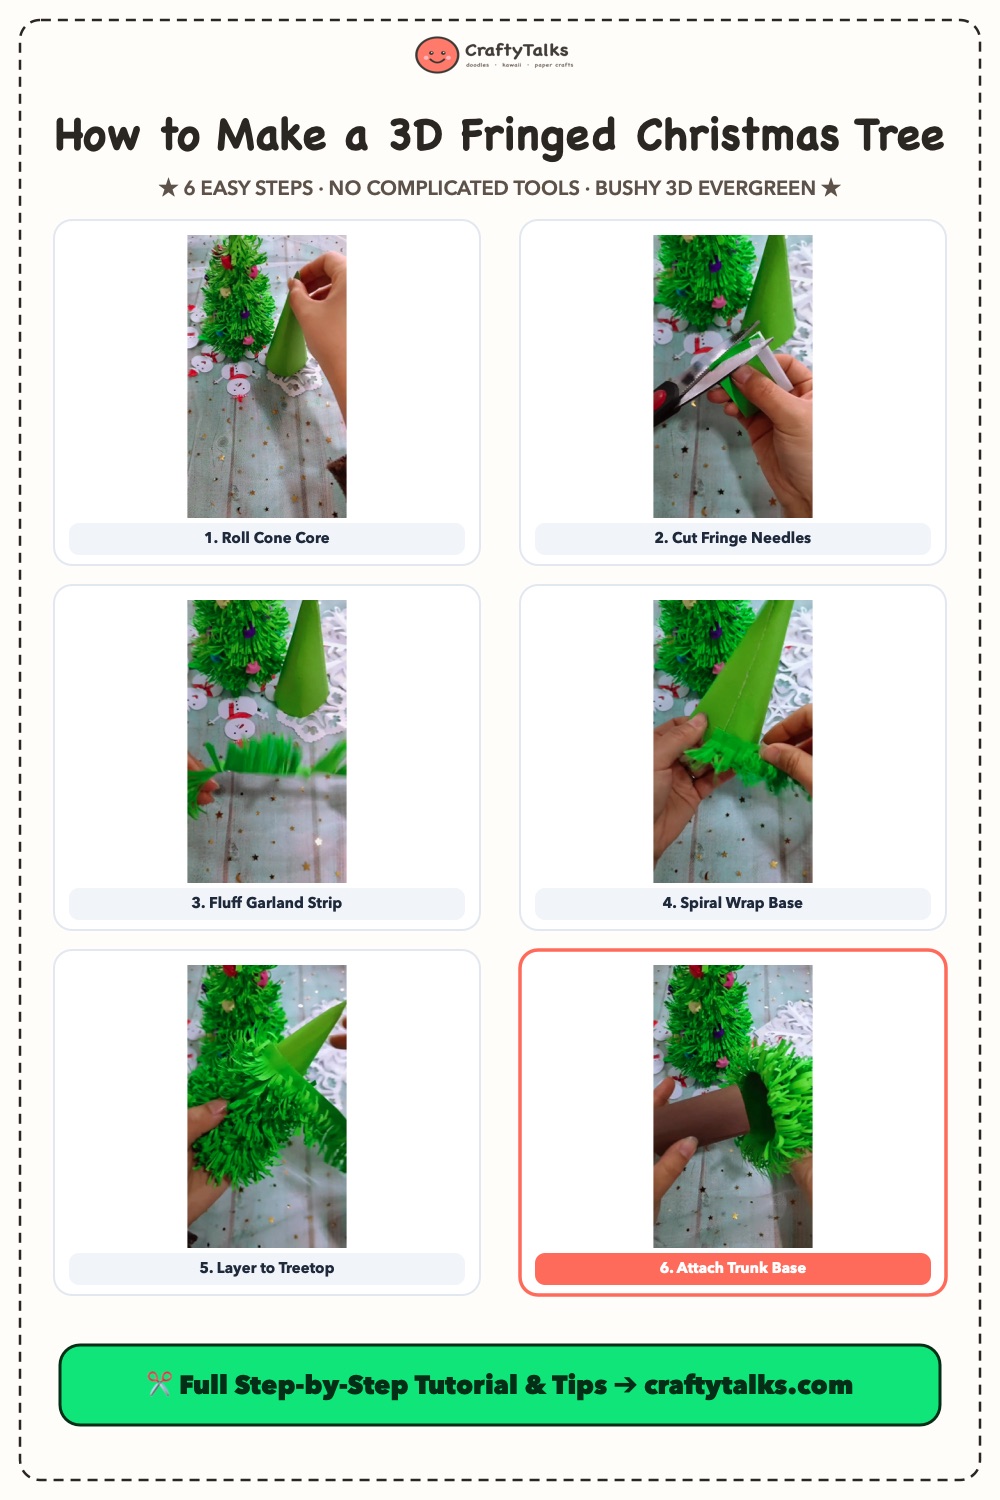
Visual Summary: All 6 Steps at a Glance
Here is the complete visual progression sheet showing all 6 stages of crafting your 3D Fringed Paper Christmas Tree. Save this graphic to your holiday Pinterest crafting board for easy step-by-step guidance!
Holiday Styling & Display Combinations
These evergreen paper trees look spectacular when displayed as an enchanted winter forest on your holiday table or mantelpiece. Here are our favorite ways to style them:
⛄ Winter Village Pairing
Pair your paper trees alongside our 3D Paper Cone Snowman trio and our charming Origami Gift Treat Baskets to build an unforgettable handcrafted holiday table setting!
❄️ Snowflake & Doodle Accents
Surround the tree base with cut paper doily snowflakes and sketched botanical floral doodles like our cherry blossom flower doodle or sweet winter treats from our Swedish food doodle guide.
🐧 Arctic Companions
Love animal crafts? Learn how to draw a cute baby penguin to stand beside your miniature Christmas tree forest!
Frequently Asked Questions (FAQ)
Why is lightweight paper recommended for the fringe?
Standard lightweight 70–80 GSM paper (regular copy paper or origami paper) is thin enough to bend and flutter naturally. Heavy cardstock is too stiff—when snipped into fine slits, it sticks straight out rigidly instead of cascading into soft, overlapping pine branches.
How many fringe strips do I need for a 20 cm tree?
For an 18–20 cm tall cone, you will typically need about 5 to 6 strips measuring 30 cm in length (roughly 2 full sheets of standard A4 / US Letter green paper). The closer your spiral overlap, the fuller and bushier your tree will appear.
Can I illuminate this paper Christmas tree?
Yes! Because the inner cone and trunk are hollow, you can place a safe, battery-operated flickering LED tea light or mini fairy light string underneath the base for a magical warm holiday lantern effect.
📌 Save This Holiday Paper Craft on Pinterest!
Loved creating this 3D paper evergreen tree? Pin this tutorial to your Christmas Decor, Paper Crafts, or Holiday DIY board to inspire your festive crafting season!