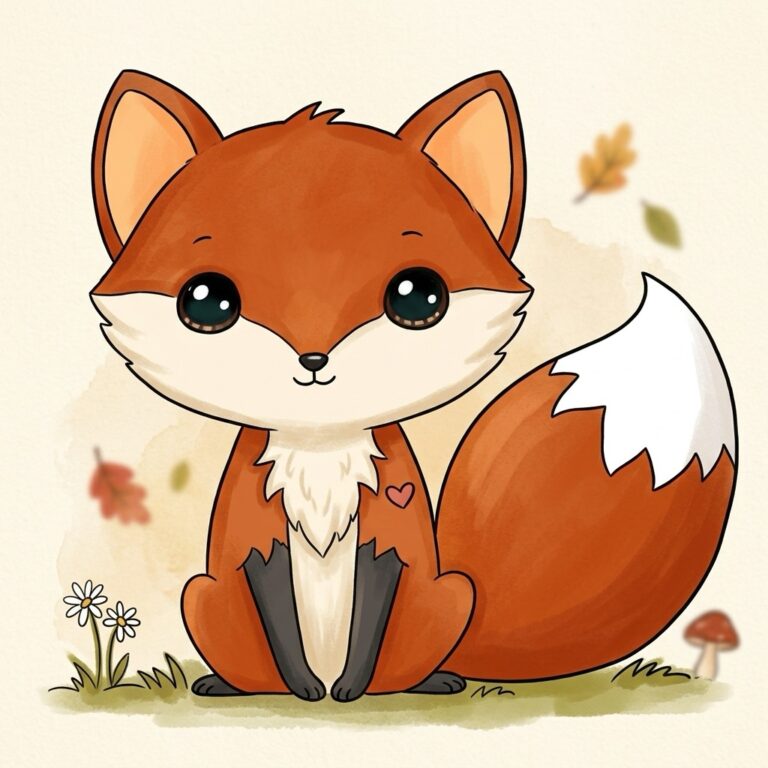
How to Make a 3D Paper Cone Snowman (Easy Christmas Craft Step-by-Step)
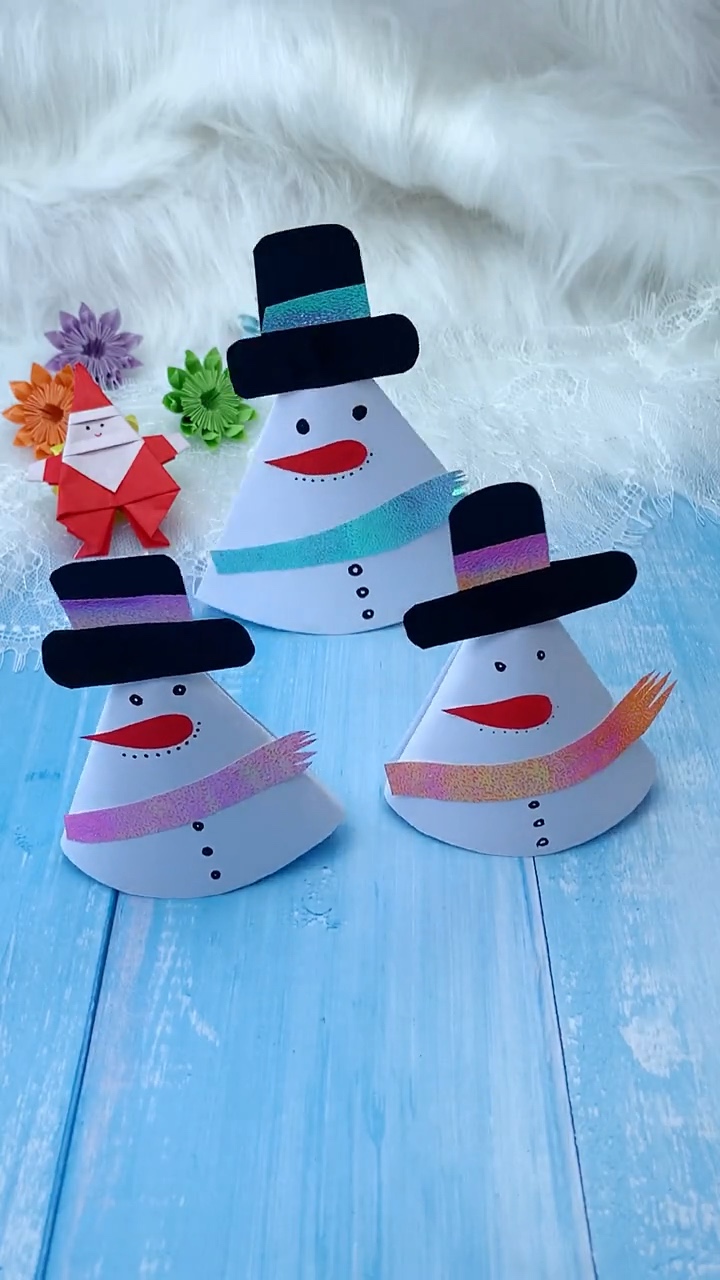
Transform a simple sheet of paper into a charming, freestanding winter centerpiece! This 3D Paper Cone Snowman is one of the coziest holiday paper crafts you can make. With a crisp conical silhouette, a dapper top hat, a shimmering glitter scarf, and hand-drawn coal features, this cheerful character brings festive warmth to your mantelpiece, holiday dinner tables, or classroom display.
Unlike fragile folded figures that easily flatten, a conical paper structure utilizes natural arch geometry to remain sturdy and durable throughout the holiday season. Whether you are crafting with children on a snowy afternoon or assembling a charming village of holiday place card holders, this step-by-step master guide walks you through every fold, seam, and finishing flourish with seasoned crafter tips.
Craft Overview: At a Glance
⏱ Time Needed:
10 – 15 Minutes
🎯 Skill Level:
Beginner / Kid-Friendly
📄 Recommended Paper:
120 – 160 GSM Cardstock
🎄 Occasion:
Christmas & Winter Decor
Supplies & Materials Checklist
Before making your first cut, gather your materials on your workspace. Choosing the proper paper weight and adhesive makes the difference between a bumpy, dented cone and a pristine, gallery-worthy holiday sculpture:
Essential Paper & Cardstock
- Bright White Cardstock (120–160 GSM): The ideal sweet spot for rolling smooth conical curves without visible paper creasing or buckling.
- Black Construction Paper or Cardstock: For cutting the top hat crown and brim.
- Orange Cardstock Scrap: Cut into an organic tapered wedge for the snowman’s carrot nose.
- Glitter Scrap Paper or Metallic Ribbon: Adds sparkling winter texture for the snowman’s cozy scarf and hatband.
Tools & Embellishments
- Quick-Tack Craft PVA Glue or Glue Runner Tape: Ensures immediate adhesion without saturating paper fibers.
- Precision Craft Scissors: For crisp cuts along the cone arc and fringe cuts on the scarf.
- Black Fine-Liner Pen (0.5mm – 1.0mm): Perfect for illustrating coal eyes, mouth dots, and buttons without ink bleed.
- Small Coin or Metal Washer (Optional Pro Trick): Placed inside the cone base for weighted tabletop stability.
Watch the Step-by-Step Video Tutorial
Follow along with our real-time crafting demonstration as we shape, roll, and embellish this charming holiday snowman trio:
Pro Crafter Secret: Mastering the Paper Cone
Paper cones seem deceptively simple, but paper fibers naturally resist compound curves. If you attempt to roll stiff cardstock directly from a flat sheet, it will buckle and produce angular kinks down the sides. Here are three seasoned paper-crafting rules to keep your snowman immaculate:
- Break the Paper Grain First: Before applying any glue, gently pull your cardstock sector over the smooth curved edge of a table, ruler, or bone folder. This mechanical pre-curling trains the cellulose fibers into a circular curve so the cone closes effortlessly with zero tension.
- Geometry Matters (The Sector Rule): Just like in our foundational guide on how to create complex forms with the 4 Magic Shapes, a 3D cone is born from a circular sector (a pie slice). The wider your arc, the shorter and stockier your snowman; the narrower the arc, the taller and sleeker he stands!
- Avoid Wet Liquid Glue Spills: Traditional runny school glue contains excessive water that weakens paper and creates visible ripples along the seam. Opt for thick craft PVA, a fast-tack glue pen, or double-sided craft tape for an instant, wrinkle-free bond.
Step-by-Step Guide: How to Make a 3D Paper Cone Snowman
Step 1: Cut and Pre-Shape the Paper Cone Sector
Start by drawing a quarter-circle or wide arc sector on your white cardstock (approximately 12–15 cm in radius). Carefully cut out the sector using smooth, continuous scissor strokes along the curved bottom edge to ensure the finished snowman sits perfectly flat without wobbling.
Hold the pointed top pivot between your thumb and index finger, and gently roll the two straight sides toward each other to test the fit. Practice rolling until the bottom rim forms a clean, flat circular base.
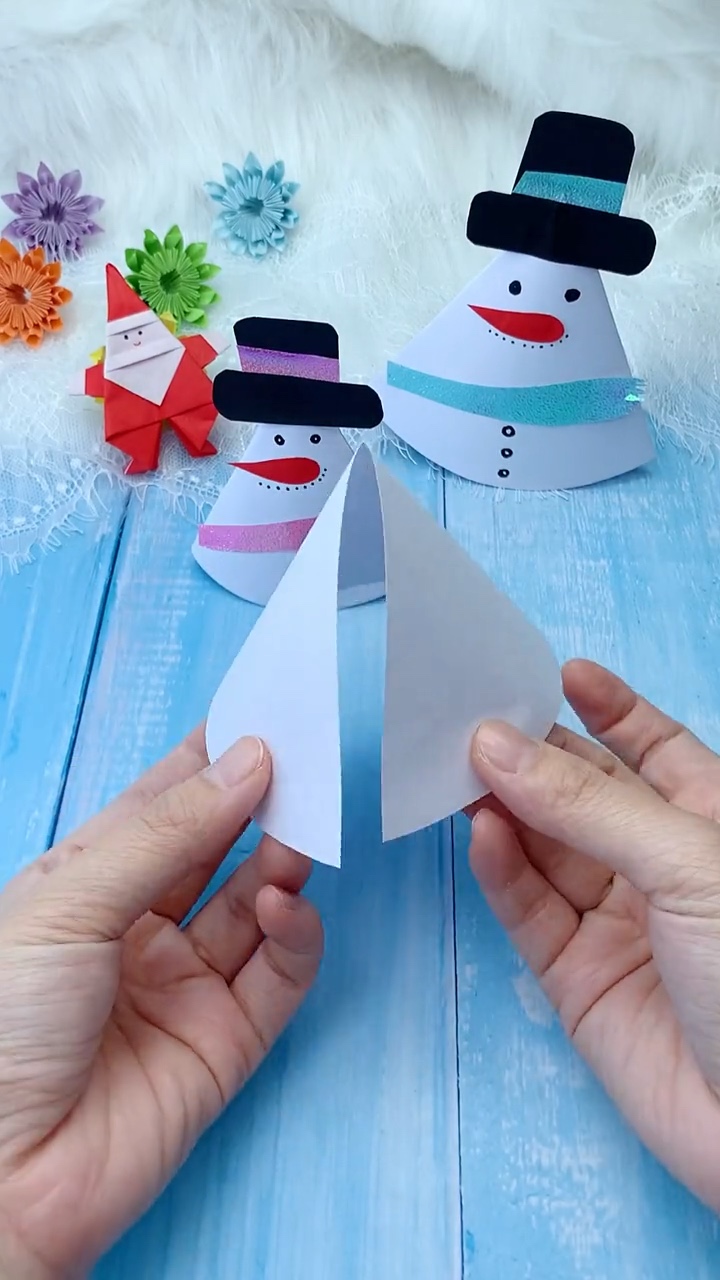
Step 2: Apply Adhesive Along the Inner Straight Seam
Lay the paper sector flat on your work surface. Apply a thin, consistent bead of craft PVA glue or a strip of high-tack double-sided adhesive tape along one of the straight edges, running from the tip all the way down to the base.
Crafter Tip: Keep the glue line approximately 3mm away from the extreme outer edge. When you compress the overlap in the next step, the adhesive will naturally spread without oozing onto the clean white exterior of your snowman.
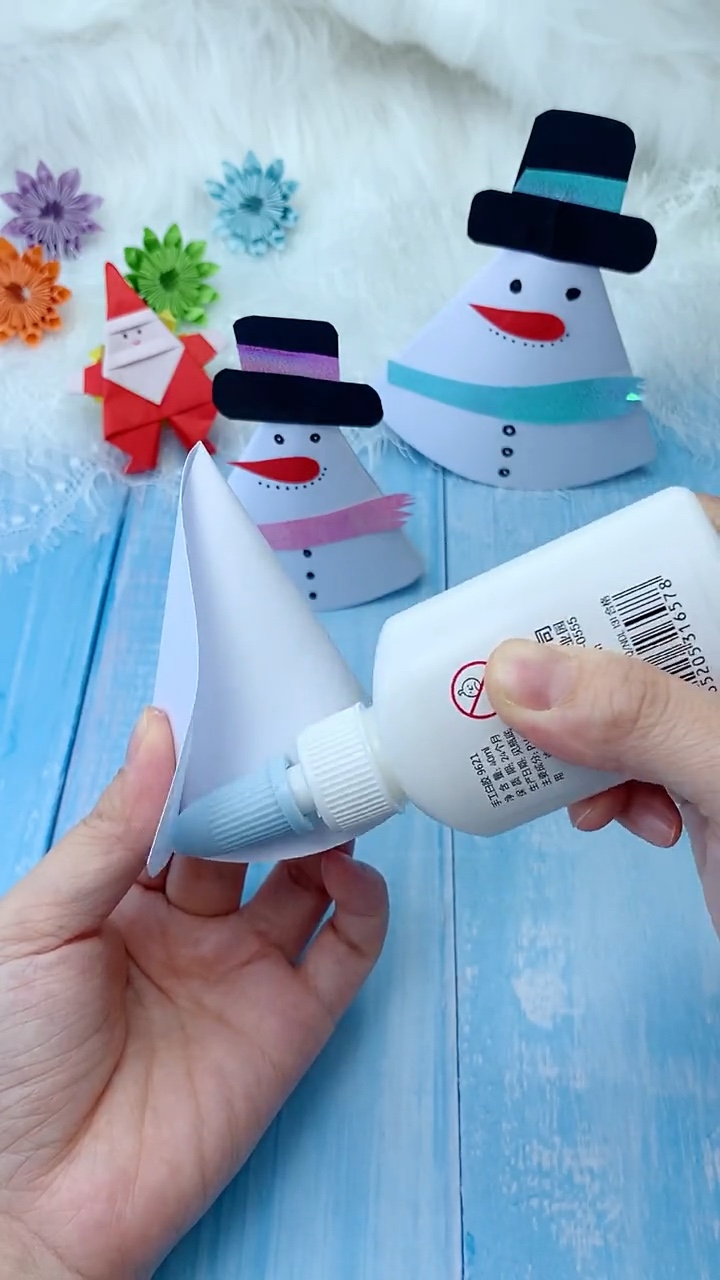
Step 3: Roll and Secure the 3D Conical Body
Roll the unglued straight edge inside the glued edge, guiding the paper into a tight, sharp point at the top. Align the bottom curved edges so they form a continuous, flush perimeter.
Slide your index finger inside the cone to support the inner wall while gently pressing down along the seam from the outside for 10–15 seconds. Once the adhesive grabs, stand the cone upright on your desk to verify that it rests level.
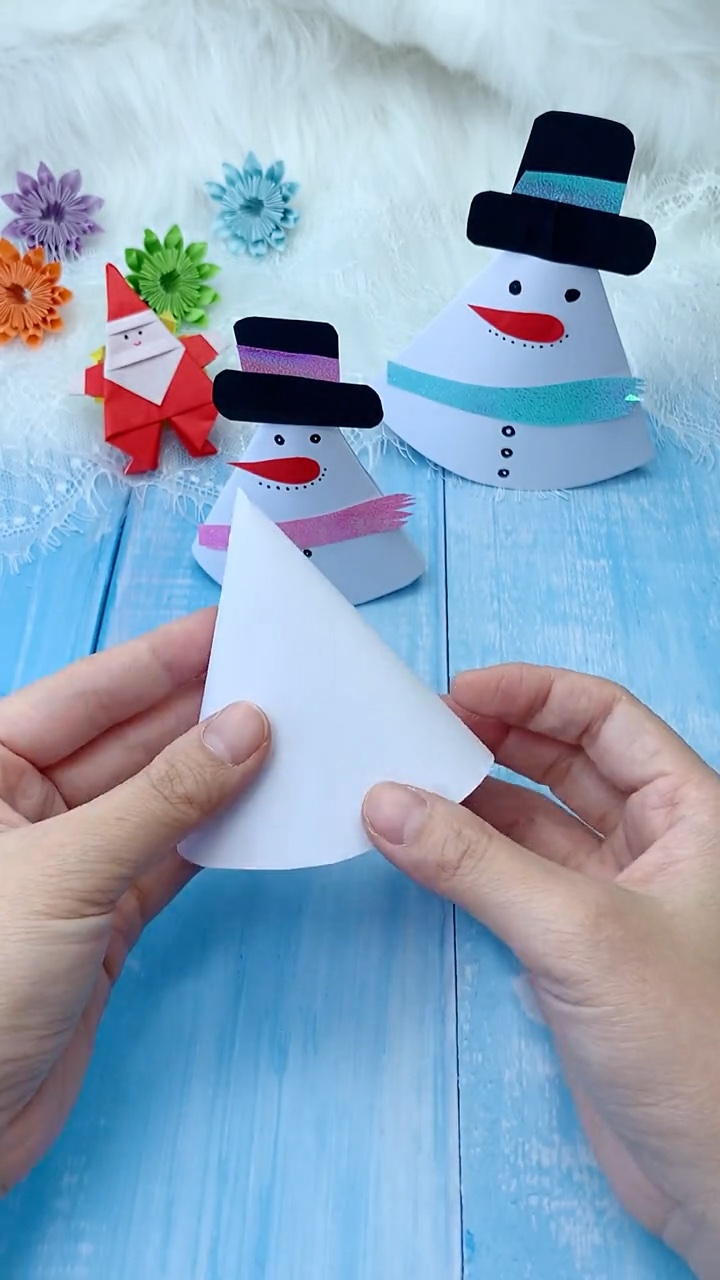
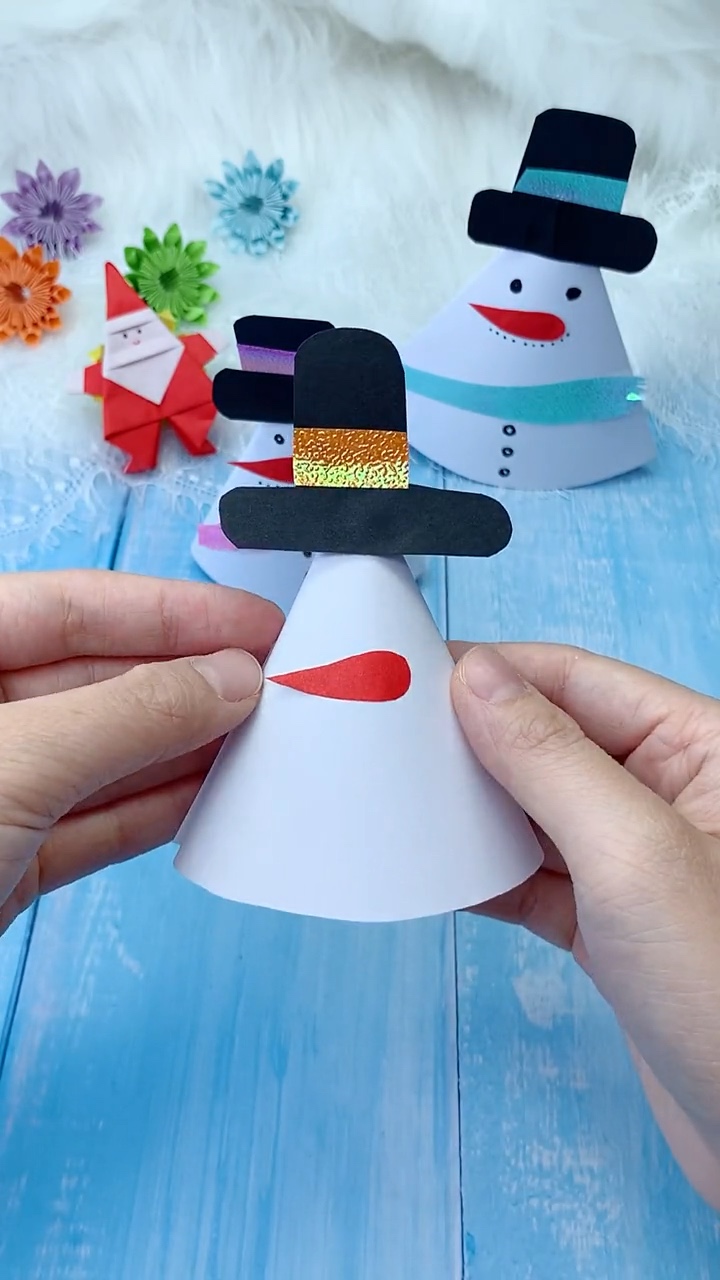
Step 4: Craft and Mount the Top Hat & Carrot Nose
Now give your snowman his classic winter persona! From your black cardstock, cut a rounded cylinder for the hat crown and a wide, rounded oval strip for the hat brim. Glue a strip of holographic or glitter paper across the base of the crown to create a festive hatband.
Next, cut a small, slightly curved triangular carrot nose out of orange construction paper. Affix the assembled top hat firmly to the peak of the cone, and glue the carrot nose horizontally in the center of the upper third of the cone body.
Step 5: Wrap the Cozy Glitter Scarf with Fringed Tassels
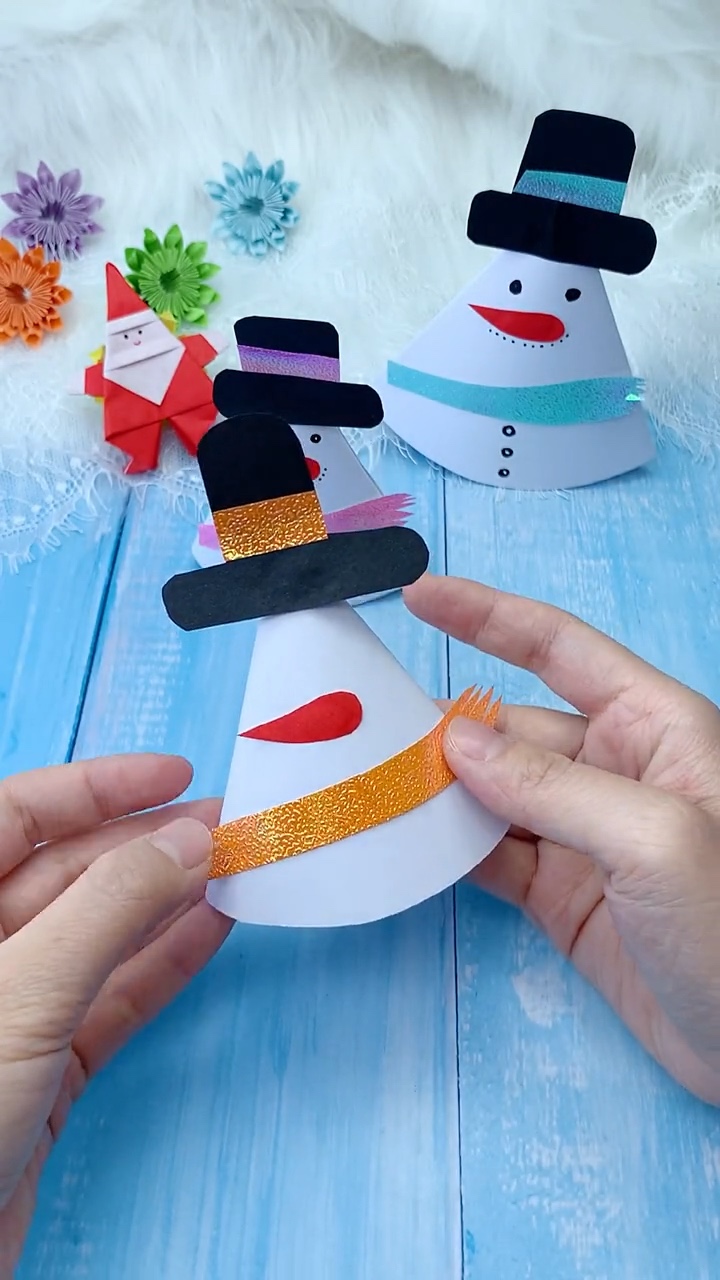
Cut a slender strip of glitter paper or textured ribbon (about 1.5 cm wide and 18 cm long). Using your precision scissors, snip 3–4 tiny vertical slits at one end to mimic cozy woolen fringe tassels.
Wrap the scarf diagonally around the midsection of the cone snowman, securing it at the front with a dab of glue so the fringed tail flutters playfully outward as if caught in a brisk winter breeze.
Step 6: Hand-Draw Coal Eyes, Dotted Smile & Buttons
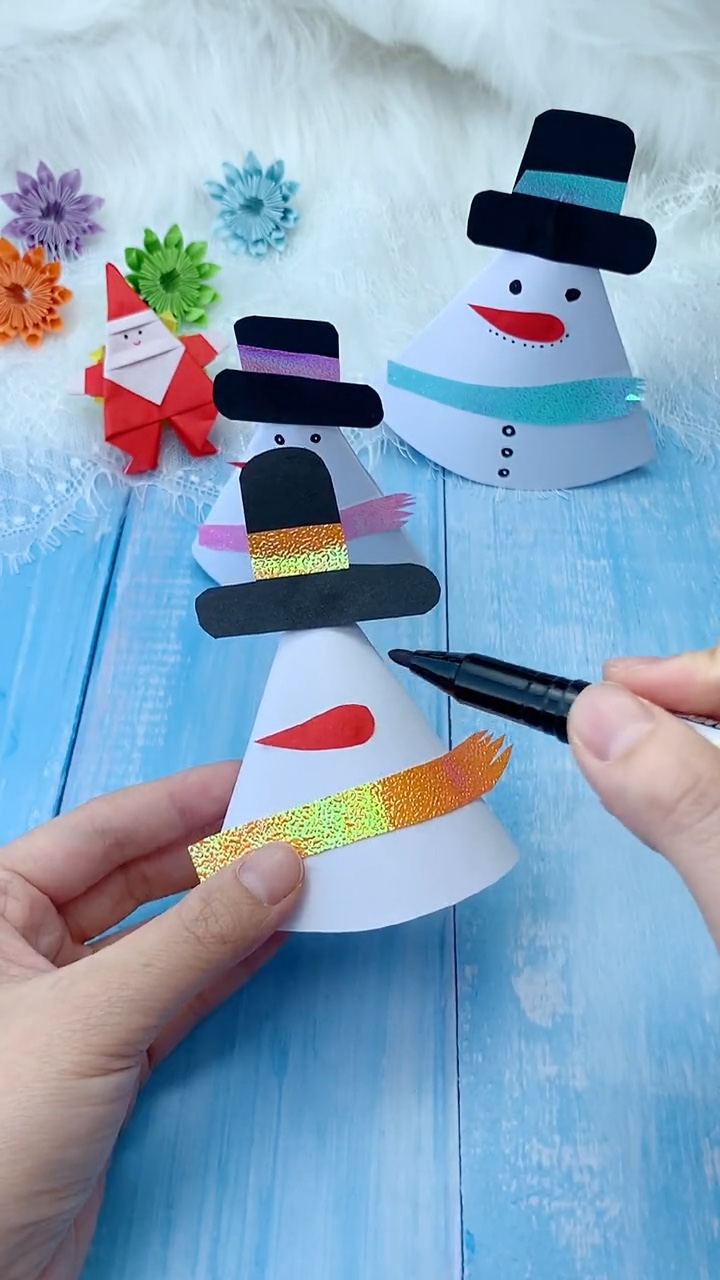
This is where your snowman truly comes to life! Using a fine black pen or marker, add the expressive finishing touches:
- Coal Eyes: Place two solid black circular dots directly above the carrot nose, leaving generous space between them for an innocent, friendly gaze.
- Dotted Coal Smile: Draw a delicate curved row of tiny dots sweeping gently beneath the carrot nose.
- Trio of Coal Buttons: Illustrate three neat vertical dots down the lower cone body beneath the scarf.
If you love doodling cute faces and expressions on paper crafts, explore our creative tutorial on drawing expressive kawaii food doodles or try your hand at sketching holiday treats with our cute chocolate doodle guide!
Visual Summary: All 6 Steps at a Glance
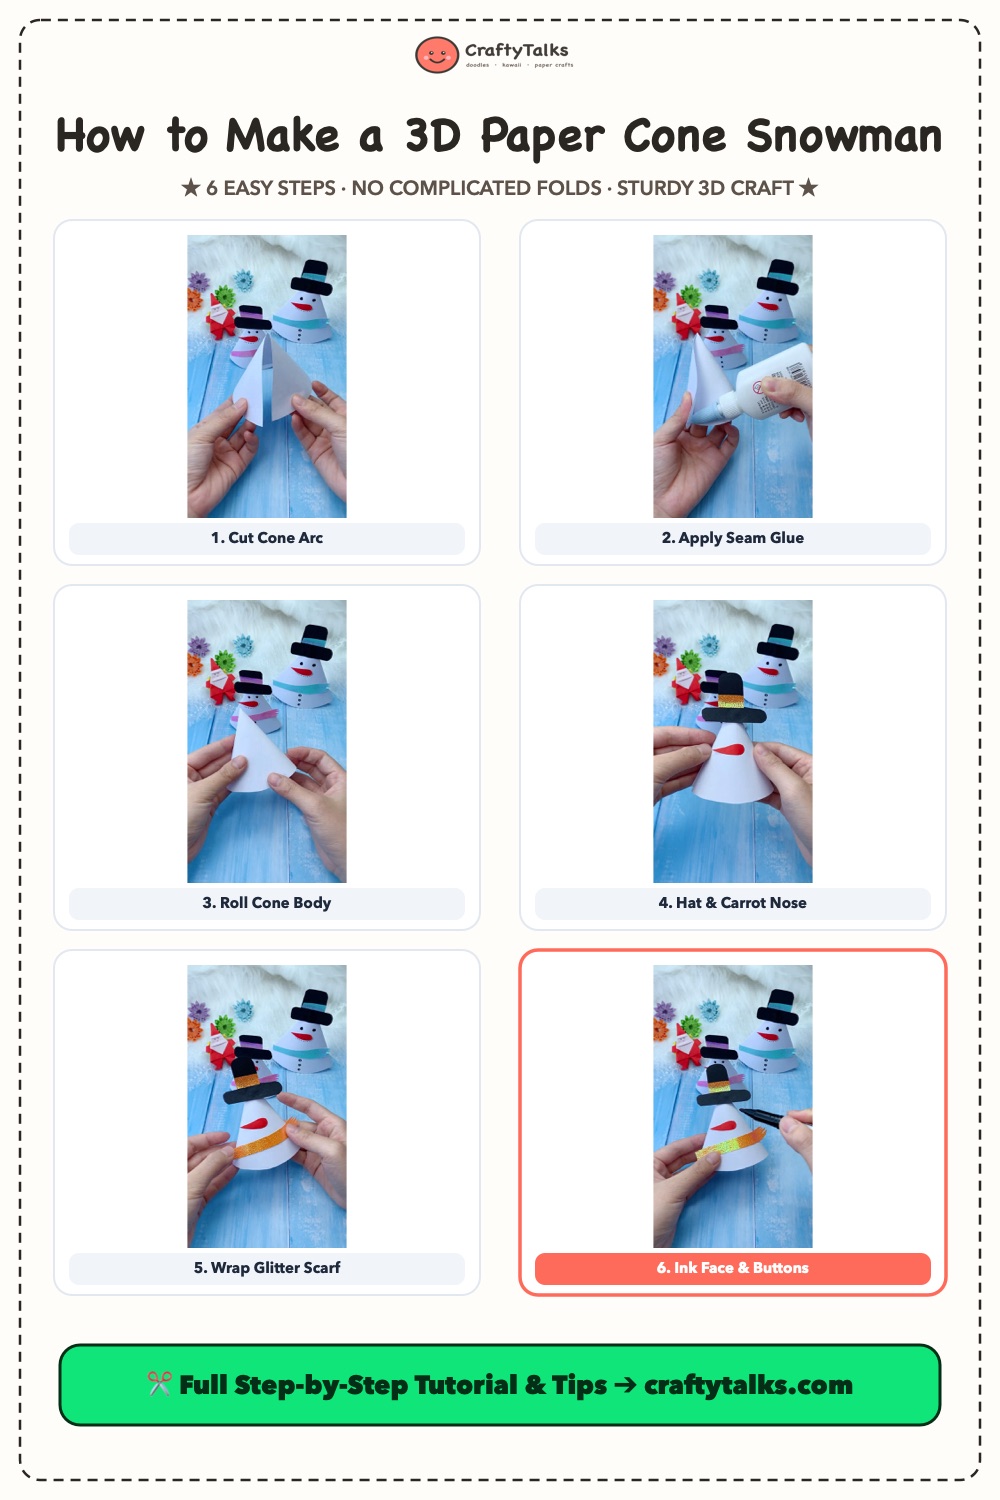
Here is the complete visual progression sheet showing all 6 stages of creating your 3D Paper Cone Snowman. Pin or save this infographic to your crafting board for quick reference during your holiday craft sessions!
Creative Holiday Display Ideas
Once your snowman is standing tall, do not stop at just one! Craft a whole family of varying heights by altering the radius of your paper sector. Here are our favorite ways to incorporate these paper wonders into your holiday decor:
🍽 Festive Dinner Place Cards
Write each guest’s name in calligraphy along the glitter scarf or across the lower cone rim with a metallic gold pen. It serves as both personalized seating and a heartwarming take-home keepsake.
🕯 Glowing Tabletop Luminaries
Before rolling the cone, use a hole punch or craft knife to pierce tiny star patterns into the white cardstock. Place the completed snowman over a flicker LED battery tea light for an enchanting tabletop glow!
🐧 Winter Friends Pairing
Build a magical snowy kingdom on your mantel! Pair your snowman family with friendly Arctic creatures—check out our popular tutorial on how to draw a cute baby penguin step-by-step to create matching winter companion illustrations.
Frequently Asked Questions (FAQ)
What is the best paper weight for paper cone crafts?
Medium-weight cardstock between 120 GSM and 160 GSM (65 lb cover) is ideal. Standard 80 GSM printer paper is too flimsy and will easily crush under its own weight, while heavy 250+ GSM cardstock will resist rolling and produce harsh angular creases at the seams.
How do I prevent the paper cone from tipping over?
Because hollow paper cones carry most of their weight in the upper cone and top hat, they can be vulnerable to room drafts. Simply glue a metal washer, large coin, or a small ball of poster tack inside the bottom rim before sealing the base. This drops the center of gravity and creates a solid, wobble-proof base.
What pens work best for drawing on white cardstock?
Fine-point pigment gel pens (like Sakura Pigma Micron or Uni-ball Signo in 0.5mm) work best because water-based pigment ink will not feather or bleed into the raw cardstock edges. Permanent markers like Sharpies can also be used, but test on a scrap first to ensure the ink does not bleed through.
📌 Save This Christmas Craft on Pinterest!
Loved making this paper snowman? Pin this tutorial to your Holiday DIY or Kids Paper Crafts board so you can find it every Christmas season!