The 4 Magic Shapes: How to Draw Anything by Starting with Circles, Squares, Triangles & Blobs
If you have ever opened a fresh sketchbook, stared at the glaring white paper, and felt a tiny wave of panic — you are not alone. The fear of making a “bad line” is the number one reason people close their sketchbooks before they even begin.
Here is the gentle secret that every master illustrator knows: nobody draws a finished fox, a playful kitten, or a bustling city in one single line. Instead, experienced artists use a secret superpower called visual deconstruction. They look at the world, strip away the complicated details, and see only four humble building blocks.
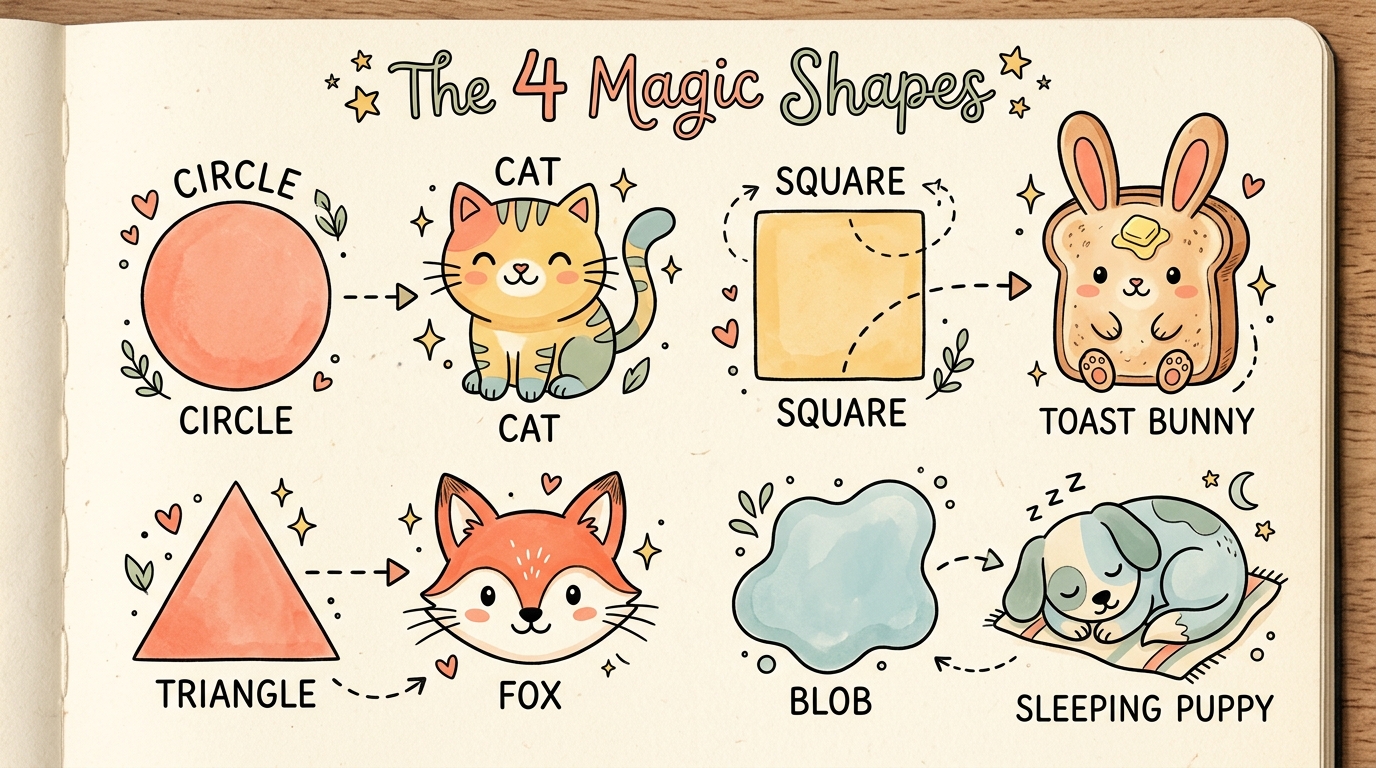
The 4 Magic Shapes (And Why They Work)
Think of these shapes like cookie cutters. Once you stamp the base silhouette onto your paper, 80% of your drawing is already finished! All that remains is adding simple details like ears, eyes, and little paws.
Struggling with shaky or scratchy pencil lines?
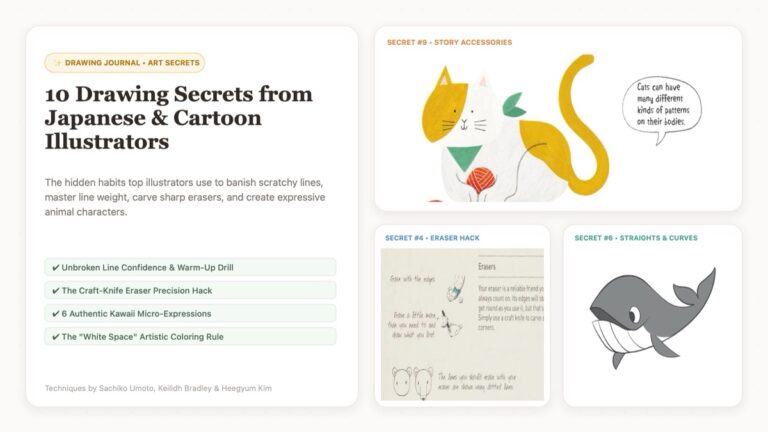
Before you start drawing, check out our companion guide: 10 Drawing Secrets from Japanese & Cartoon Illustrators to learn the 2-minute scrap-paper warm-up drill, line weight rules, and razor-sharp eraser hacks!
Read the 10 Illustrator Secrets →1. ⭕ The Friendly Circle & Oval: The Shape of Softness
The human brain is wired to associate rounded curves with warmth, friendliness, and approachability. In art psychology, circles have zero sharp angles, making anything drawn inside them feel instantly gentle and huggable.
- What it turns into: Kitten heads, round tree frogs, chubby apples, puffy clouds, and smiling sunbeams.
- The Trick: Don’t worry about drawing a mathematically perfect circle! Slightly wobbly, squashy circles actually look much cuter and full of personality.
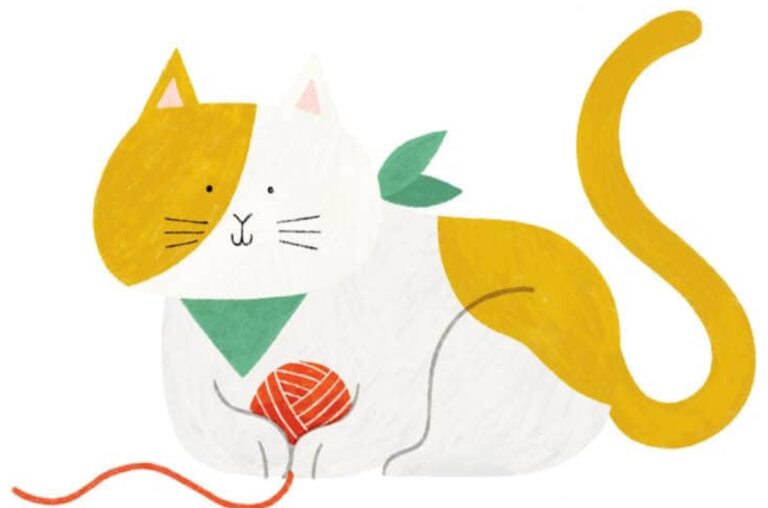
💡 Pro Tip on Line Weight: Keep your outer cat circle slightly thicker than your inner whiskers and smile. This makes the face look soft and approachable! (See Secret #3 in our Drawing Secrets Guide).
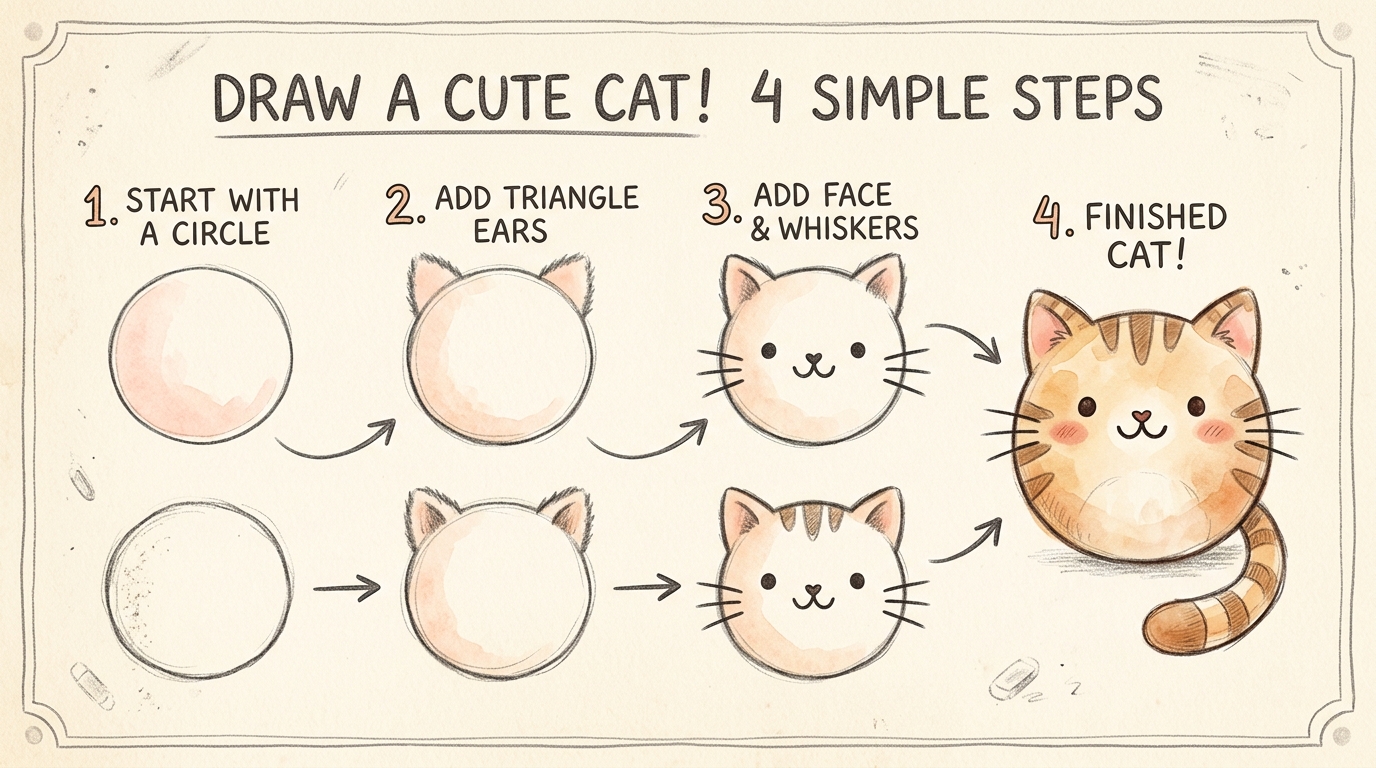
Step 1: Circle → Step 2: Triangle Ears → Step 3: Whiskers & Smile → Step 4: Finished Cat!
2. ⏹️ The Cozy Square & Rectangle: The Shape of Whimsy
Squares and rectangles give weight, stability, and structure. While architects use them for skyscrapers, children’s book illustrators round the corners of squares to create chunky, quirky, endearing characters.
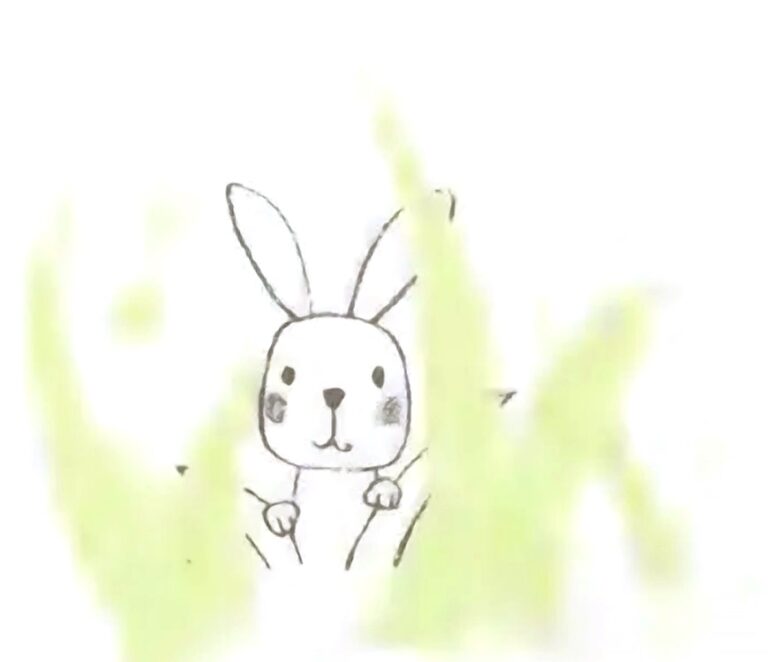
- What it turns into: Slices of toast (our famous Toast Bunny!), nostalgic gift boxes, retro radios, chunky friendly robots, and cozy cottage windows.
- The Trick: Soften the corners! A square with rounded corners immediately transforms from a cold geometric box into a slice of soft warm brioche bread.
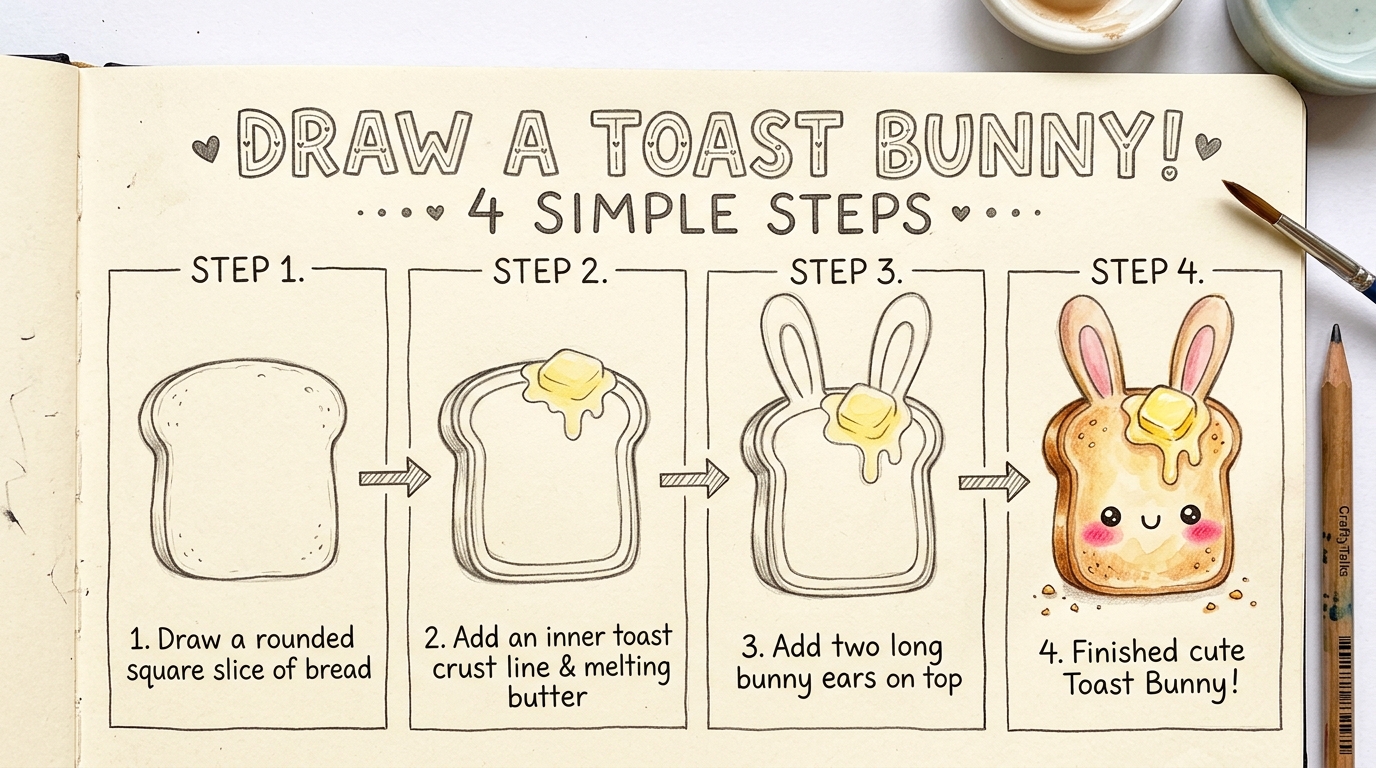
Step 1: Rounded Square Bread → Step 2: Crust & Melting Butter → Step 3: Bunny Ears → Step 4: Finished Toast Bunny!
3. 🔺 The Dynamic Triangle: The Shape of Wit & Energy
Triangles have direction! Wherever the point of a triangle aims, the viewer’s eye travels. They bring speed, curiosity, and sharpness to a sketchbook page.
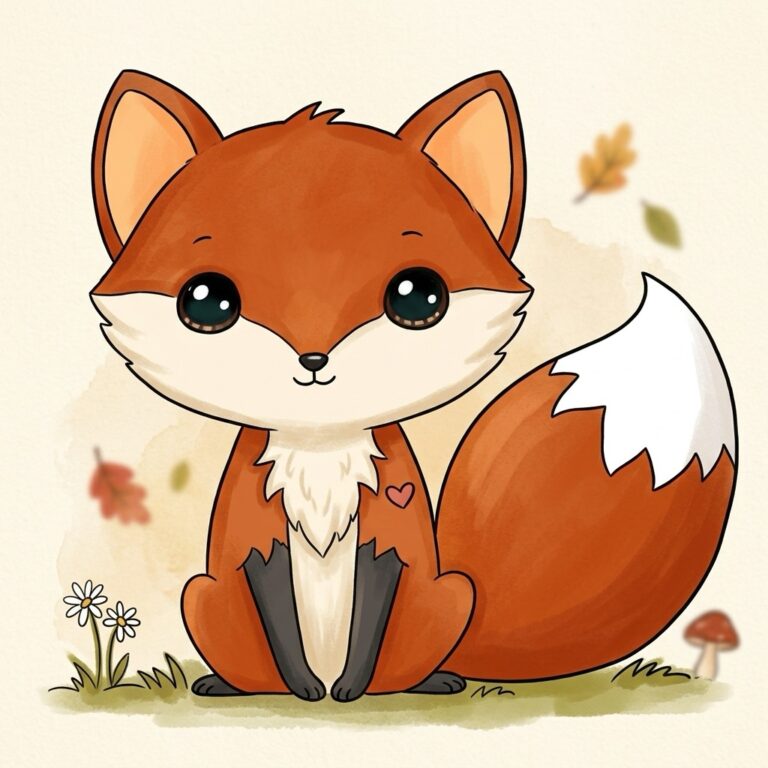
- What it turns into: Red fox muzzles, perky wolf ears, pine tree forests, strawberry peaks, party hats, and slices of cheesy pizza.
- The Trick: Pointing down creates an inquisitive animal face (like a fox chin); pointing up creates height and majesty (like a mountain or tree).
💡 Pro Tip on Fur Texture: Don’t draw dozens of fur hairs! Just 2 or 3 sharp zigzag tufts on the cheeks are all the brain needs to read “fluffy.” (See Secret #7 in our Drawing Secrets Guide).
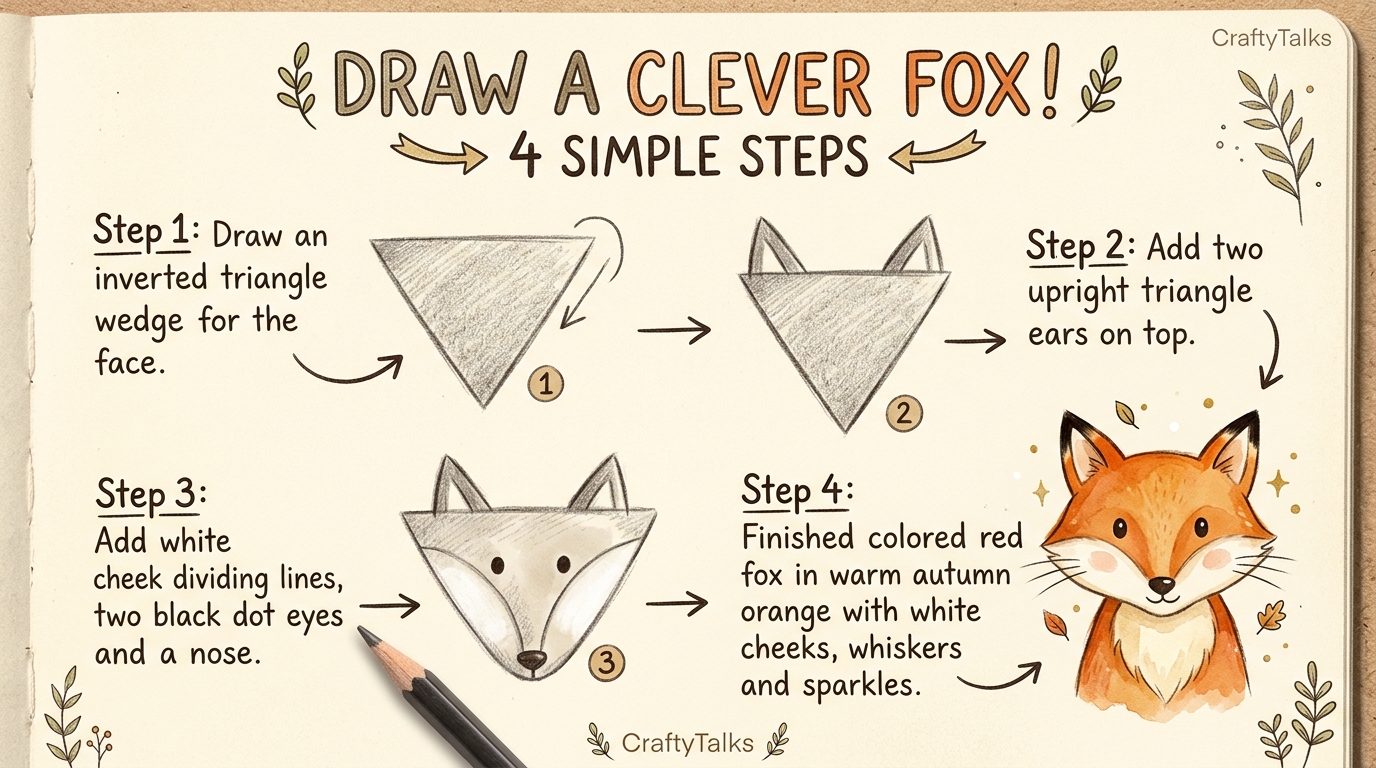
Step 1: Inverted Triangle → Step 2: Upright Ears → Step 3: Cheek Tufts & Eyes → Step 4: Finished Clever Fox!
4. ☁️ The Organic Blob: The Shape of Pure Coziness
Nature rarely draws in straight lines. Rocks, puddles, rising dough, and sleeping animals are all variations of the “Blob” (or the “Peanut”). This is the most forgiving shape of all because there is literally no wrong way to draw a blob!
- What it turns into: Zen capybaras soaking in hot baths, curled-up sleeping puppies, jelly beans, river pebbles, and portobello mushrooms.
- The Trick: Let your hand relax completely. Breathe out, let the line wander, and close the loop whenever it feels right.
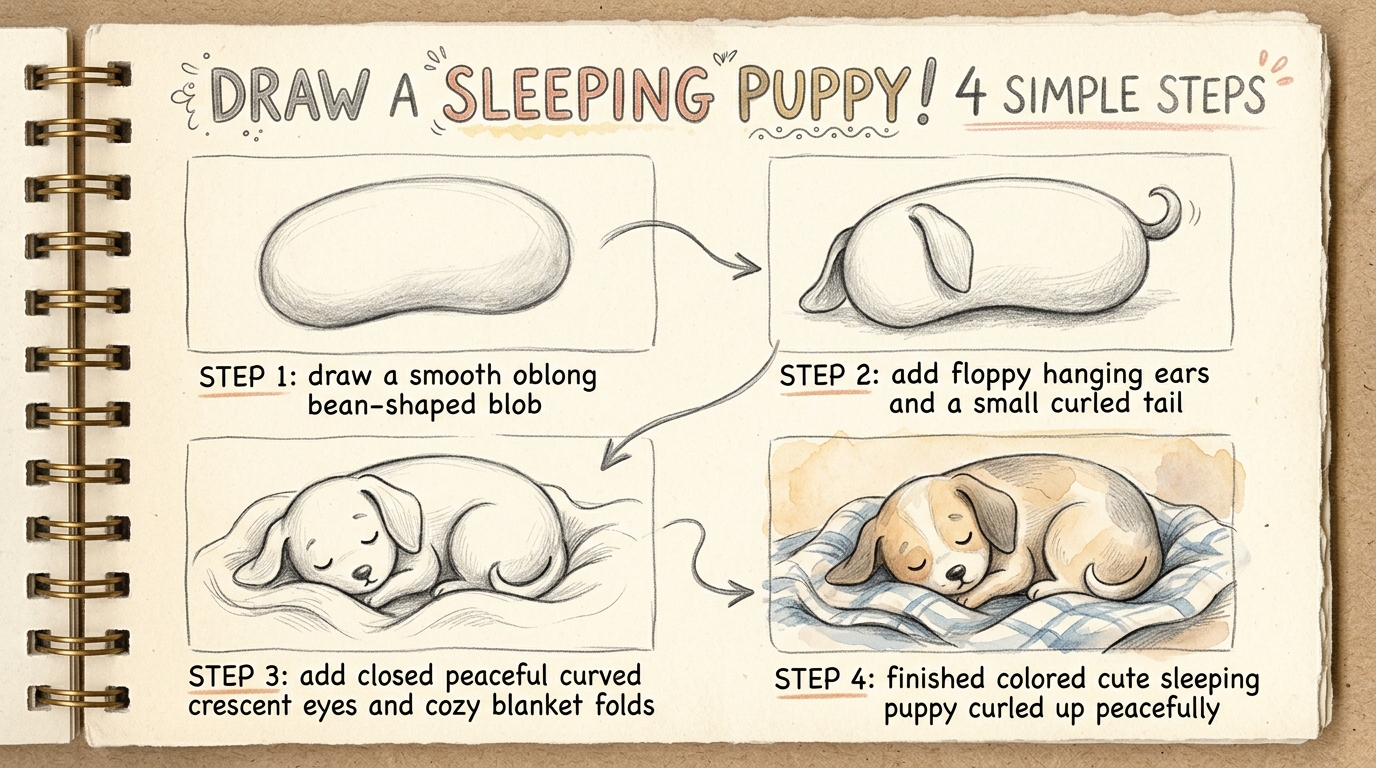
Step 1: Bean Blob → Step 2: Floppy Ears & Tail → Step 3: Crescent Eyes & Blanket → Step 4: Finished Sleeping Puppy!
The 3-Dot Kawaii Formula: How to Breathe Life into Any Shape
Once you have sketched any of the four magic shapes, how do you make it lovable? Japanese stationery artists and children’s book illustrators use a golden rule called Low-Placement Proportions:
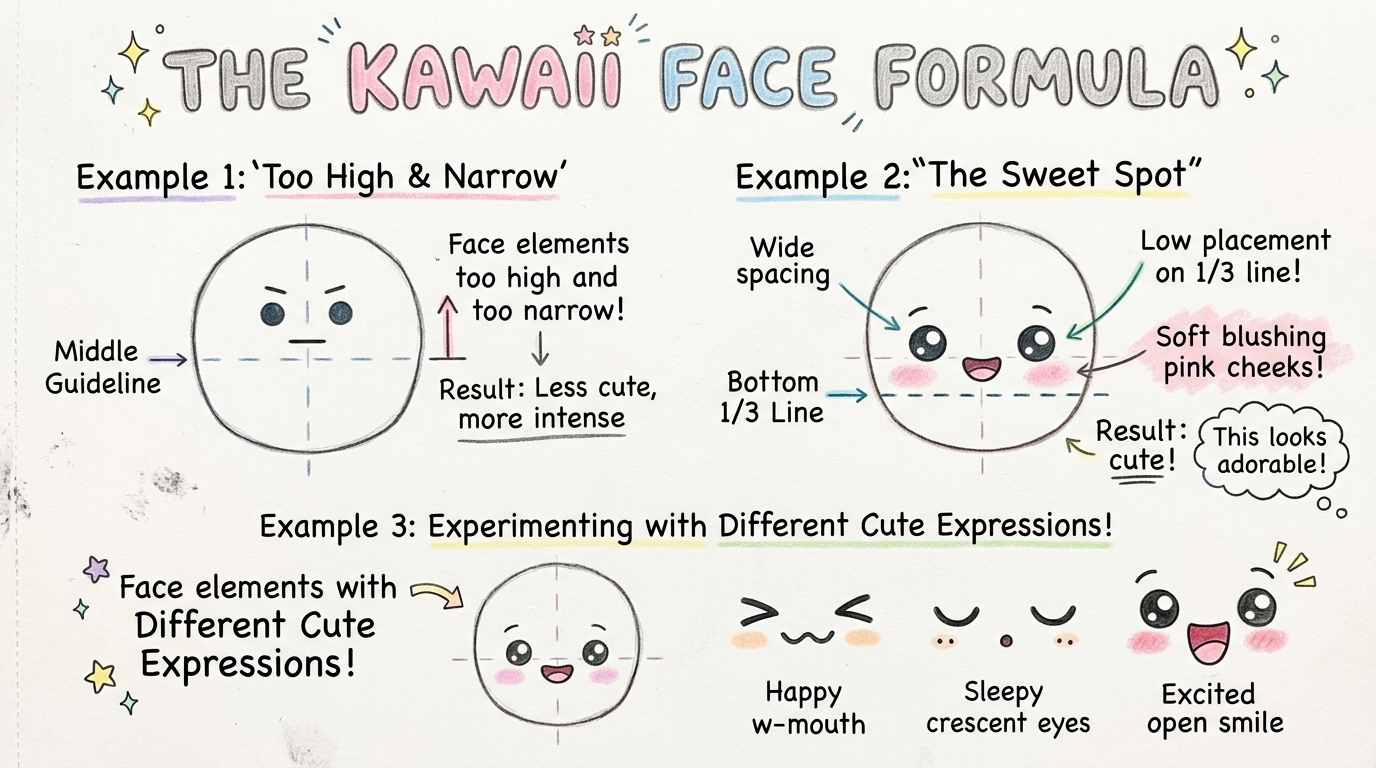
1. Drop the Eyes Low
Don’t put eyes in the top half of the head! Place them along the bottom third line. Large forehead + low eyes = instant cute baby proportions.
2. Space the Eyes Wide
Leave plenty of room between the two eyes. Wide eye spacing makes characters appear innocent, honest, and delightfully curious.
3. Add Blush Circles
Two soft pink or peach dots placed right below the outer corners of the eyes give the face warmth and an affectionate heartbeat.
Your 5-Minute Daily Sketchbook Routine
To build real drawing confidence, you don’t need 2 hours of free time. You only need 5 minutes and a cup of tea. Here is the daily warm-up exercise we recommend for every CraftyTalks artist:
- Minute 1 — The Wrist Loosener: Draw 10 smooth spirals and 5 wavy ocean lines without lifting your pencil. Let your shoulder and elbow do the moving, not just your fingers.
- Minute 2 & 3 — The Shape Challenge: Pick one shape of the day (e.g., Triangle). Draw 4 triangles on the page. Turn one into a slice of watermelon, one into a fox, one into an evergreen tree, and one into a cheerful party hat.
- Minute 4 — Add Personality: Pick your favorite of the four, ink the outlines with your favorite dark pen, and add eyes, a smile, and blushing cheeks.
- Minute 5 — Color Fill: Splash a warm pastel shade of crayon, colored pencil, or marker into the body. Date the page in the corner and close your sketchbook with a smile!
Ready to Turn Shapes into Friends?
Explore our full step-by-step animal drawing guides where we put these four magic shapes into practice together, or test your skills right now on our digital canvas!