How to Draw a Green Tree Frog in 6 Easy Steps (Interactive Draw-Along)
With their giant glistening eyes, broad happy grins, and sticky suction-cup toes, the Green Tree Frog is one of the most cheerful amphibians in nature! Whether hopping across lush rainforest leaves or croaking beside a garden pond, drawing a frog is surprisingly easy when you start with two simple eye circles and a friendly curve.
In this step-by-step drawing lesson, you’ll learn how to build a super-cute cartoon frog from scratch. Draw directly on your screen using our Interactive Drawing Studio below, or follow along in your favorite sketchbook!
- Difficulty Level: Easy (Level 1 · Beginner & Kids friendly)
- Total Drawing Steps: 6 Construction Steps + 1 Vibrant Color Palette
- Estimated Time: 7–10 minutes
- Key Shape Tools: Ovals (Eyes & Thighs), Circles (Toe Pads), Curves (Smile & Belly)
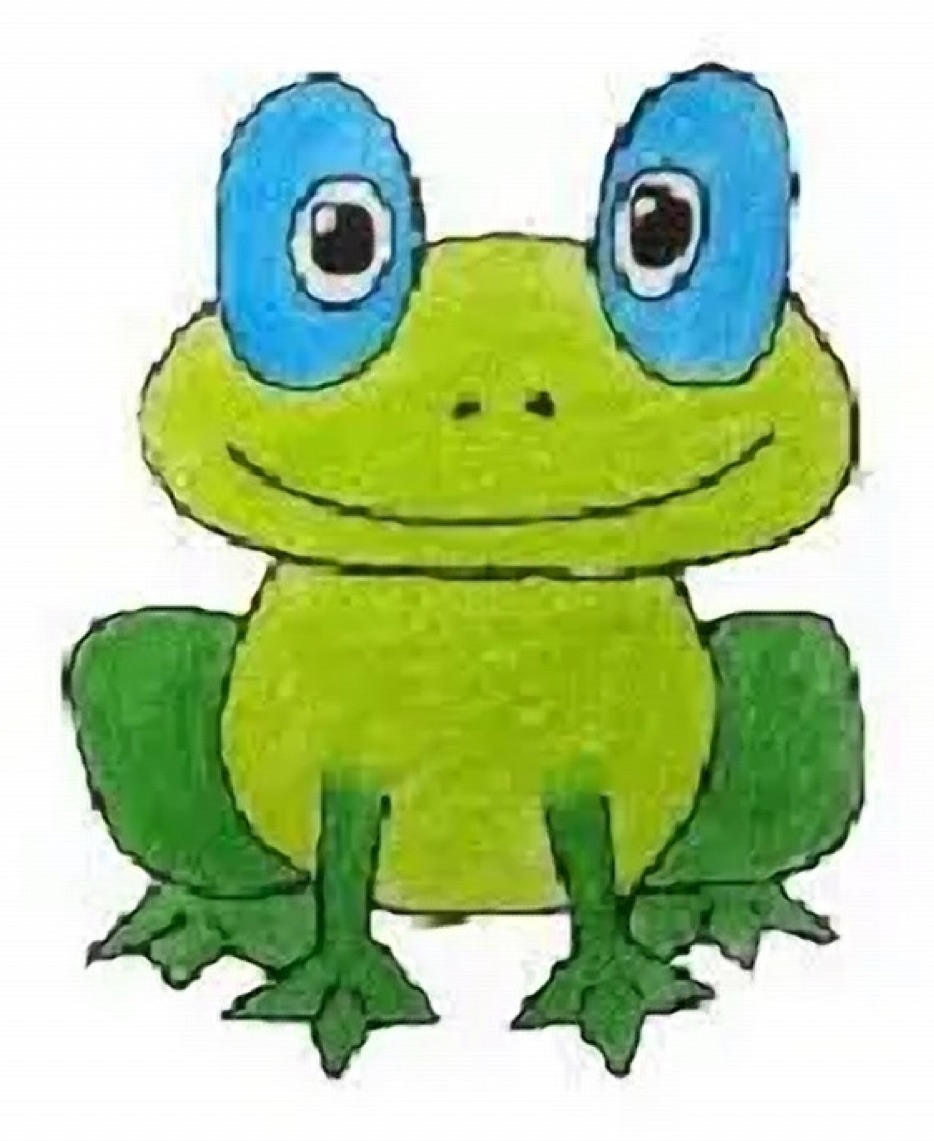
🎨 Interactive Draw-Along Studio: Green Tree Frog
Prefer practicing directly on your tablet, iPad, or computer screen? Draw along using our in-browser Interactive Draw-Along Studio! Toggle traceable reference lines, select curated color swatches, and download your finished artwork:
 Step Guide 🔍
Loading Step...
Loading instructions...


Switch to Another Animal
Pick any animal below to start a new step-by-step draw-along!
Step Guide

🎉 High Five, Artist!
Your custom animal illustration is ready to download and share!

Step-by-Step Tree Frog Drawing Guide: Detailed Breakdown
Step 1: Big Bulging Eyes
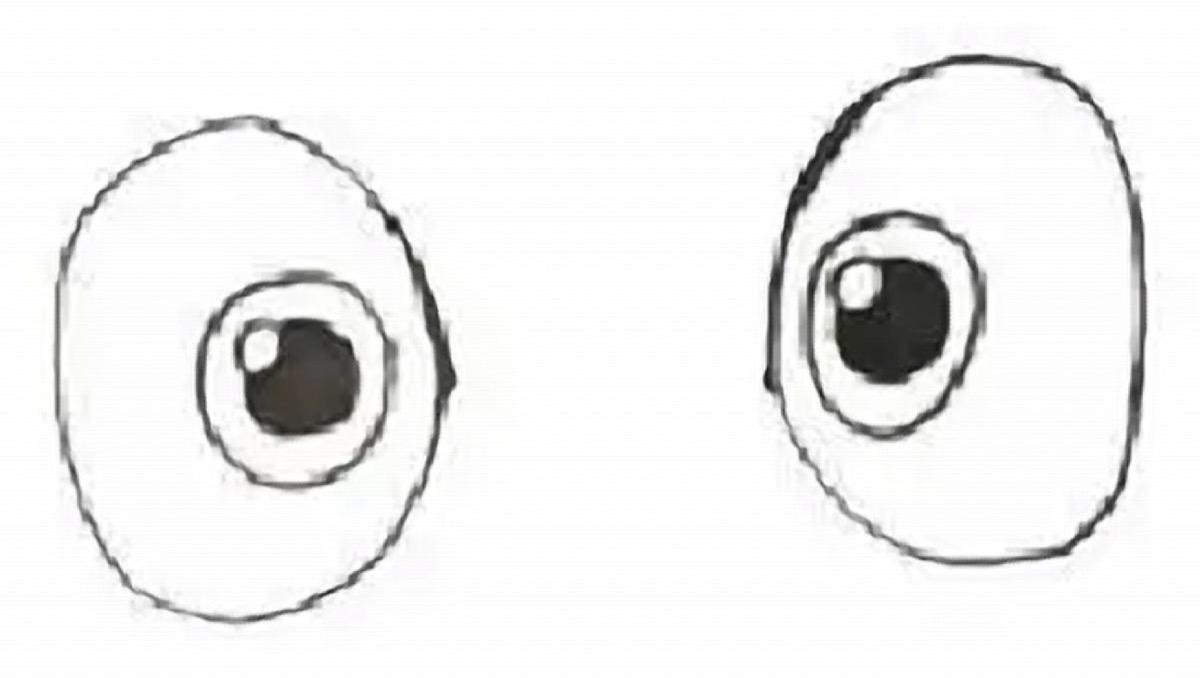
Start near the top of your page by drawing two large, upright ovals side by side. Leave about one eye’s width of space between them. Inside each oval, draw a smaller circle for the pupil, leaving a tiny white crescent or circle as a highlight catchlight.
💡 Artist Tip: Large, expressive eyes are the secret to cuteness in animal drawings. Angle the pupils slightly inward toward each other for a friendly, attentive look!
Step 2: Wide Head & Cheerful Grin
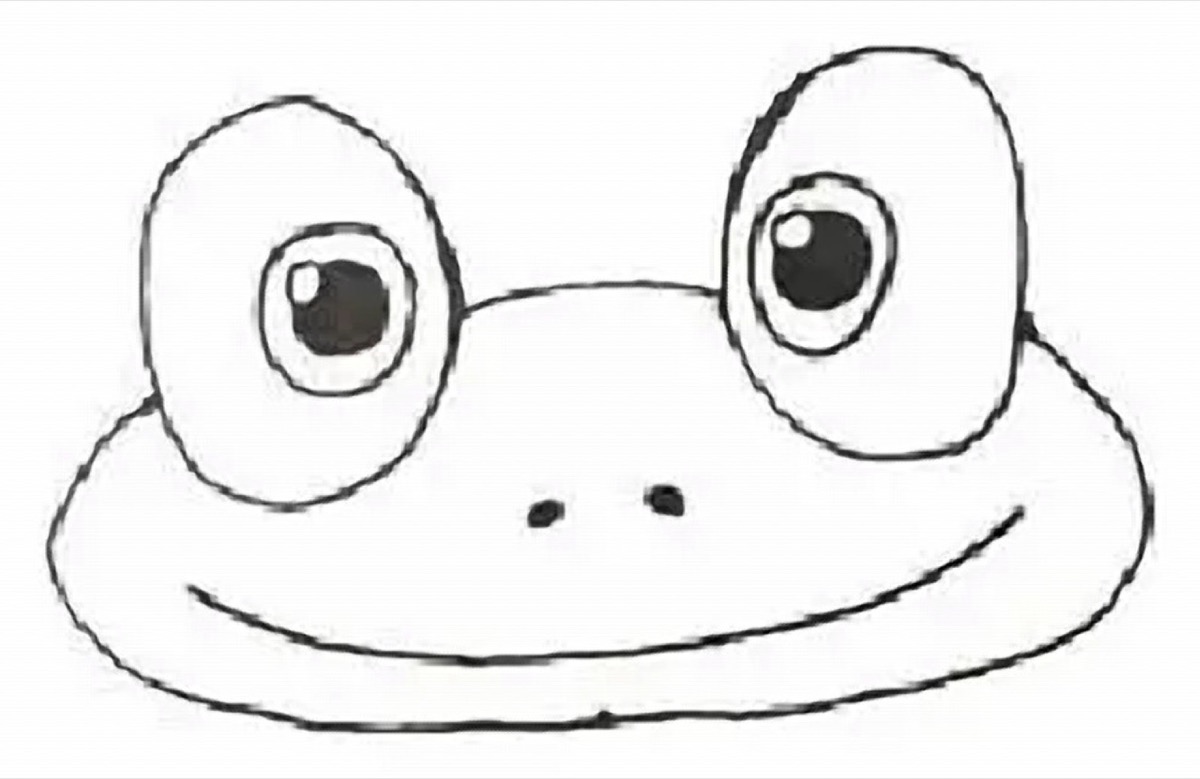
Connect the two eyes by drawing a gentle bridge across their top-center. Then, sweep a broad oval curve from the left eye all the way down and around to the right eye. Inside the face, draw a big happy upward curve for the mouth, with two delicate nostril dots above it.
💡 Artist Tip: A frog’s head is wider than it is tall! Keeping the cheeks wide emphasizes its chubby, charming amphibian anatomy.
Step 3: Chubby Belly & Front Arms
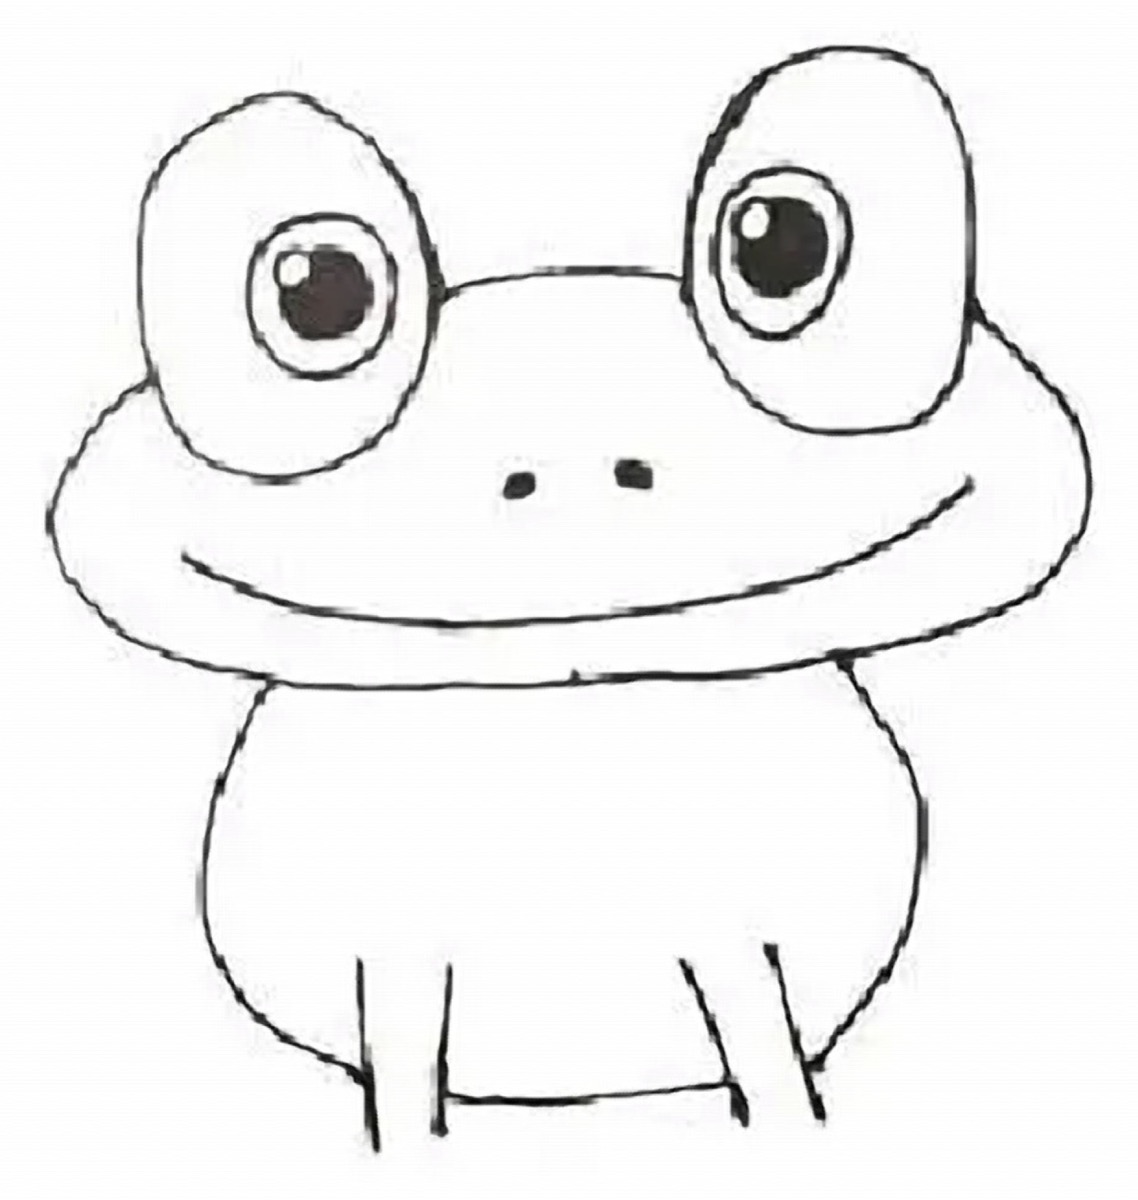
Below the wide mouth, draw a round, pear-shaped torso outline for the frog’s plump tummy. Next, draw two straight vertical legs reaching down from inside the chest area.
Step 4: Webbed Front Toes
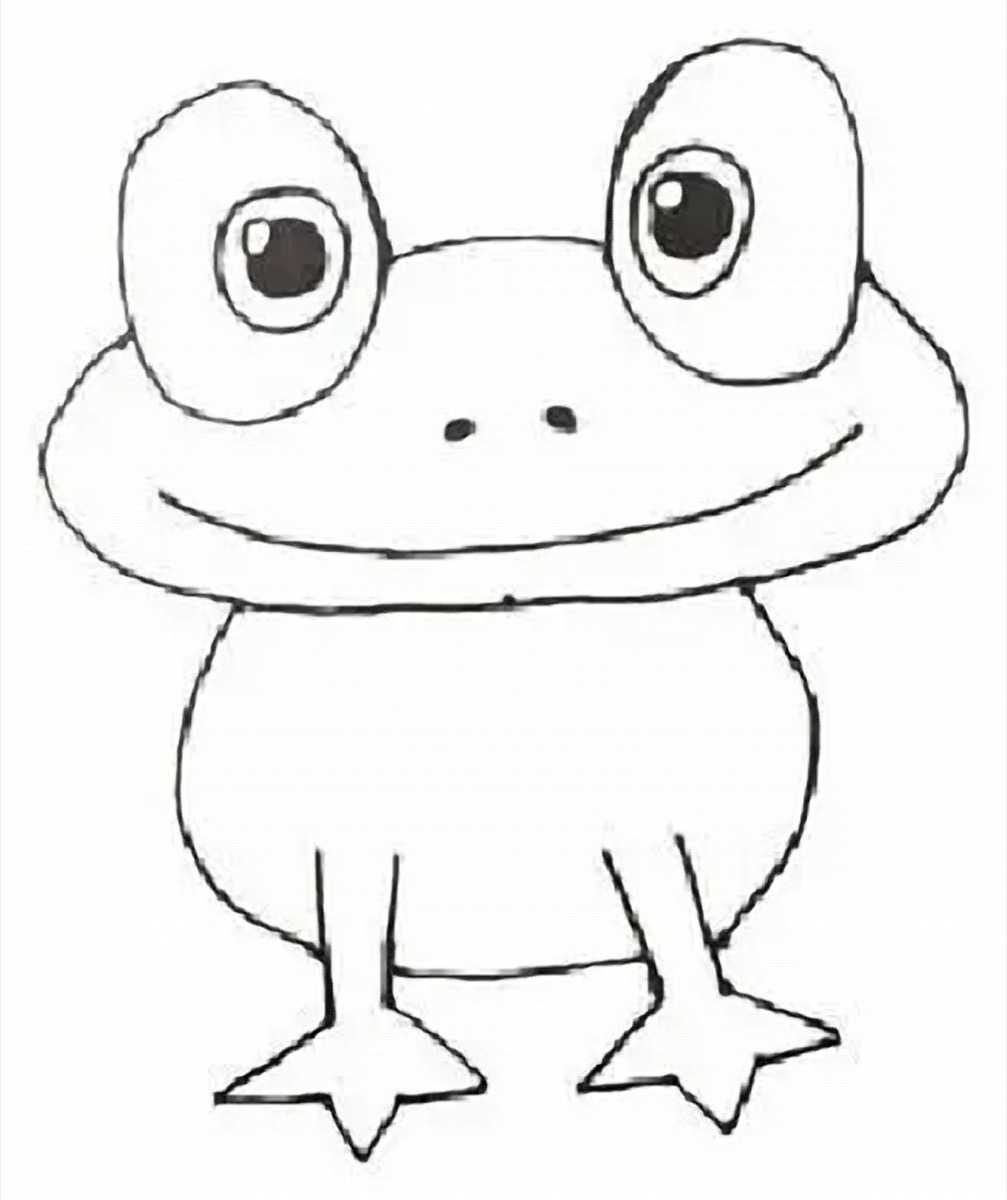
At the bottom of each front leg, flare outward into three distinct webbed toes. Notice the tiny circular pads at the tips — this gives your tree frog its signature climbing look!
Step 5: Folded Hind Thighs
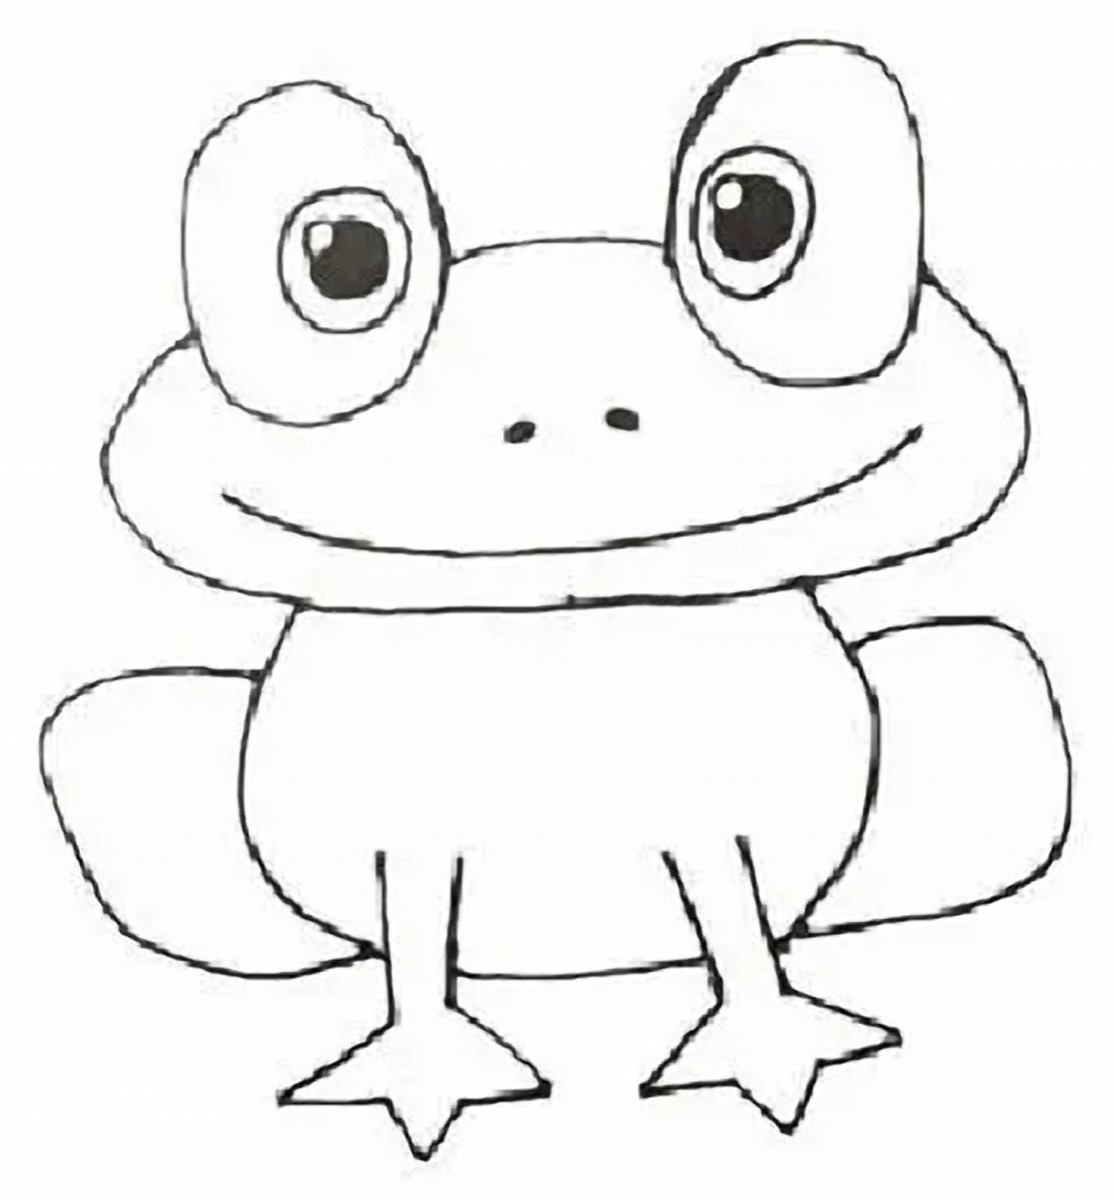
On both sides of the belly, draw two large rounded curves resembling folded wings or big parentheses. These represent the frog’s powerful hind legs tucked comfortably in resting position.
Step 6: Back Webbed Feet & Ink Finish
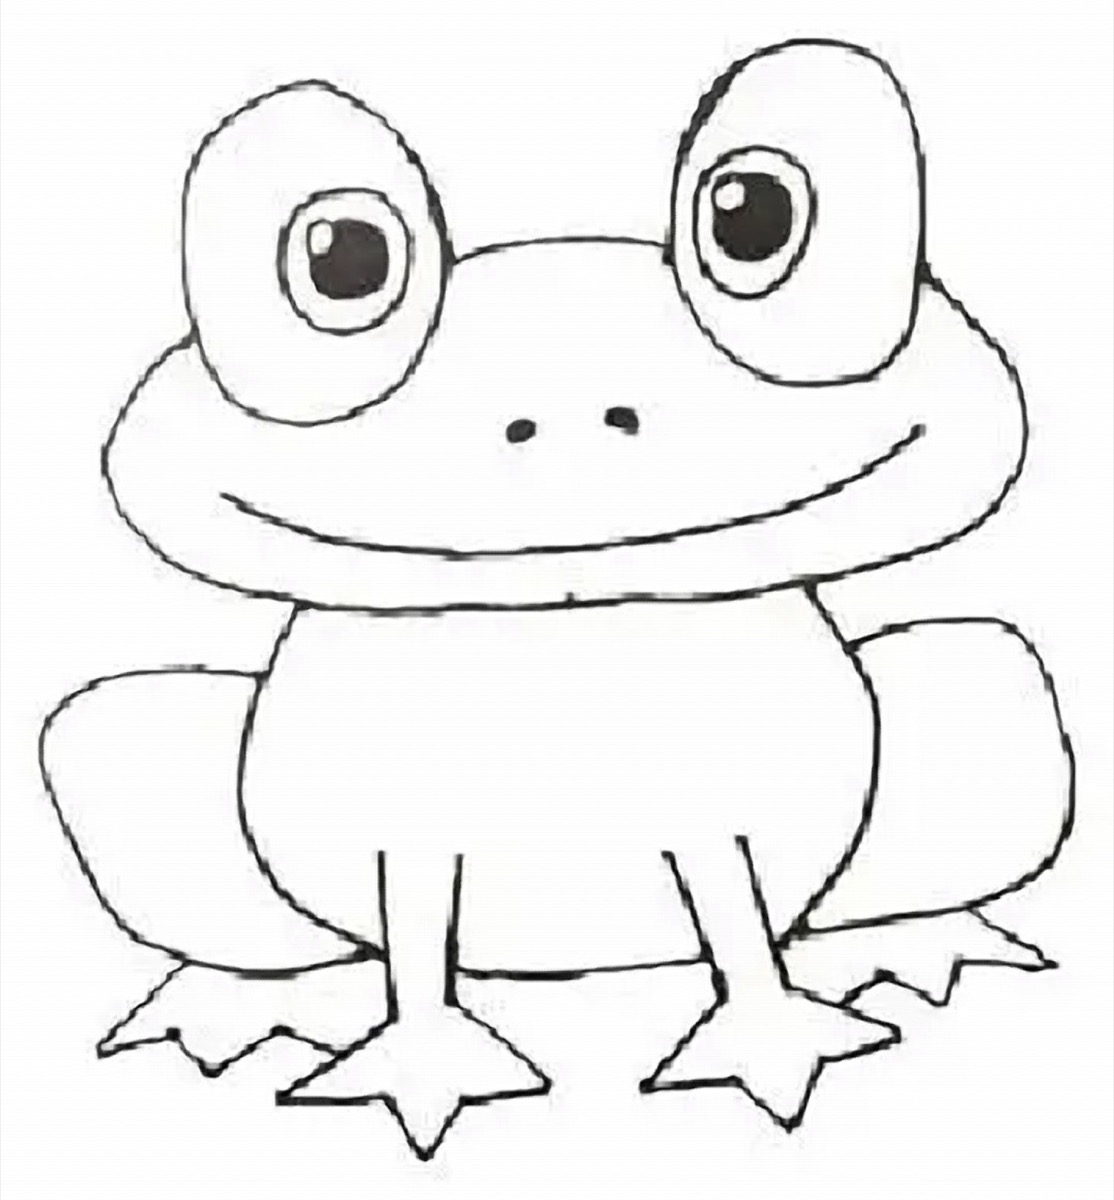
Extend three webbed toes beneath each folded thigh along the bottom baseline. Erase any extra sketch lines, thicken your outline with pen or marker, and your line art is ready to color!
Step 7: Coloring Your Rainforest Tree Frog
Give your frog vibrant tropical shades:
- Main Body & Head: Bright lime green or vivid grass green.
- Eye Rings & Accents: Vibrant sky blue surrounding the dark pupils.
- Legs & Feet: Darker olive or jade green for contrast and depth.
- Belly: Soft creamy lime or sunny pale yellow.
Keep Drawing! Explore Sibling Animal Tutorials
Hop on over to more fun drawing tutorials in our growing animal collection: