How to Draw a Cute Puppy Dog in 6 Easy Steps (Interactive Draw-Along)
Whether chasing a ball in the backyard or curling up at your feet, dogs hold a special place in our hearts. Drawing our four-legged best friends can seem tricky with all their moving joints, but using the renowned “Box-to-Beast” sketching technique, anyone can draw a charming, modern spotted dog in minutes!
By starting with simple rectangular blocks and gradually softening the corners into organic curves, you will master the secret of professional character designers. Draw along directly on screen using our Interactive Drawing Studio below, or follow along with pencil and paper!
- Difficulty Level: Easy (Level 1 · Beginner & Kids friendly)
- Total Drawing Steps: 6 Construction Steps + Color Guide + Bonus Breeds
- Estimated Time: 8–10 minutes
- Key Shape Tools: Rectangles (Scaffolding), U-Curves (Ears & Tail), Ovals (Spots)
🎨 Interactive Draw-Along Studio: Cute Puppy Dog
Prefer practicing directly on your tablet, iPad, or computer screen? Draw along using our in-browser Interactive Draw-Along Studio! Toggle traceable reference lines, select curated color swatches, and download your finished artwork:
 Step Guide 🔍
Loading Step...
Loading instructions...


Switch to Another Animal
Pick any animal below to start a new step-by-step draw-along!
Step Guide

🎉 High Five, Artist!
Your custom animal illustration is ready to download and share!

Step-by-Step Dog Drawing Guide: Detailed Breakdown
Step 1: The Main Body Rectangle
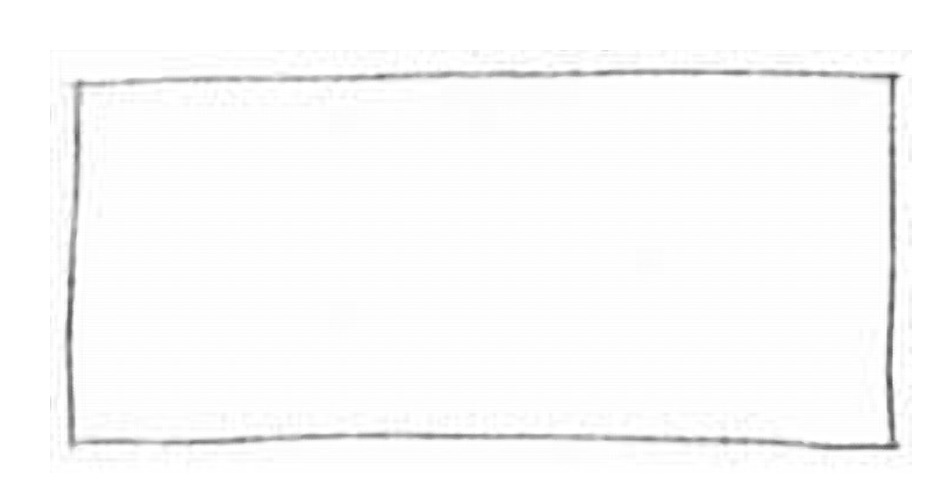
Start by drawing a clean, elongated horizontal rectangle. This serves as the structural bounding box for your puppy’s torso. Keep your lines light so you can easily erase or paint over them later.
💡 Artist Tip: Don’t worry about making the lines ruler-straight! Freehand geometry has an authentic, warm storybook feel that computer-perfect lines lack.
Step 2: Head Extension & Four Leg Pillars
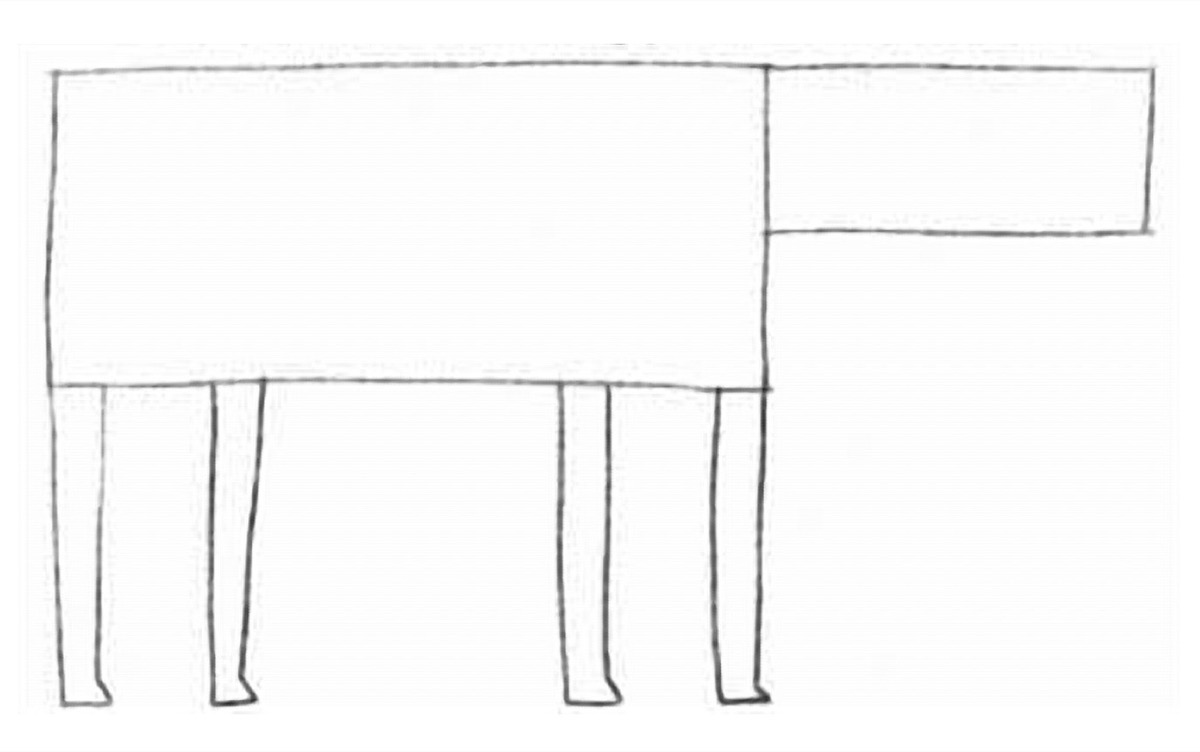
Extend a smaller horizontal rectangle out from the top-right corner to form the head and long snout. Beneath the body, draw four slender rectangular columns for the legs, slightly flaring out at the feet.
Step 3: The Floppy U-Shaped Ear
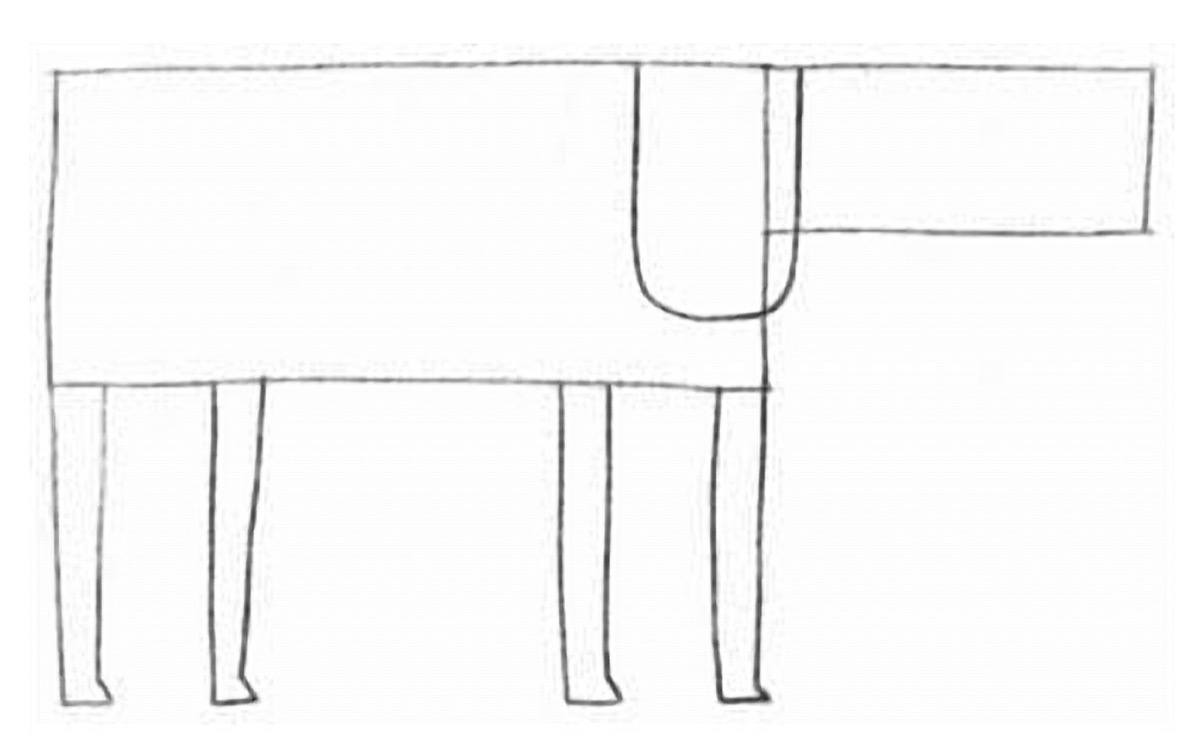
Right at the seam where the head meets the body, draw an elongated half-circle or tall U-shape drooping downward. This classic floppy ear adds instant canine personality!
Step 4: Soften & Round the Corners
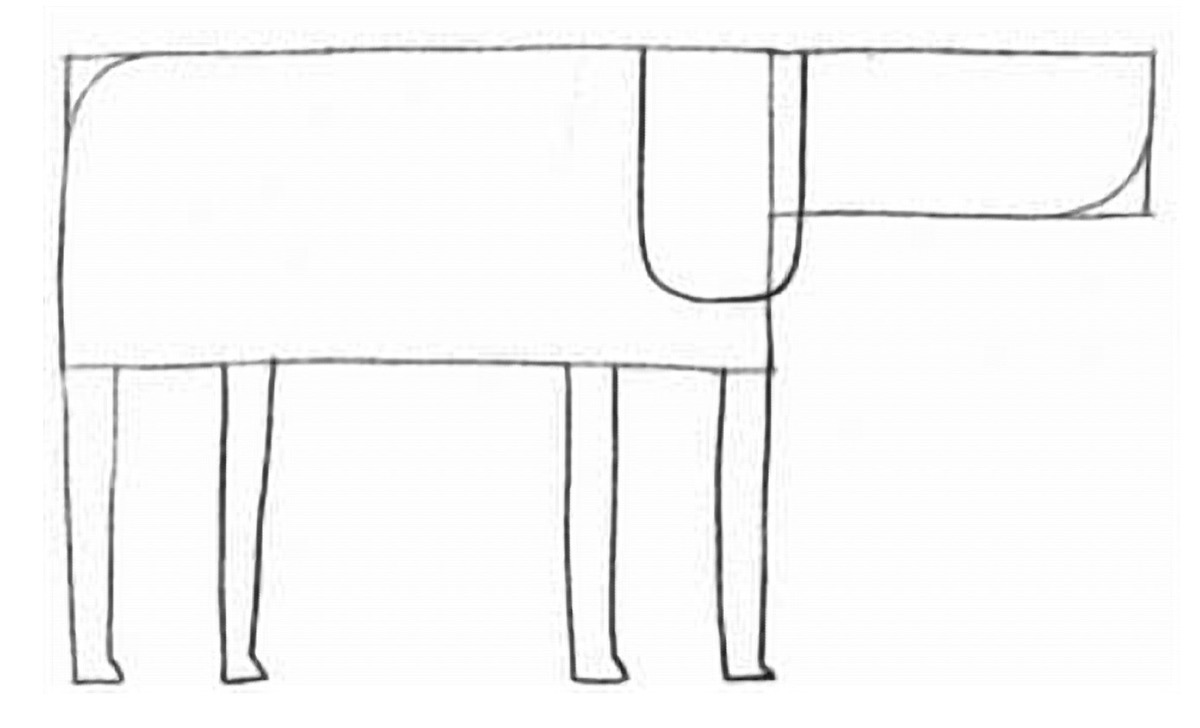
Now soften the boxy edges! Draw a gentle curved arch over the rump at the back, and round off the tip of the chin and nose so the silhouette feels soft, friendly, and organic.
Step 5: Wagging Tail & Cheerful Snout
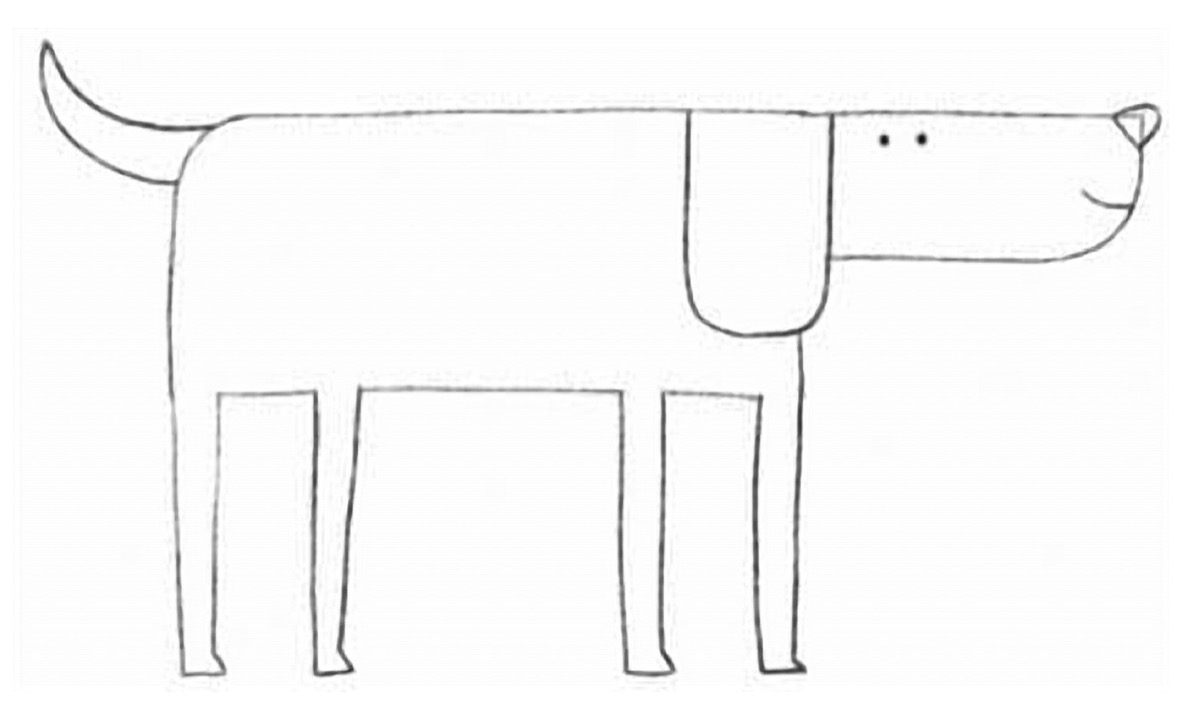
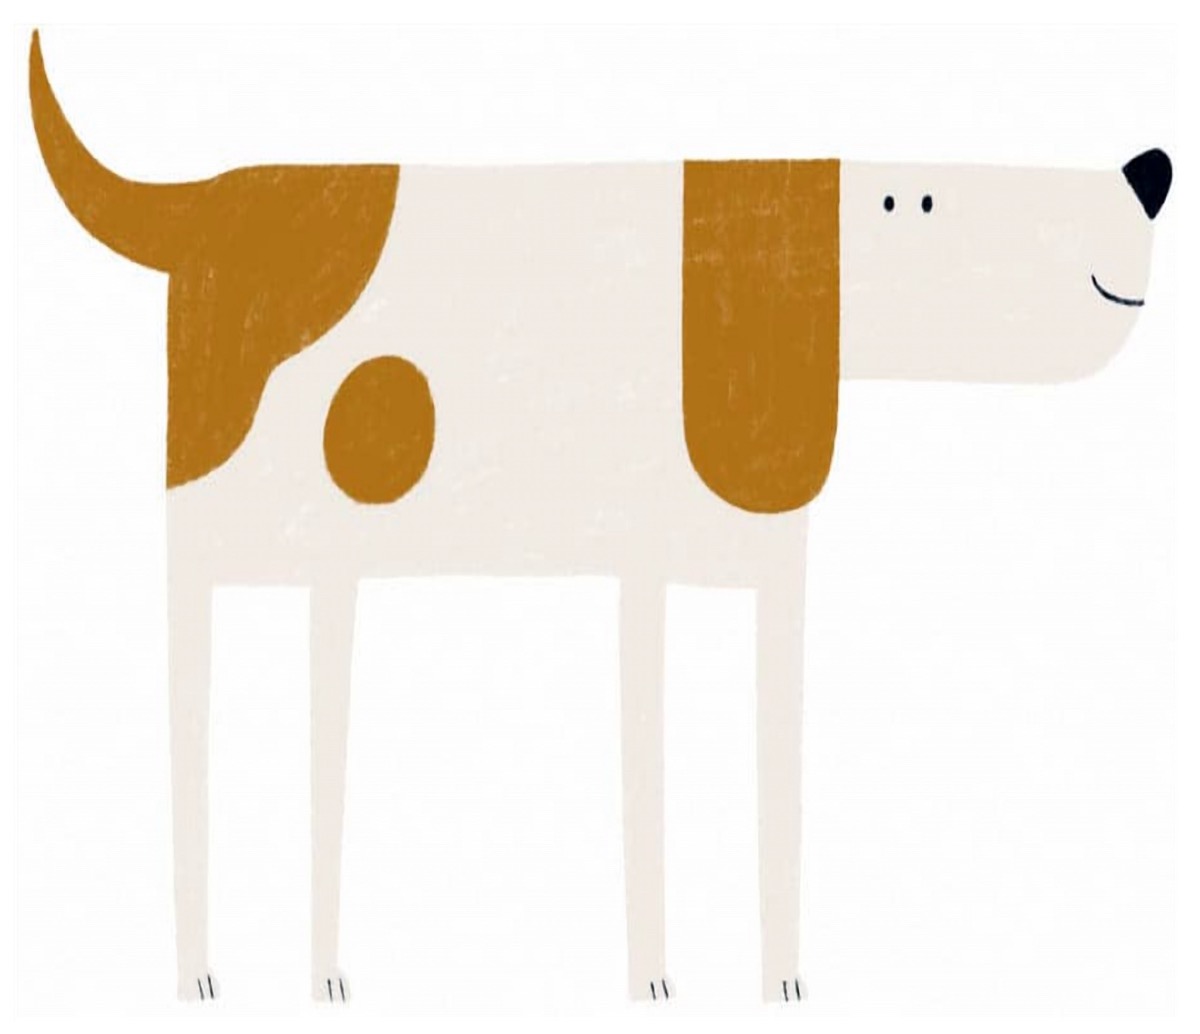
Add an excited curved tail sweeping up from the lower back. Then add two dot eyes, a cute triangular nose at the tip of the muzzle, and a sweet little smile line curling upward.
Step 6: Playful Spots & Complete Line Art
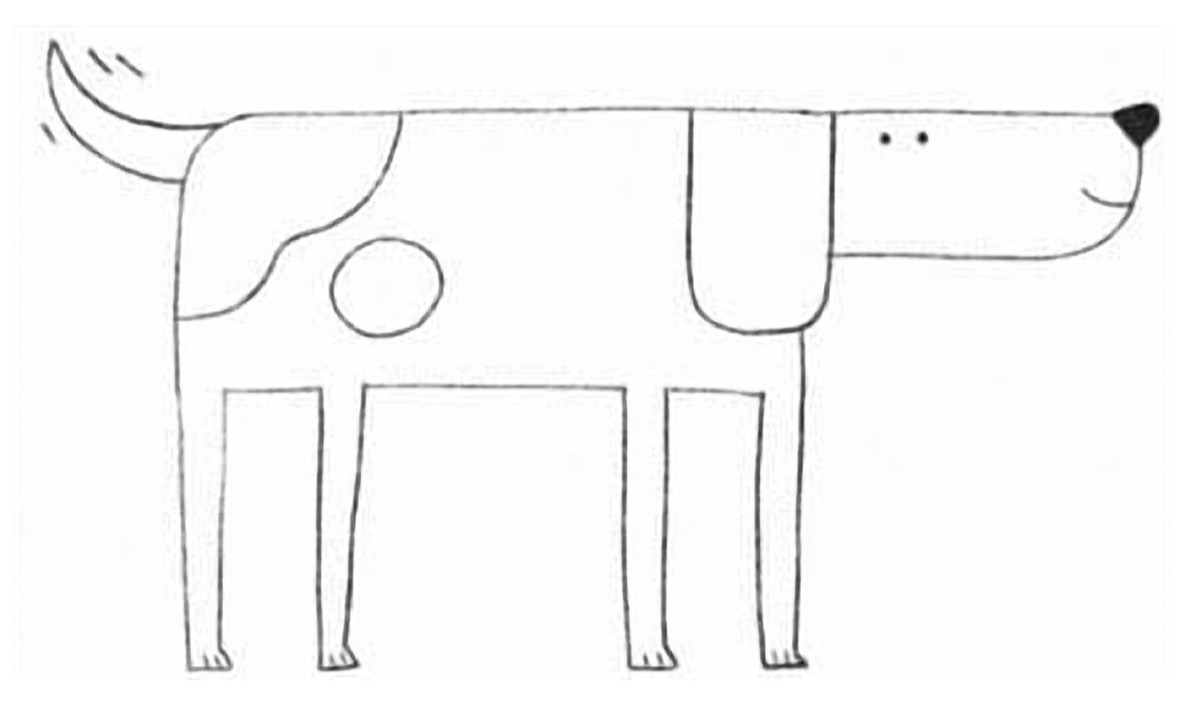
Sketch a large wavy patch over the hindquarters and a circular spot right in the center of the body. Fill in the glossy black nose and add tiny tick marks for paws. Your puppy outline is complete!
Step 7: Coloring Your Spotted Puppy
Bring your pup to life with warm, cozy shades:
- Base Coat: Warm cream, oatmeal white, or pale beige.
- Spots & Floppy Ear: Rich caramel ochre or chocolate brown.
- Nose & Eyes: Crisp deep charcoal black.
- Toe Accents: Delicate fine line claws.
Bonus: Fun Dog Breed Variations to Try
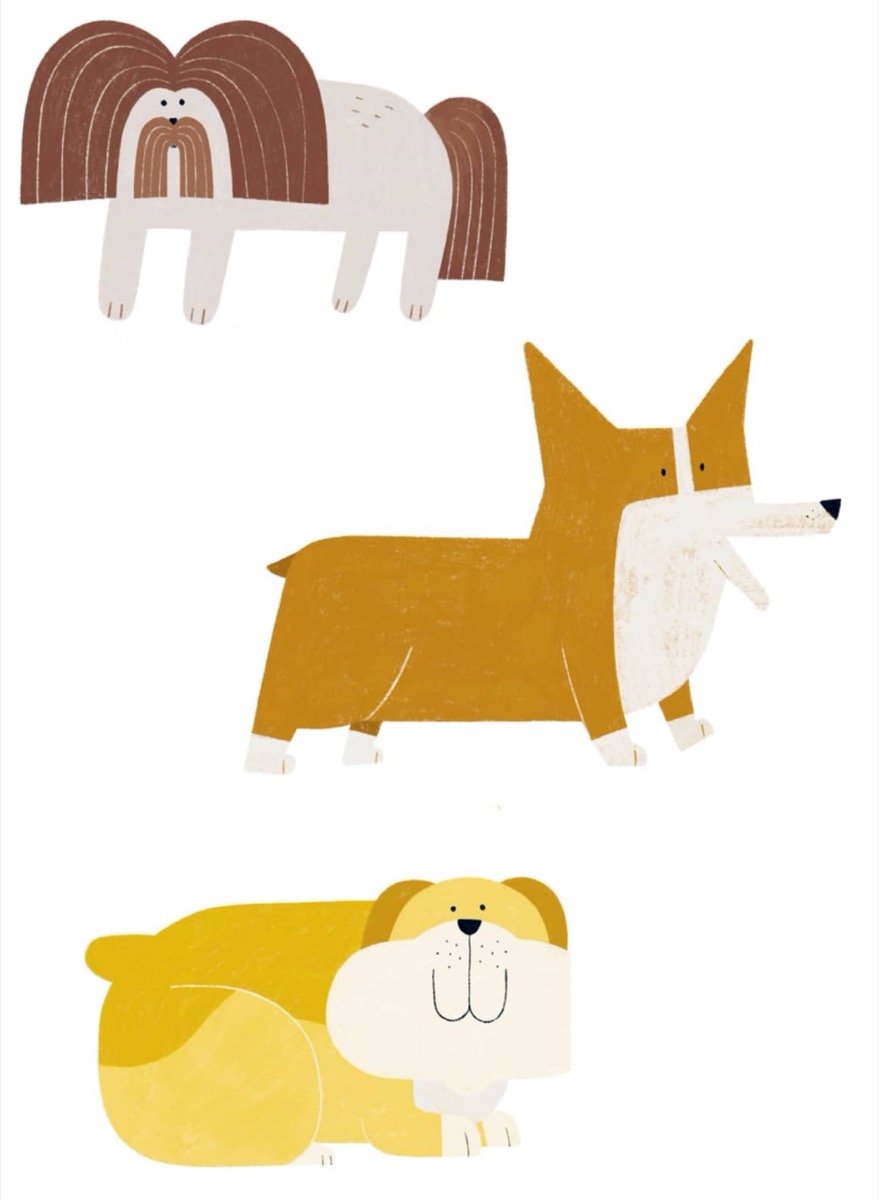
Once you master the basic rectangular anatomy, experiment by tweaking the proportions:
- Shih Tzu / Lhasa Apso: Add flowing waterfall hair across the ears and back!
- Pembroke Welsh Corgi: Shorten the legs into stubby pillars and give it tall pointy ears!
- Chubby Frenchie / Bulldog: Shorten the body rectangle into a compact cube with giant squishy jowls!
Keep Drawing! Explore Sibling Animal Tutorials
Keep sketching with these fun interactive tutorials from our library: