How to Draw a Clever Red Fox in 6 Simple Steps (Interactive Draw-Along)
With their fiery rust-red coats, snow-white bibs, and legendary fluffy brush tails, the Red Fox (Vulpes vulpes) is one of the most beloved woodland creatures in all of children’s illustration. Whether portrayed as a clever trickster in storybooks or a quiet guardian of the forest, drawing a fox is pure joy once you break its athletic anatomy down into simple geometric curves.
In this step-by-step tutorial, you will discover how simple triangular wedges and smooth body ovals combine to create an expressive, elegant fox. You can draw right along with us using our built-in Interactive Drawing Studio below, or follow along with pencil and sketchbook!
- Difficulty Level: Easy (Level 1 · Beginner & Kids friendly)
- Total Drawing Steps: 6 Construction Steps + 1 Coloring Guide
- Estimated Time: 8–10 minutes
- Key Shape Tools: Triangles (Muzzle & Ears), S-Curves (Spine & Tail), Ovals (Paws)
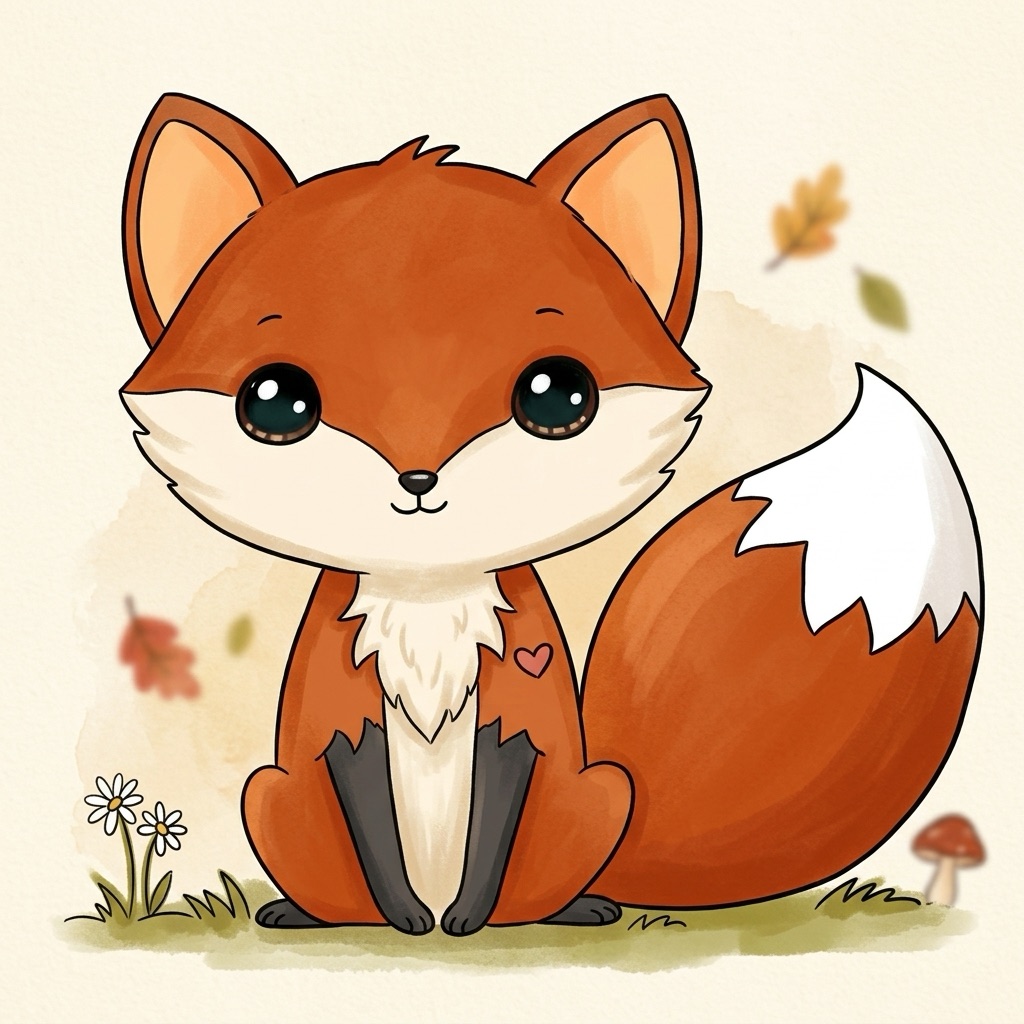
🎨 Interactive Draw-Along Studio: Clever Red Fox
Prefer practicing directly on your tablet, iPad, or computer screen? Draw along using our in-browser Interactive Draw-Along Studio! Toggle traceable reference lines, select curated color swatches, and download your finished artwork:
 Step Guide 🔍
Loading Step...
Loading instructions...


Switch to Another Animal
Pick any animal below to start a new step-by-step draw-along!
Step Guide

🎉 High Five, Artist!
Your custom animal illustration is ready to download and share!

Step-by-Step Fox Drawing Guide: Detailed Breakdown
Step 1: Pointed Muzzle & Alert Ears
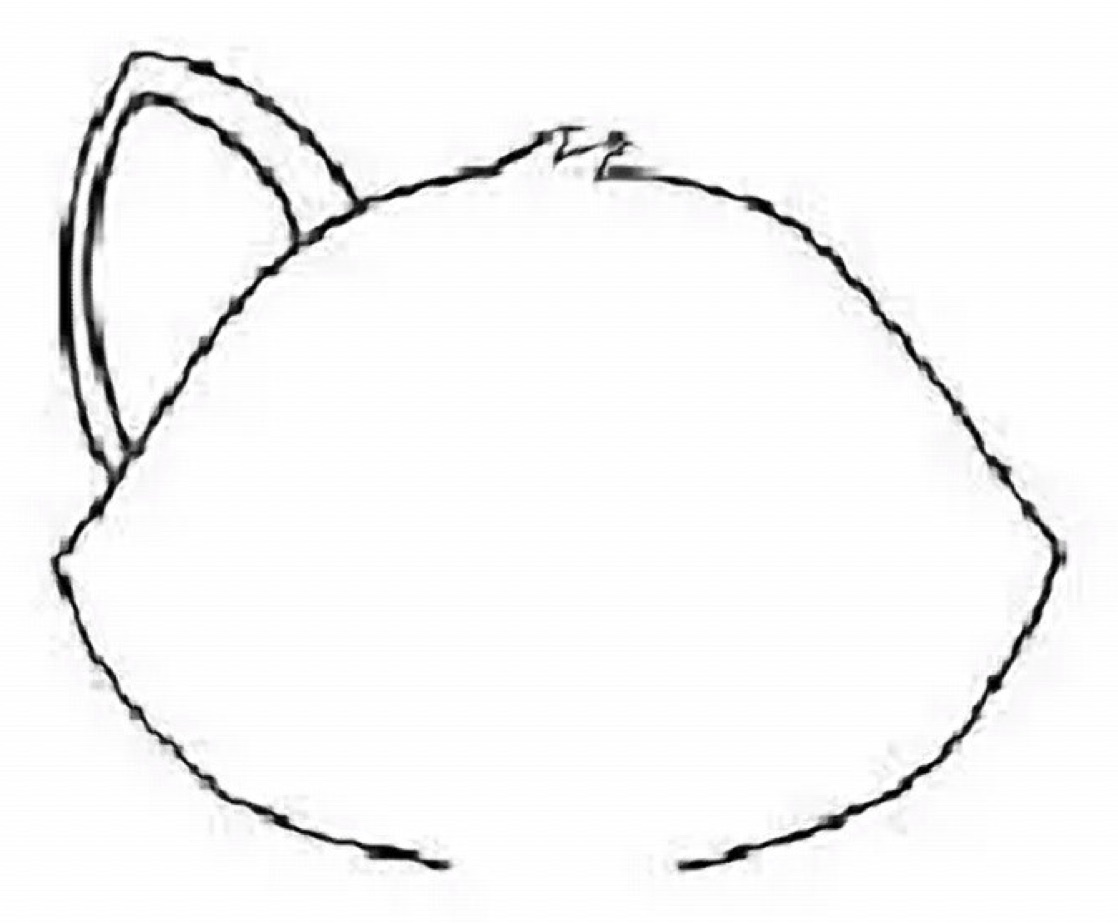
Begin with the fox’s characteristic wedge-shaped skull. Draw a soft inverted triangle with rounded cheeks that taper smoothly down to a pointed nose. On the upper corners of the head, draw two large, upright triangular ears tilted alertly forward.
💡 Artist Tip: Foxes rely heavily on their sharp hearing to track mice under snow or leaves. Making the ears prominent instantly captures that curious wild fox character!
Step 2: Arched Neck & Slender Body
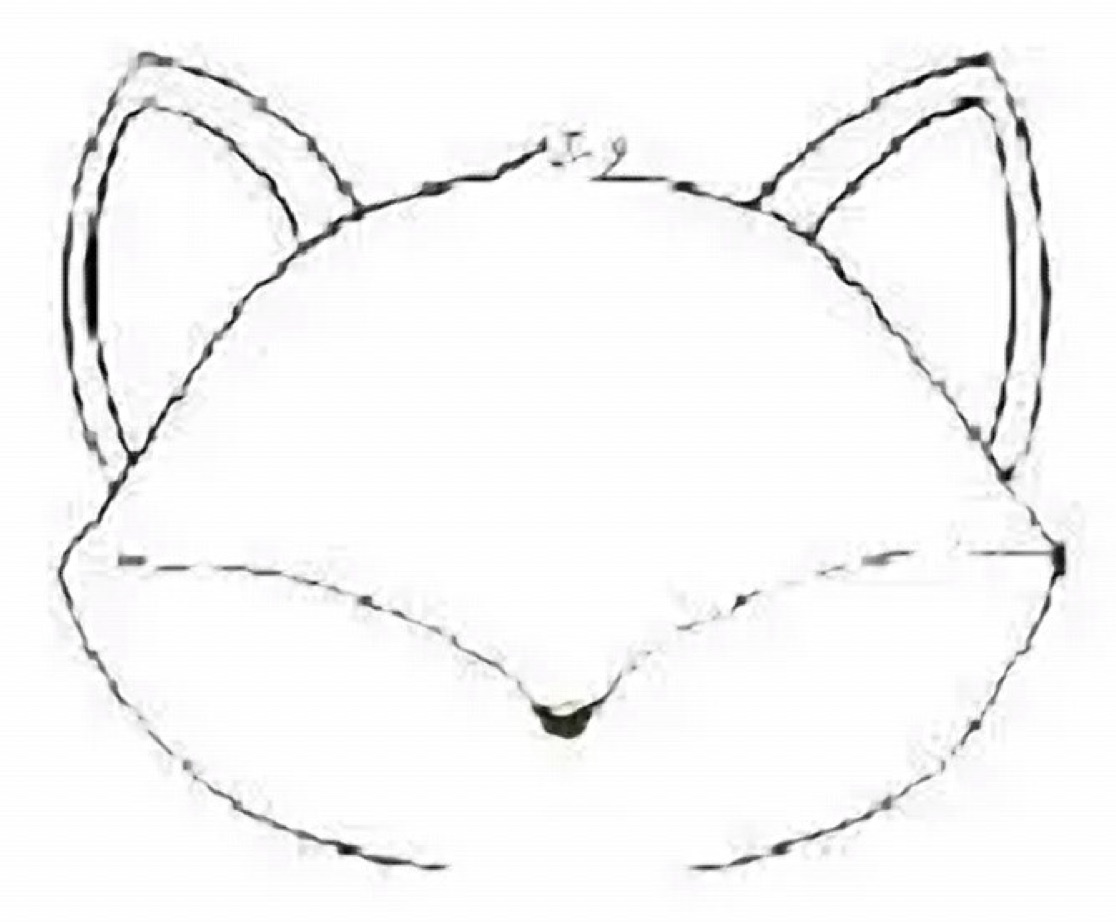
Extend a graceful arched line from the back of the neck down along the spine. Below the chin, draw a proud curving chest line that flows smoothly into a slender torso oval.
💡 Artist Tip: Keep the waist narrow before flaring slightly at the hip. Foxes have a feline agility in their canine bodies!
Step 3: Front Legs & Dainty Paws
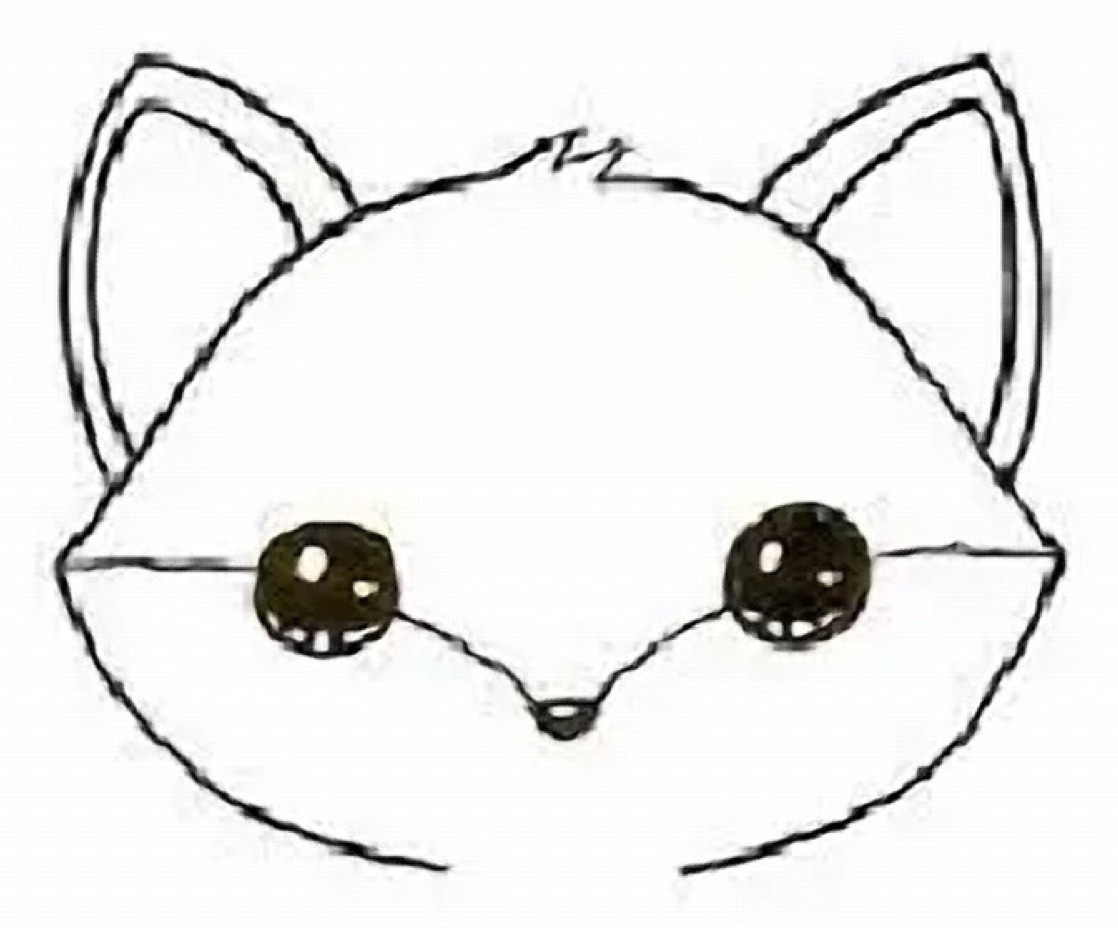
Draw two slender, straight front legs reaching down from the chest. Round off the bottoms into neat little oval paws. The far leg should start slightly higher on the body to indicate natural depth.
Step 4: Curved Hind Haunch & Rear Paws
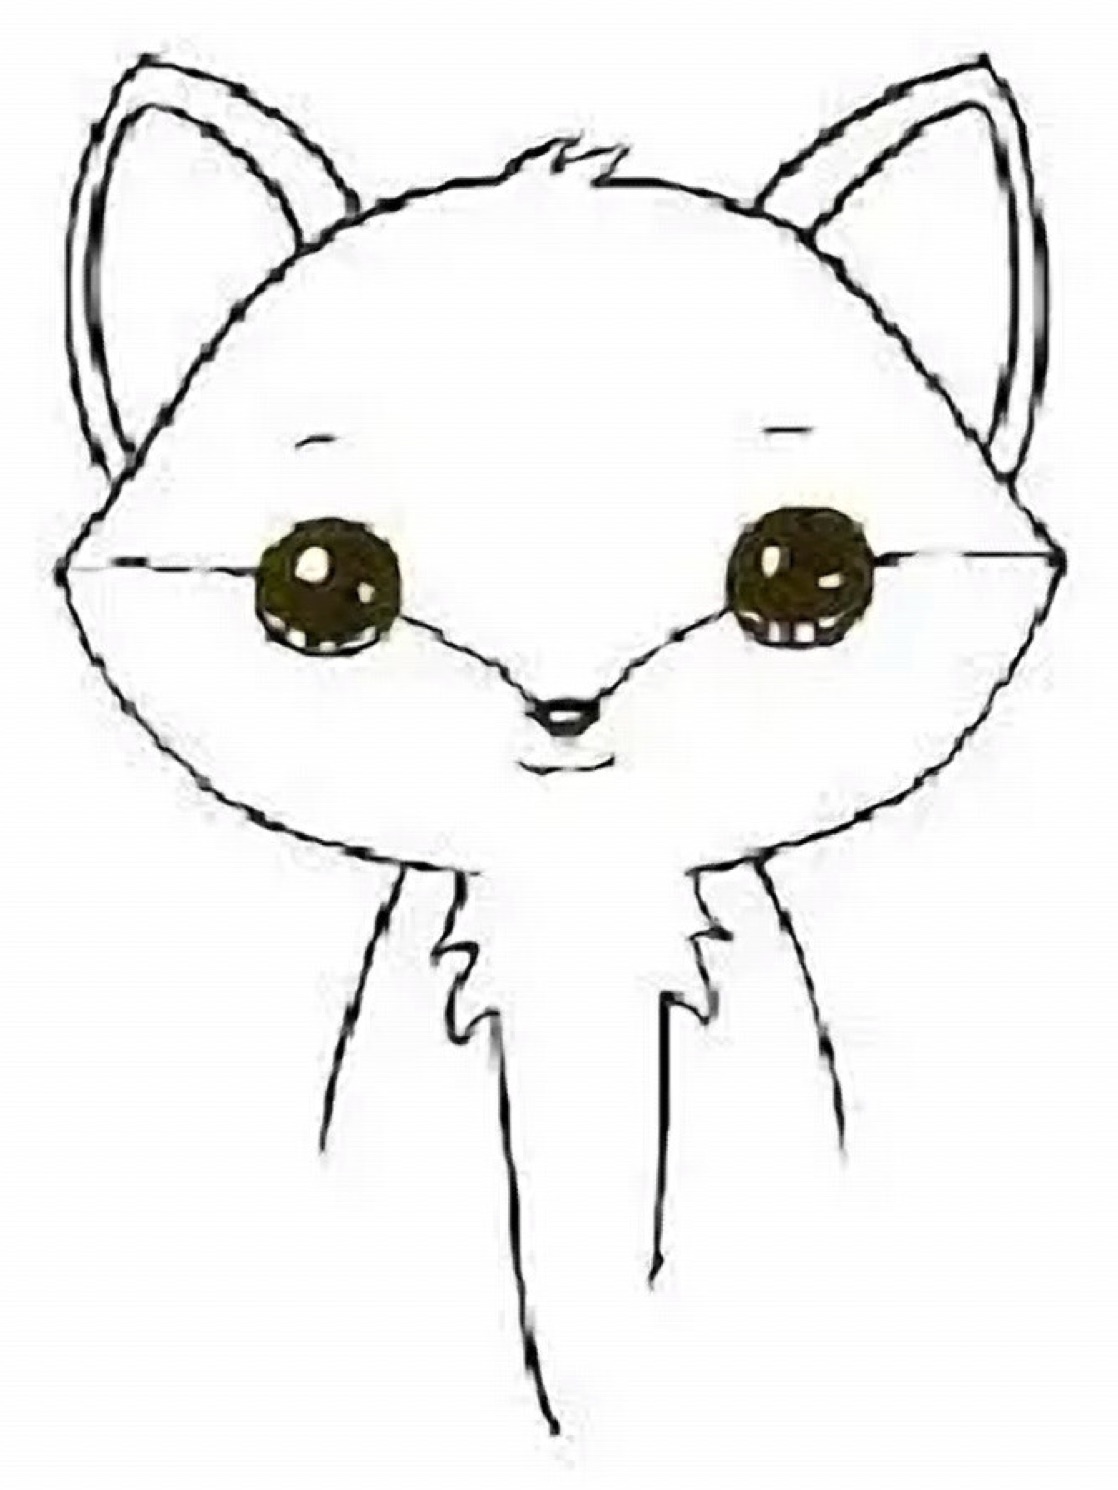
Curve the muscular rear thigh down from the hip into an angled hock joint, then step forward into a neat back paw. Add the second rear paw just peeking out behind.
Step 5: The Giant Fluffy Brush Tail
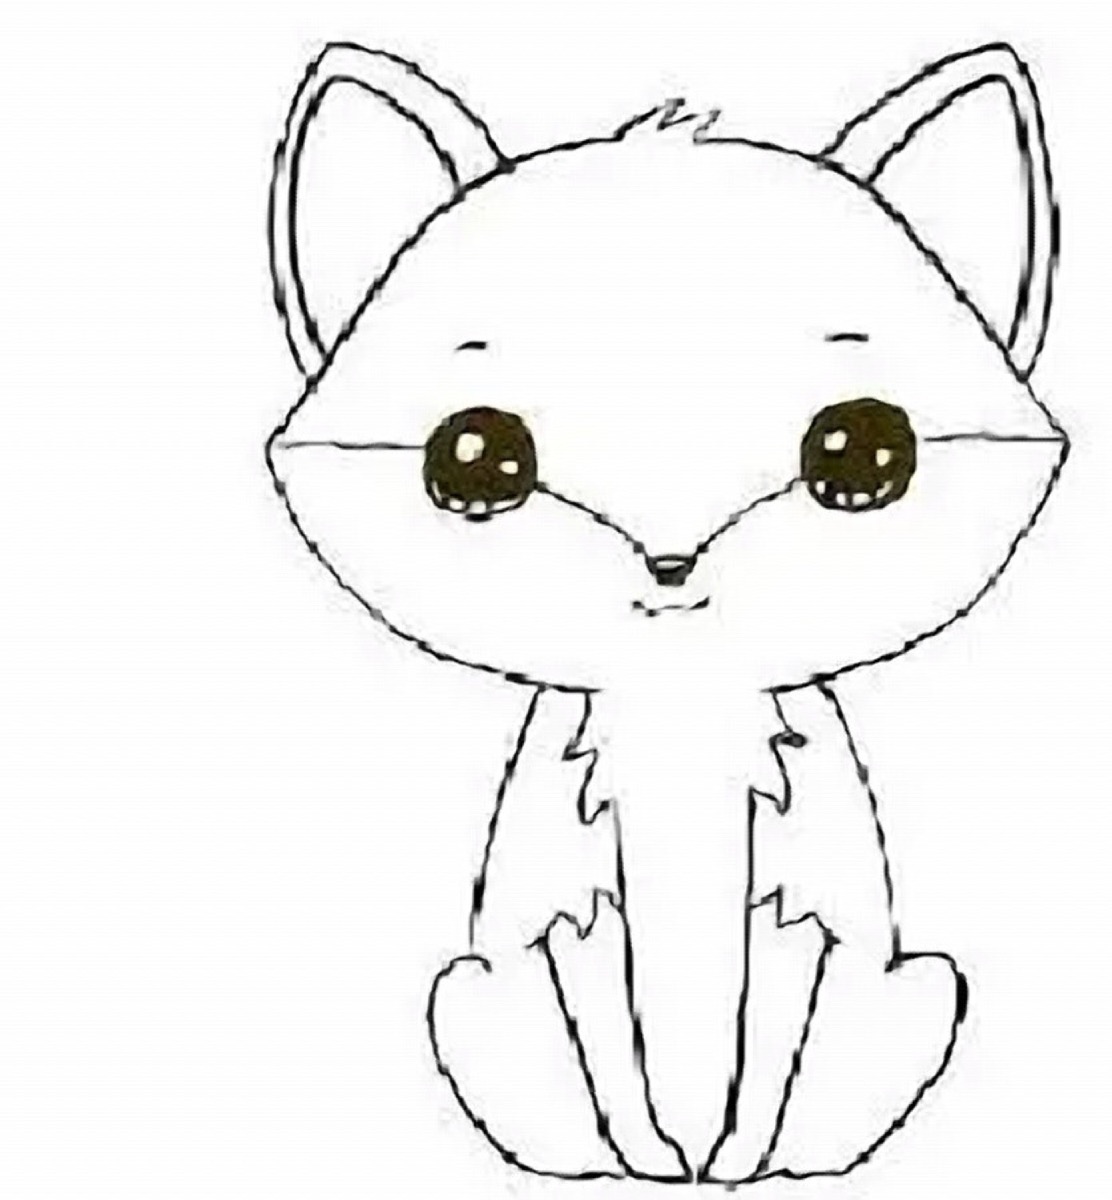
From the lower back, draw a huge, sweeping plume curving upwards and resting comfortably across the ground. Draw a zigzag jagged line near the tip — this is the classic white fox tail tip that stands out against autumn leaves!
Step 6: Eyes, Whiskers & Ink Finish
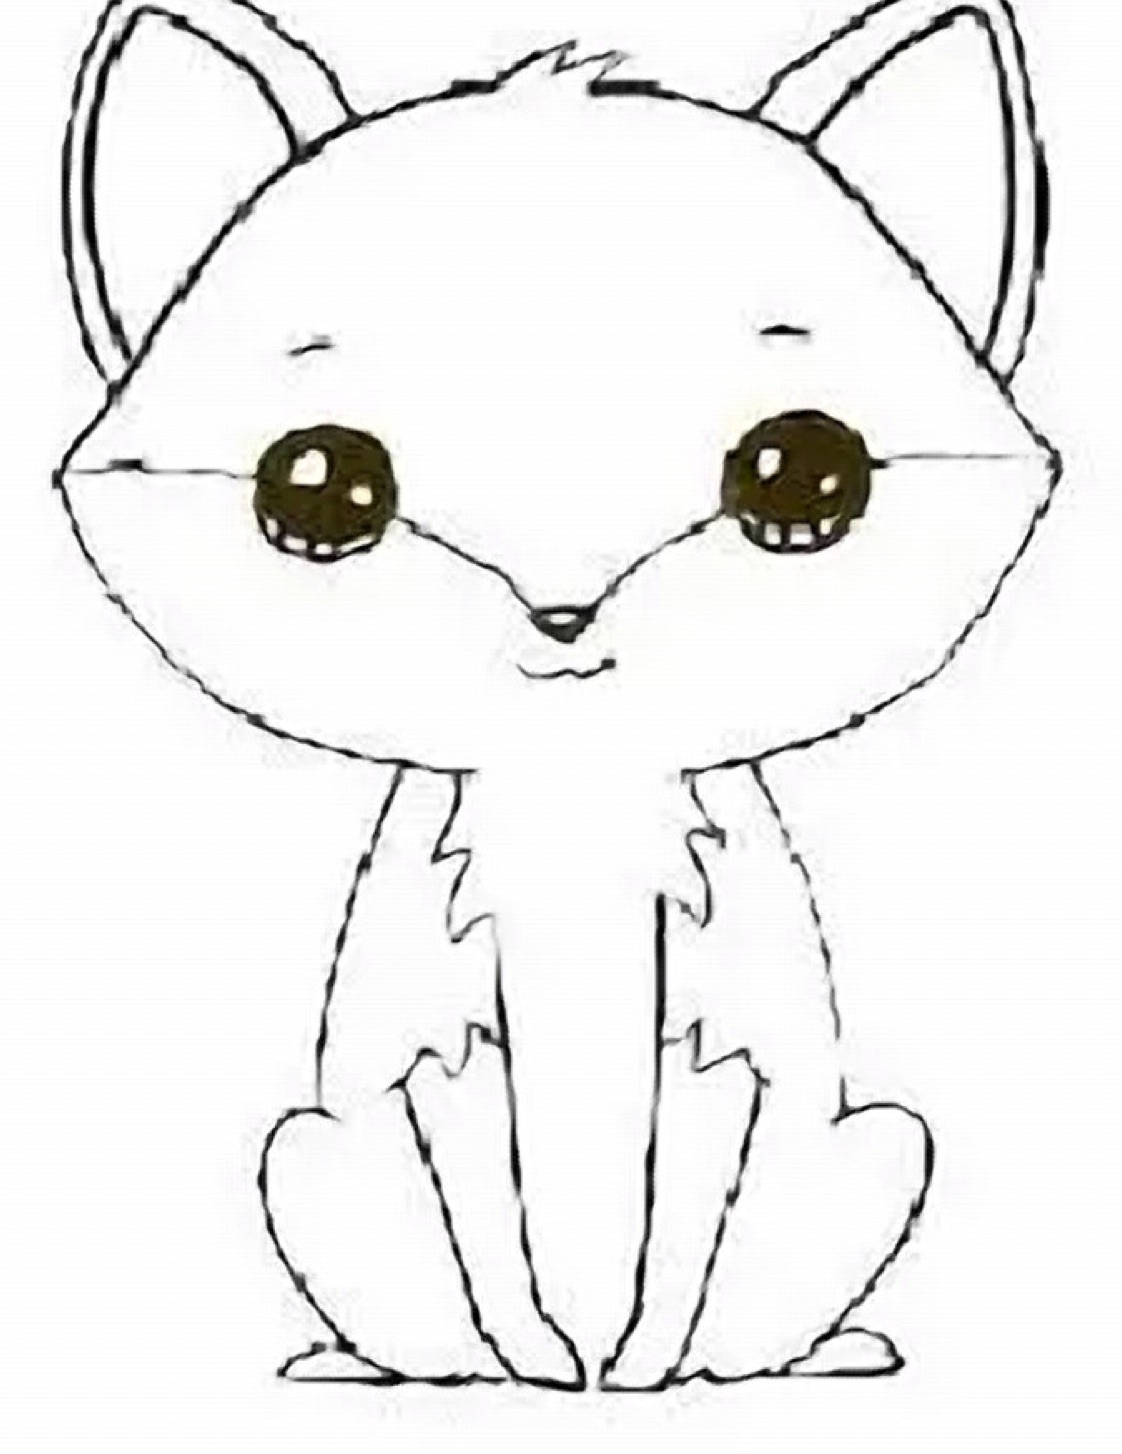
Dot in bright, knowing eyes, a small round nose button at the tip of the muzzle, and fluff lines along the cheek ruff and chest bib. Clean up any pencil construction lines!
Step 7: Coloring Your Autumn Woodland Fox
Bring your red fox to life with rich warm shades:
- Coat: Warm burnt orange or terracotta amber.
- Chest & Tail Tip: Pure cream or crisp white.
- Paws & Ear Backs: Charcoal black or deep espresso brown (known as “black stockings”).
- Eyes & Nose: Glossy black with a tiny white spark catchlight.
Keep Drawing! Explore Sibling Animal Tutorials
Once your fox is complete, try these other interactive drawing tutorials from our library: