How to Draw a Cute Kawaii Cat with a Bandana & Yarn (Step-by-Step)
Cats are the undisputed kings and queens of cozy cuteness! Whether they are snoozing in a sunny window, curling up like a warm loaf of bread, or batting at a ball of yarn, their soft round silhouettes make them one of the most delightful subjects to draw. The secret to drawing an irresistible kawaii kitty isn’t complicated anatomy—it’s starting with simple geometric building blocks (an oval and a rectangle) and sprinkling in charming accessories like an adventure bandana and a colorful yarn ball.
🎨 Masterclass Series: Cute & Kawaii Animal Doodles
⏱️ Time Needed: 15–20 minutes
📐 Difficulty Level: Beginner-Friendly (All Ages)
✏️ Recommended Tools: HB/2B Pencil, Soft Eraser, Black Fine-Liner (0.3mm or 0.5mm), Colored Pencils or Markers (Golden Yellow, Mint Green, Scarlet Red, Soft Pink).
🎨 Interactive Draw-Along Studio: Cute Kawaii Cat
Prefer practicing directly on your tablet, iPad, or computer screen? Draw along using our in-browser Interactive Draw-Along Studio! Toggle traceable reference lines, select curated color swatches, and download your finished artwork:
 Step Guide 🔍
Loading Step...
Loading instructions...


Switch to Another Animal
Pick any animal below to start a new step-by-step draw-along!
Step Guide

🎉 High Five, Artist!
Your custom animal illustration is ready to download and share!

The Finished Masterpiece Reference
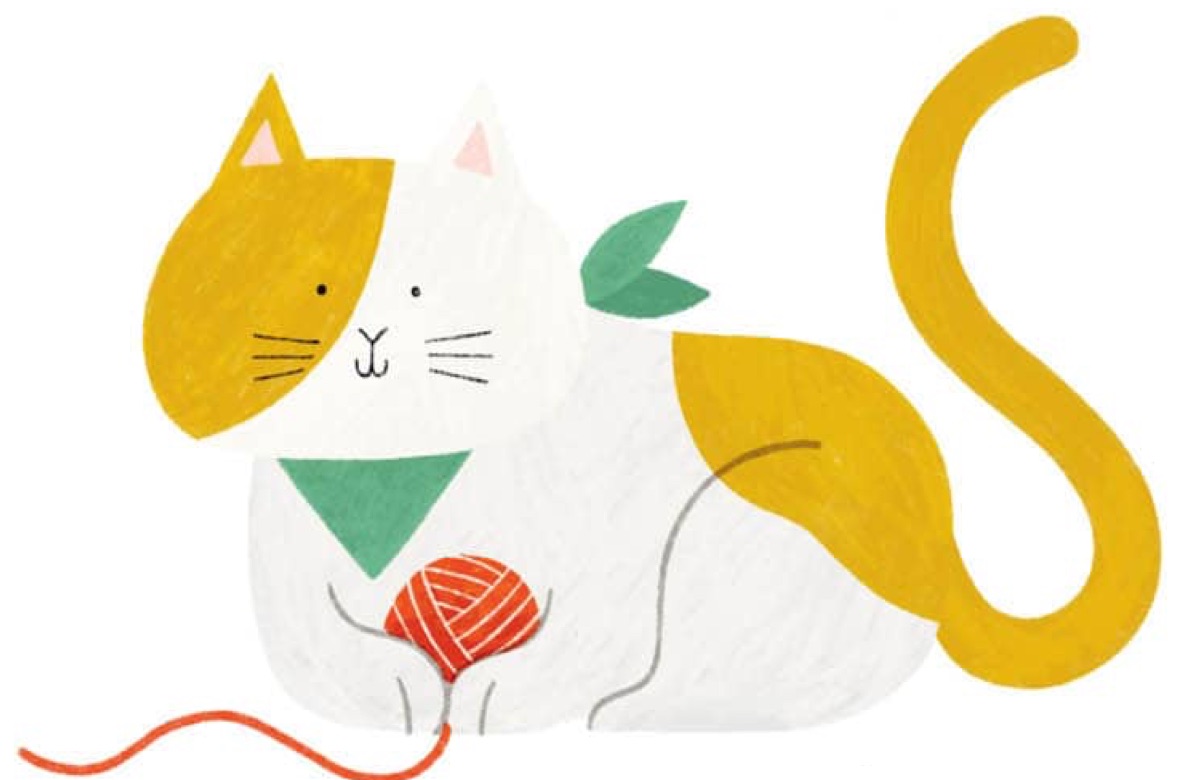
Here is your complete full-color reference model. Take a moment to notice the playful balance of shapes: the chubby head oval, the loaf-like body, the upright S-curve tail, the emerald green bandana, and the cozy ball of scarlet yarn:
Step 1: Draw a Small Oval for the Head
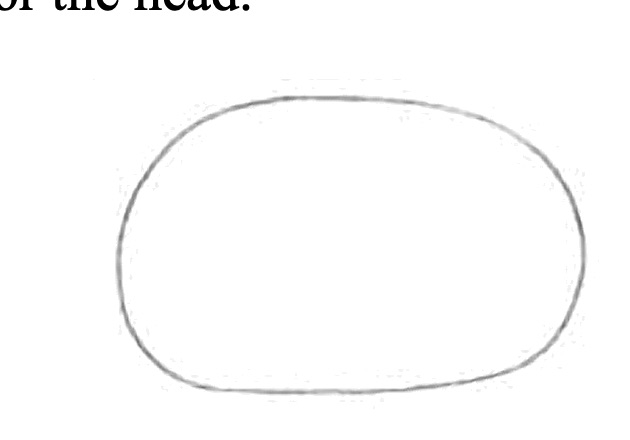
Every cute animal drawing begins with an appealing primary volume. To give our cat chubby, squishy cheeks, sketch a horizontal oval:
- Horizontal Stretch: Make the oval wider than it is tall. This immediately conveys the sweet, round look of a domestic cat.
- Light Construction Pressure: Use very light pencil strokes (grade HB or 2B with minimal hand pressure). This oval is a construction framework that we will refine in upcoming steps.
💡 Kawaii Rule of Proportions: Real cats have triangular muzzles, but kawaii illustrators use rounded, wide ovals. The wider the cheeks, the younger and friendlier the character appears!
Step 2: Below That, Draw a Rectangle for the Body
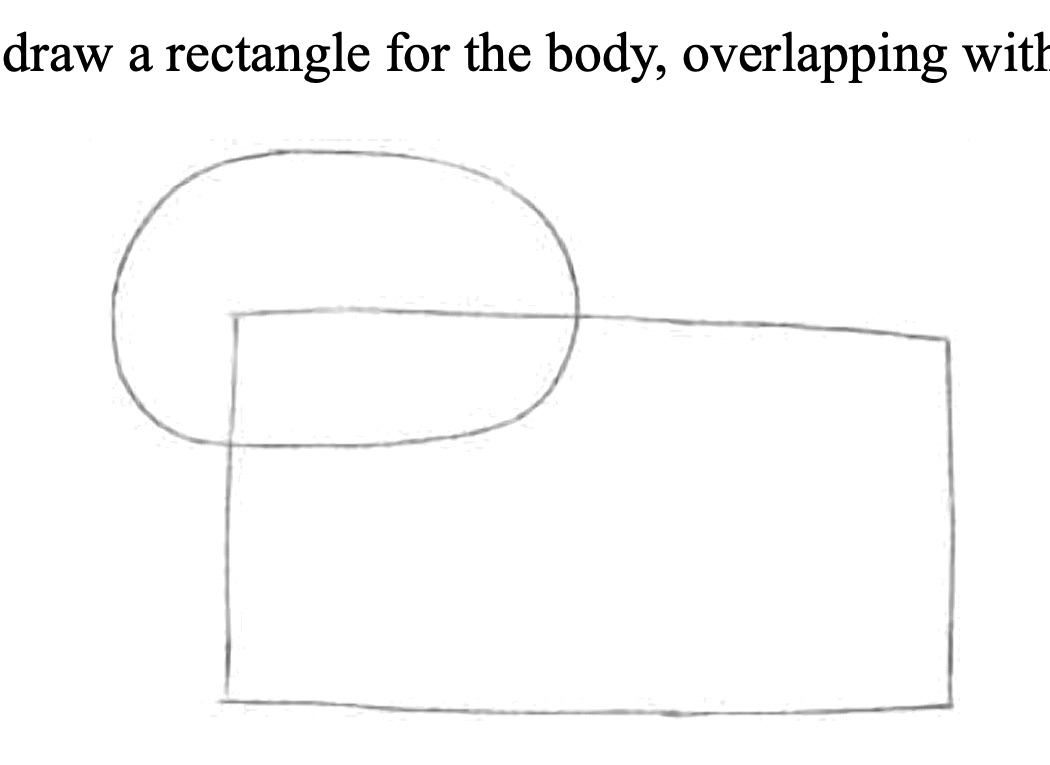
Now give your kitty its classic “loaf” body by establishing a horizontal rectangle directly underneath the head:
- The Overlap Trick: Place the top-left corner of the rectangle slightly inside the lower-left section of the head oval. Overlapping forms create instant depth and make the head feel comfortably nestled into the body.
- Body Dimensions: Extend the rectangle horizontally to the right about twice the width of the head. This gives your cat a plump, relaxed posture.
Step 3: Add Triangular Ears & Round the Body Corners
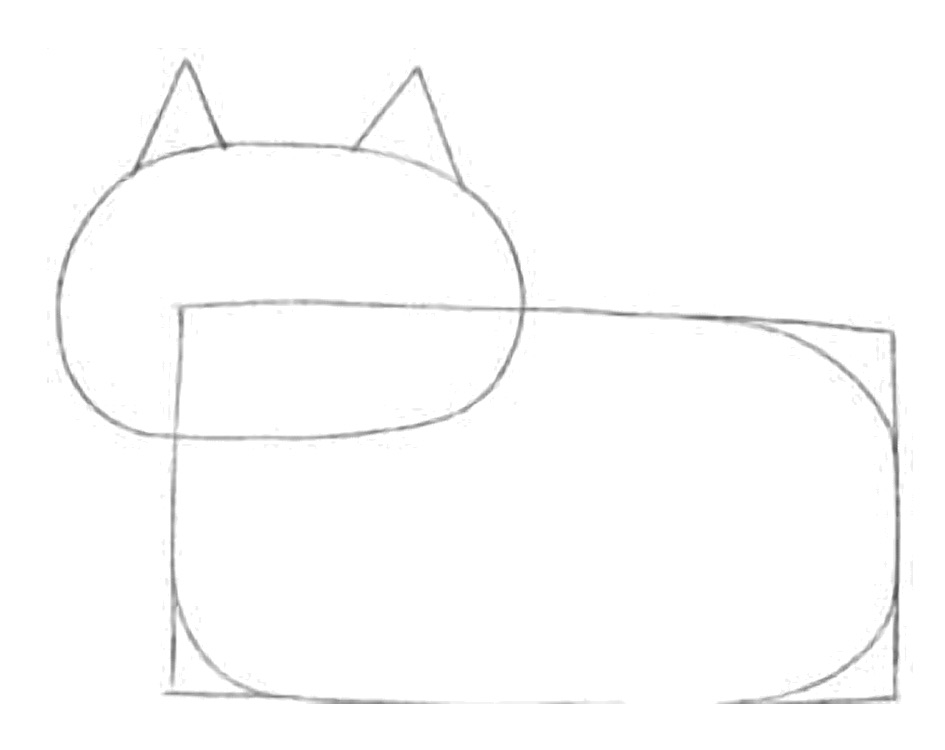
Transform these rigid geometric blocks into an unmistakable cat silhouette:
- Ears on Top: Draw two perky triangular ears on top of the head oval. Angle them slightly outward for an alert, listening expression.
- Soften the Box: Trace over the rigid 90-degree rectangle corners, curving the top-right rump, the bottom-right leg curve, and the bottom-left chest smoothly. Soft curves make animals look cuddly and organic!
Step 4: Remove Overlapping Pencil Lines
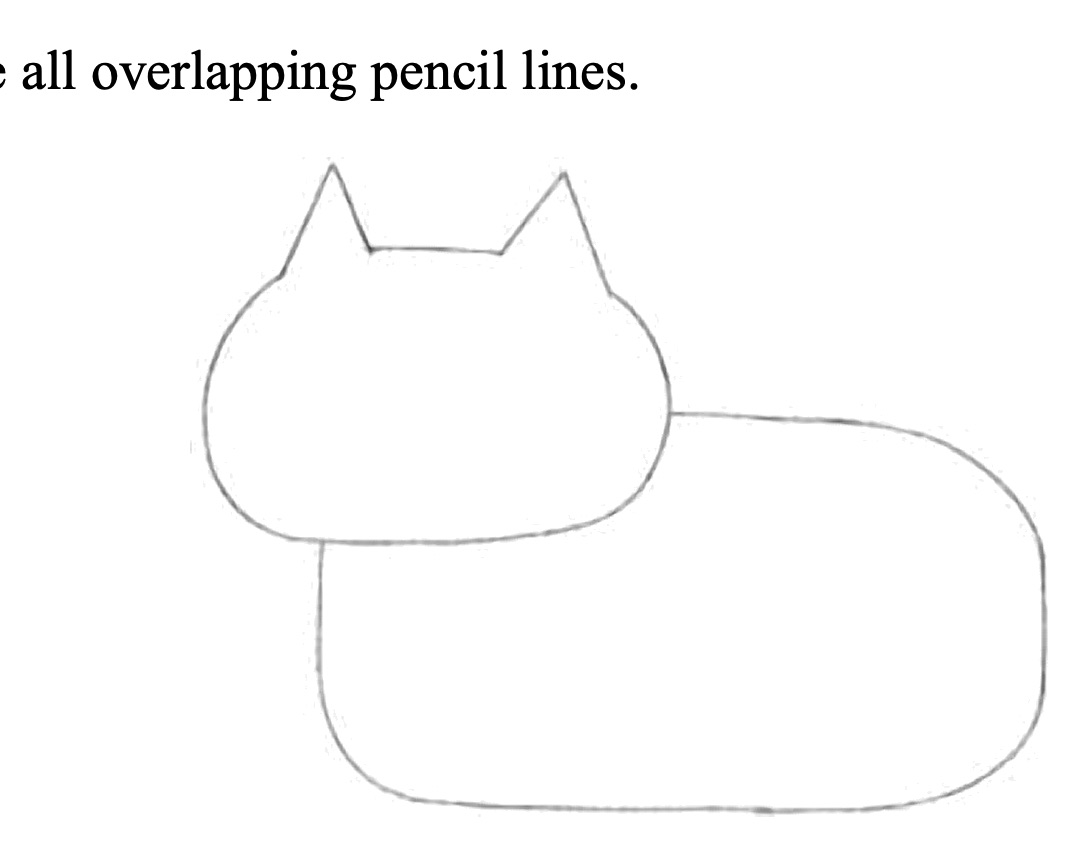
Time for some magic cleanup! Take your eraser and clear away the scaffolding:
- Erase Internal Guidelines: Remove the line of the head oval where it cuts through the neck and chest. Also remove the sharp rectangular corner lines that you smoothed over in Step 3.
- Unified Silhouette: You now have a clean, unbroken contour of a resting cat. Notice how the head and body flow naturally together as a single cuddly form!
Step 5: Draw an S-Shape Tail & Face Patch
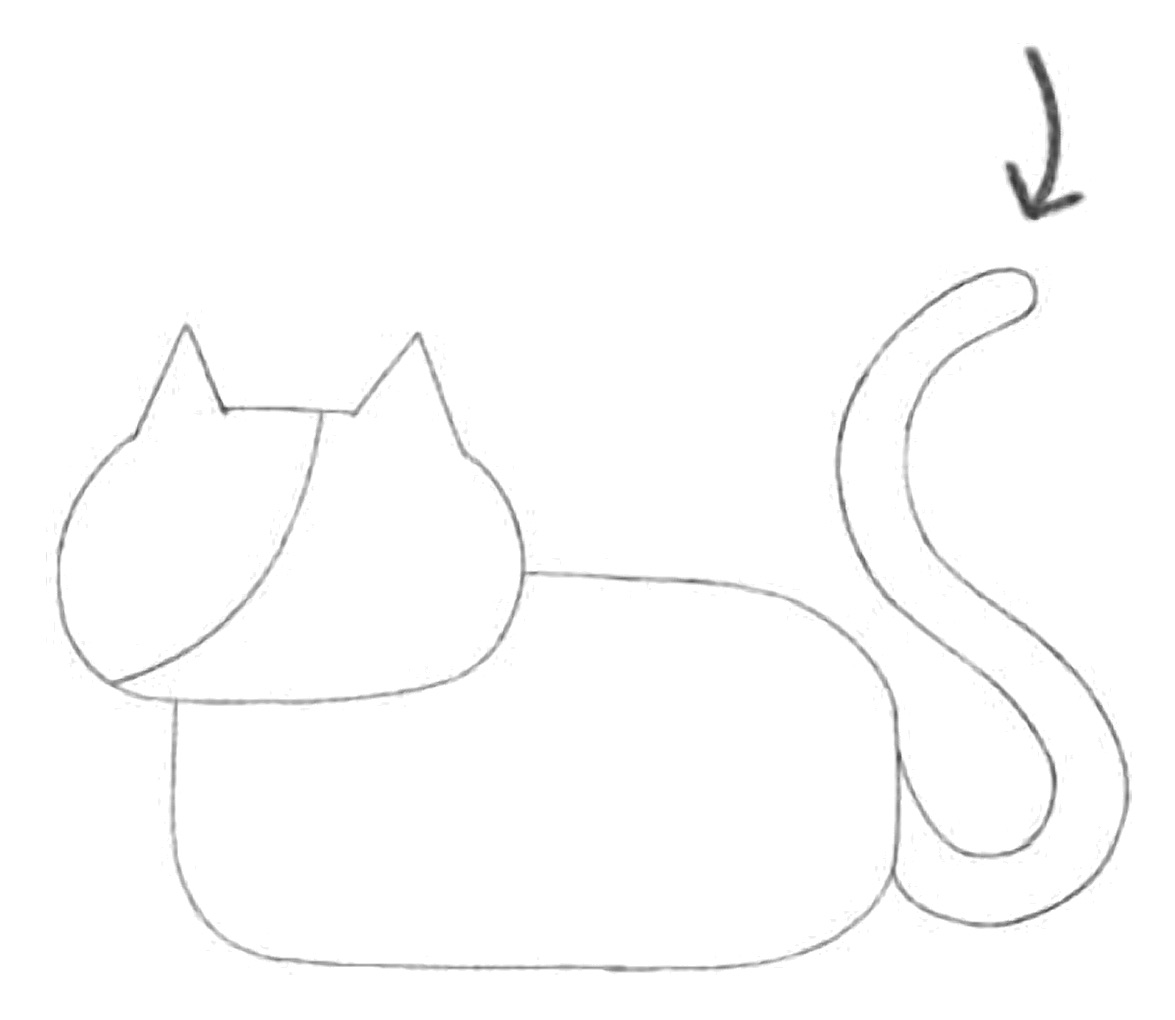
A cat’s tail is packed with emotion and body language. Here we give our kitty a happy, upright tail and a calico face marking:
- The Upright S-Curve: Starting from the base of the back rump, draw an upright letter ‘S’ that arches gently backward and then hooks forward at the tip (follow the arrow in the guide!). Then trace back along your stroke to give the tail consistent thickness and a soft rounded cap.
- The Calico Face Patch: Draw a smooth diagonal curved line from the base of the left ear down across the cheek. This creates the classic asymmetric calico eye patch!
Step 6: Add Eyes, Nose, Mouth & Ear Details
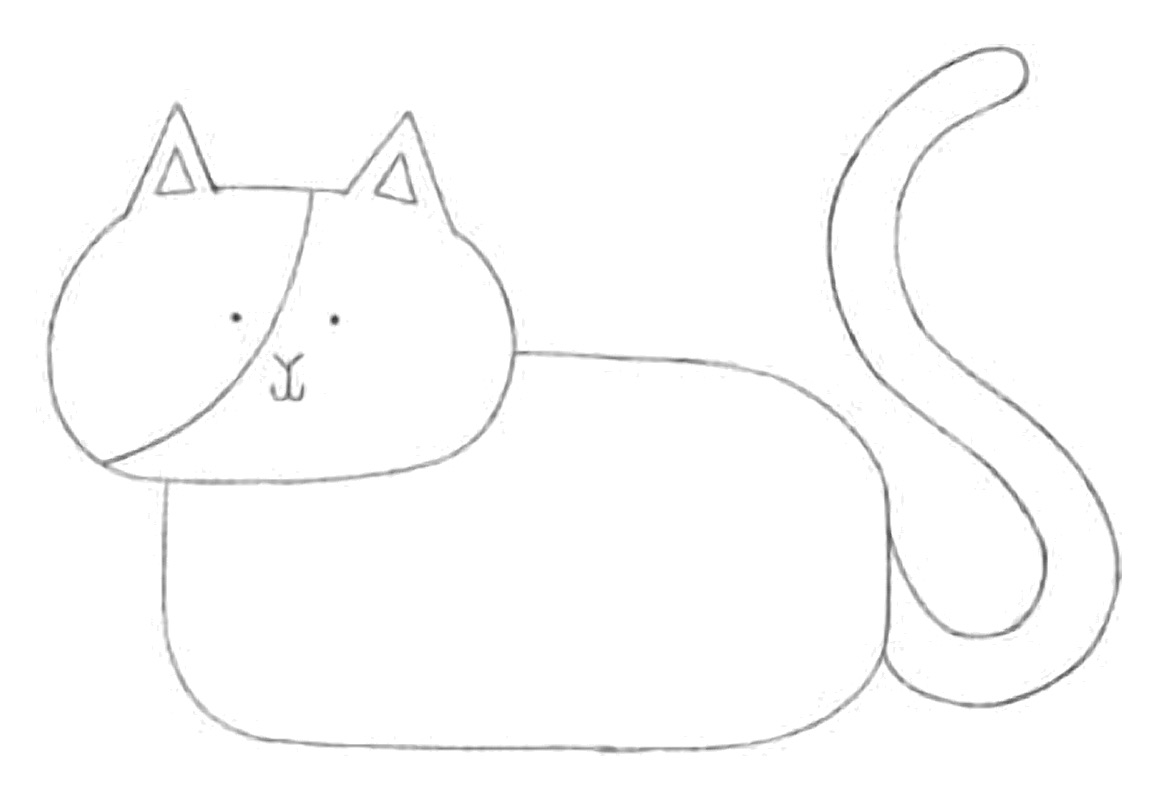
Now breathe life and personality into your cat with delicate facial features:
- Sweet Button Eyes: Draw two small, dark circular dots placed widely apart horizontally. Notice how the left eye sits right along the edge of the calico patch!
- The Petite Muzzle: Place a tiny upside-down triangular nose centered beneath the eyes, and attach a dainty curved anchor/cat-smile mouth (‘w’ shape).
- Inner Ears: Draw a smaller matching triangle inside each ear contour to represent the pink inner ear flaps.
Step 7: Draw the Bandana & Legs
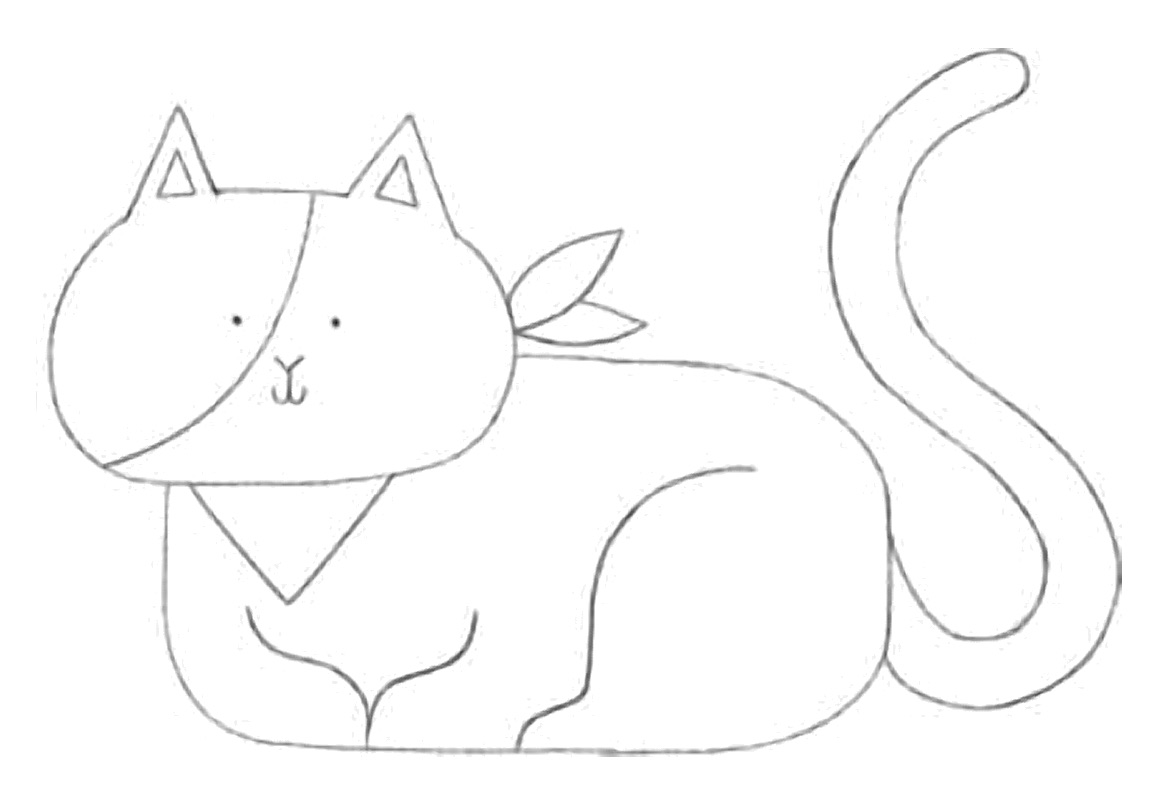
Give your cat a dash of adventurous character with a neckerchief and define its resting legs:
- Adventure Bandana: Sketch a downward-pointing triangle directly underneath the chin. Behind the neck, add two leaf-shaped ribbon tails to look like a tied knot fluttering in the breeze.
- Tucked Front & Hind Legs: Draw a subtle vertical split in the front chest to divide the two tucked front paws. On the side of the body, draw a smooth curving hook line indicating the folded hind thigh.
Step 8: Add Body Spots, Whiskers, Paws & Yarn Toy
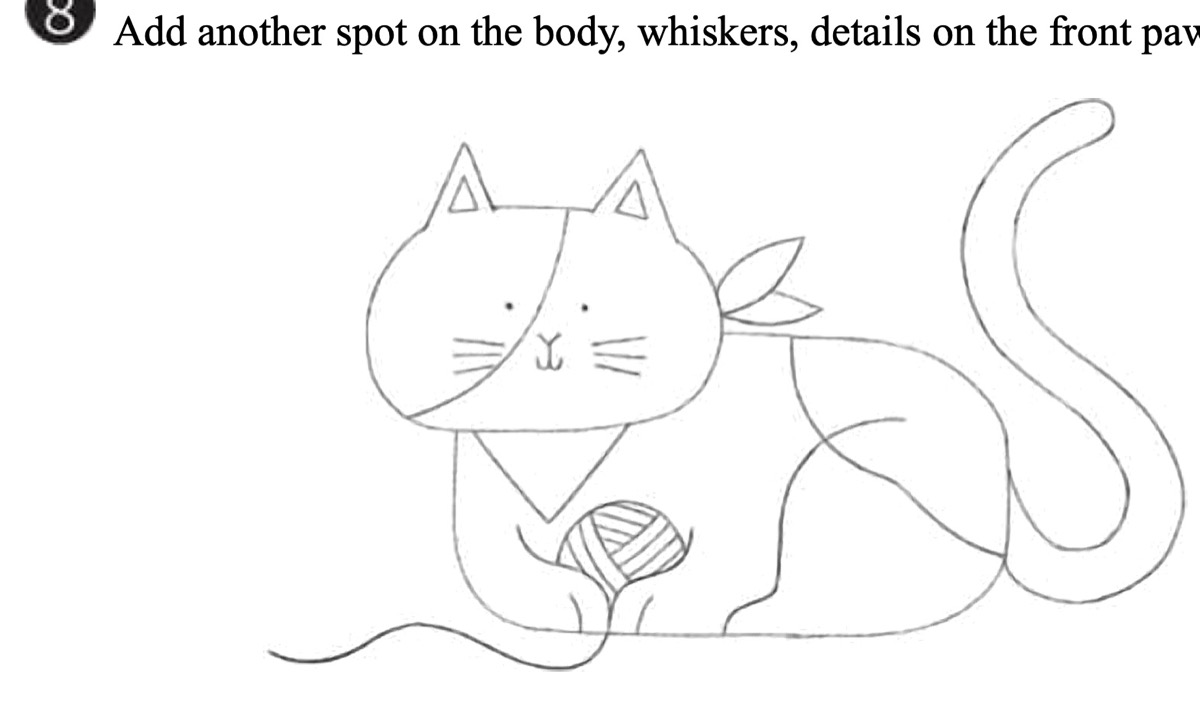
The final line-art touches bring the whole composition to life with warmth and storytelling:
- Playful Whiskers: Add three fine horizontal whisker lines radiating from each cheek.
- Cozy Yarn Ball Toy: Draw a neat circle nestled snugly between the two front paws. Fill the ball with diagonal hatching stripes to indicate wrapped yarn, and trail a wavy yarn string wandering off across the floor to the left!
- Hip Marking & Paws: Draw an arching patch curve over the back hip that echoes the face patch, and add subtle vertical tick marks for individual toe pads.
Color Palette & Colored Pencil Shading
Once your line art is complete, bring your cat to life with vibrant, cozy colors! The original illustration uses a colored-pencil texture with rich, warm tones:
| Element | Color Recommendation | Artistic Technique |
|---|---|---|
| Main Fur | Creamy Warm White | Leave paper white or use an ivory pencil with soft circular strokes for fluffy belly fur. |
| Calico Patches & Tail | Honey Gold / Mustard Yellow | Apply even, directional pencil strokes along the grain of the fur and the curve of the tail. |
| Adventure Bandana | Mint or Emerald Green | A cool green tone provides a lovely high-contrast complement against the warm yellow patches. |
| Yarn Ball Toy | Scarlet Red / Coral | Use rich red with fine white highlights between the strands so the yarn looks genuinely wound. |
| Inner Ears & Cheeks | Soft Pastel Pink | Light blush dusting on the cheeks and inner ears adds instant sweetness! |
Bonus Inspirations: 3 More Cute Cat Poses & Personalities
Cats have virtually limitless patterns and silly behaviors! Using the exact same basic building blocks, here are three fun variations you can try sketching next:
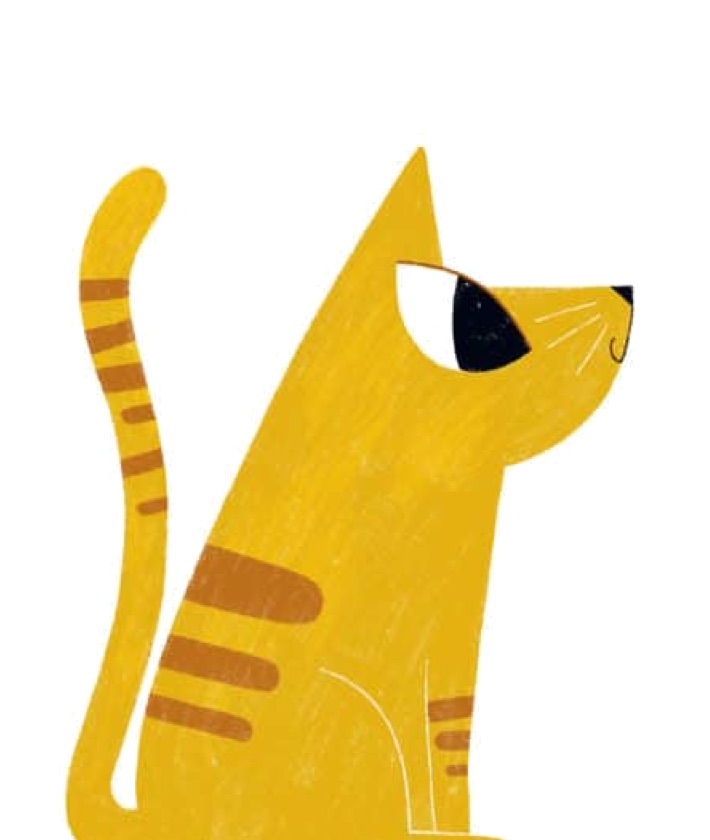
1. The Curious Tabby
Sitting upright with tall triangular body lines, cute tiger stripes, and an alert upright tail. Perfect for a curious kitty watching birds!
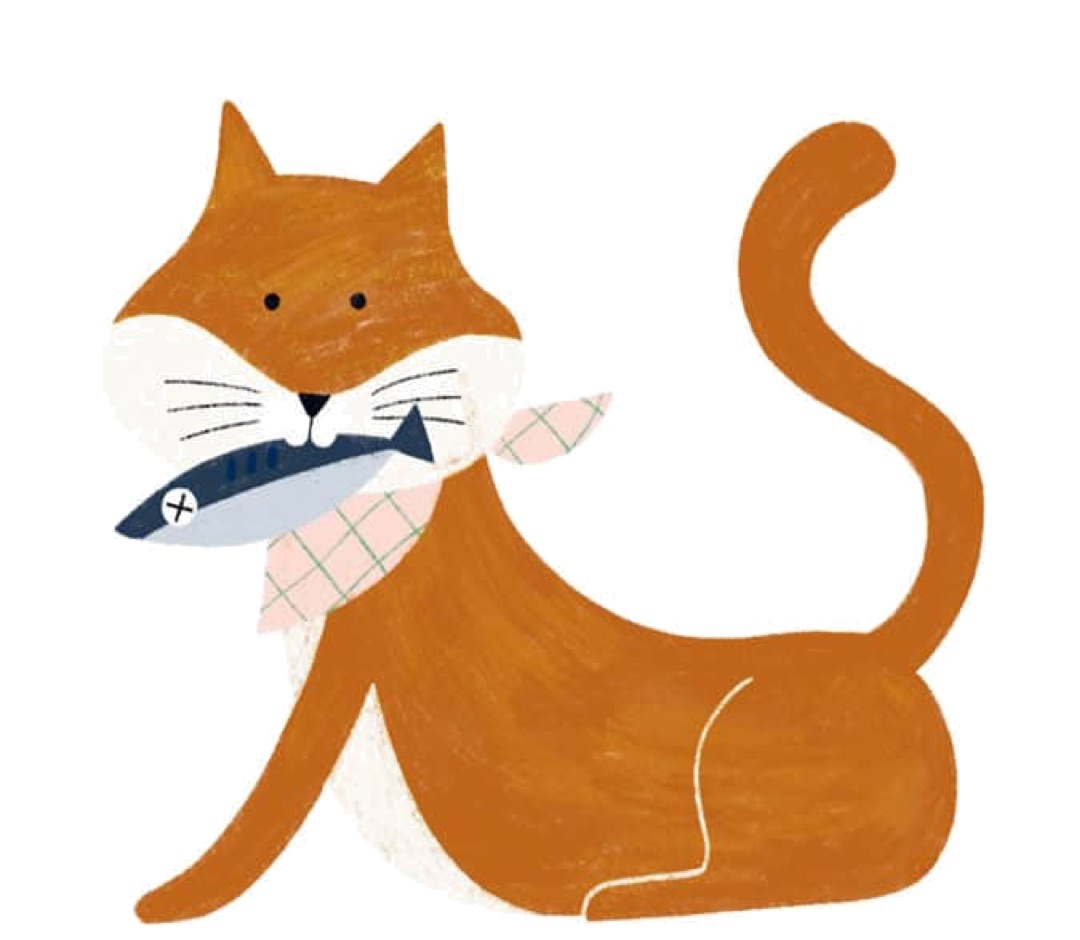
2. The Sailor Cat
A proud ginger cat wearing a checkered neckerchief, proudly holding a fresh blue fish prize in its mouth!
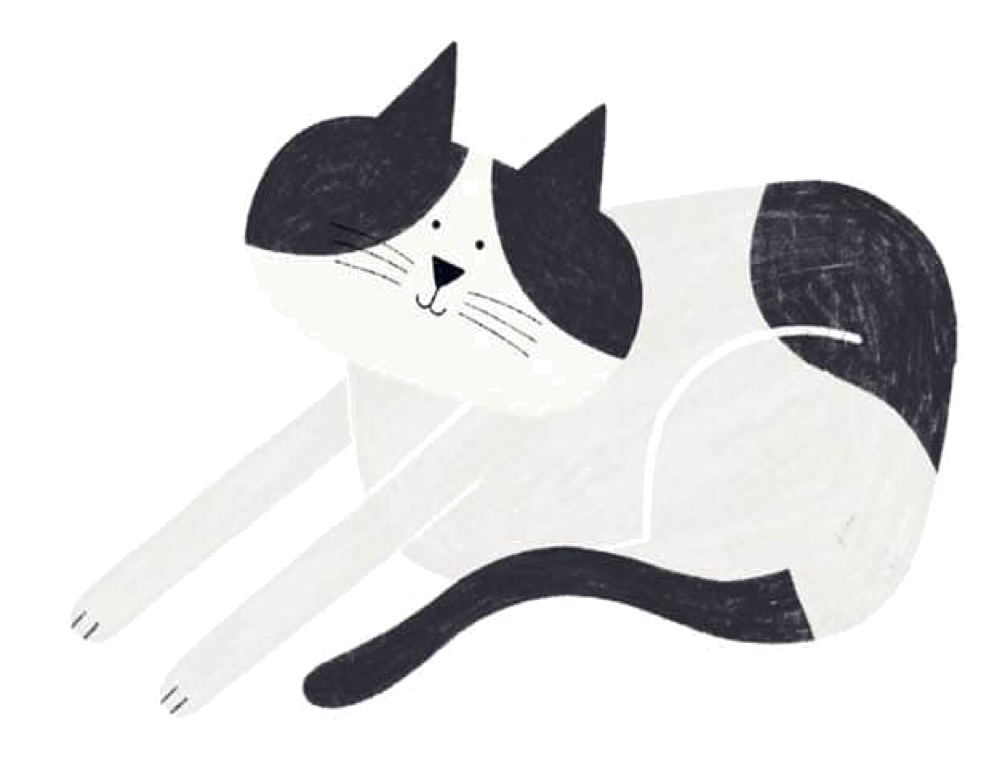
3. The Morning Stretch
A classic tuxedo cat stretching its front paws forward with rump in the air. A wonderfully expressive gesture to capture!
Now It’s Your Turn to Draw! 🎨
Scroll up to our Interactive Draw-Along Studio above to practice your lines right on screen, or grab your sketchbook and favorite colored pencils. Have fun mixing and matching spots, bandanas, and toys to design your very own cute cat character!