How to Draw a Cute Zen Capybara in 5 Easy Steps (Interactive Draw-Along)
The capybara is the undisputed champion of chill. As the world’s largest rodent, this gentle giant from South America is famous for its serene, zen-like calm, befriending ducks, monkeys, and even relaxing in warm hot springs! In this easy tutorial from Draw 62 Animals and Make Them Cute, you will learn how to draw an adorable, stylized capybara in just 5 simple steps.
By starting with two simple circles and smoothly connecting them into a lovable “peanut” silhouette, anyone can master this modern Scandinavian-style illustration. Practice right on screen with our Interactive Drawing Studio below, or follow along in your sketchbook!
- Difficulty Level: Easy (Level 1 · Kids & Beginners friendly)
- Total Drawing Steps: 5 Construction Steps + Color Guide + Onsen Bonus Variations
- Estimated Time: 6–8 minutes
- Key Shape Tools: Two Circles (Scaffolding), Peanut Body Silhouette, U-Curves (Ears & Legs)
🎨 Interactive Draw-Along Studio: Cute Zen Capybara
Prefer practicing directly on your tablet, iPad, or computer screen? Draw along using our in-browser Interactive Draw-Along Studio! Toggle traceable reference lines, select curated color swatches, and download your finished artwork:
 Step Guide 🔍
Loading Step...
Loading instructions...


Switch to Another Animal
Pick any animal below to start a new step-by-step draw-along!
Step Guide

🎉 High Five, Artist!
Your custom animal illustration is ready to download and share!

Step-by-Step Capybara Drawing Guide: Detailed Breakdown
Step 1: The Two Uneven Circles
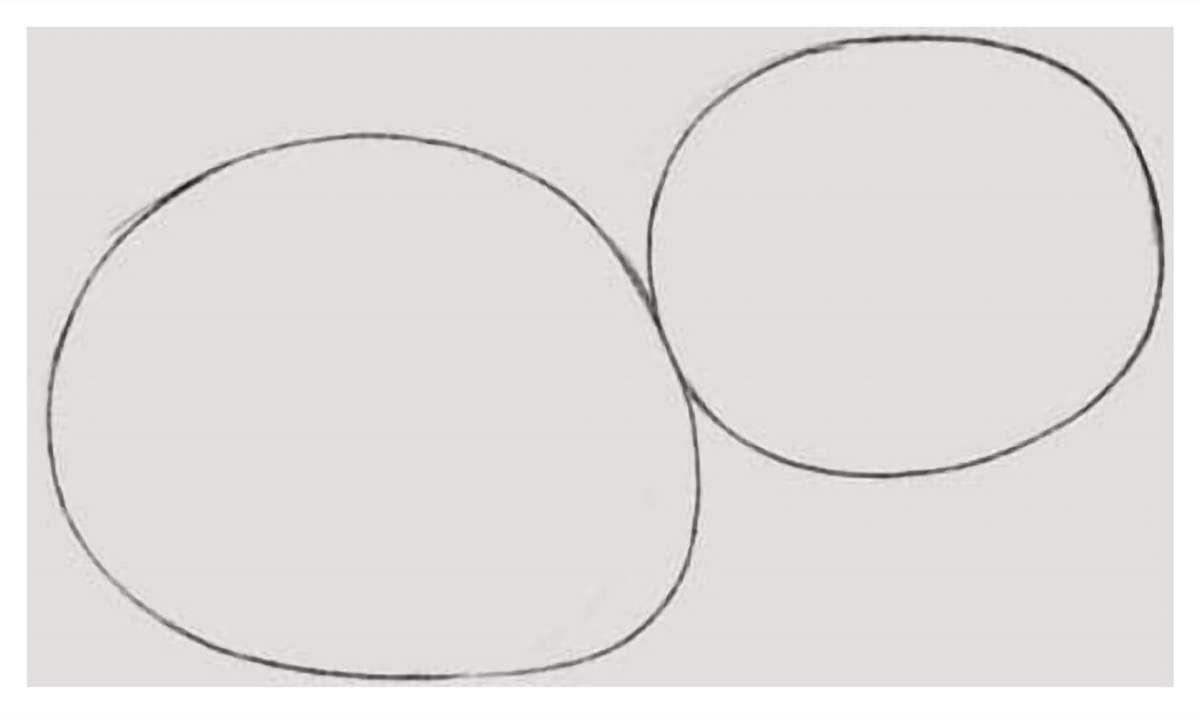
Draw two simple circles side by side touching each other. The left circle forms the plump rump and body, so make it slightly larger and wider than the right circle, which forms the head.
💡 Artist Tip: Don’t stress about drawing perfect mathematical circles! Slightly wobbly, organic ovals make your capybara look wonderfully warm and cuddly.
Step 2: Connect Head & Body with Curving Lines
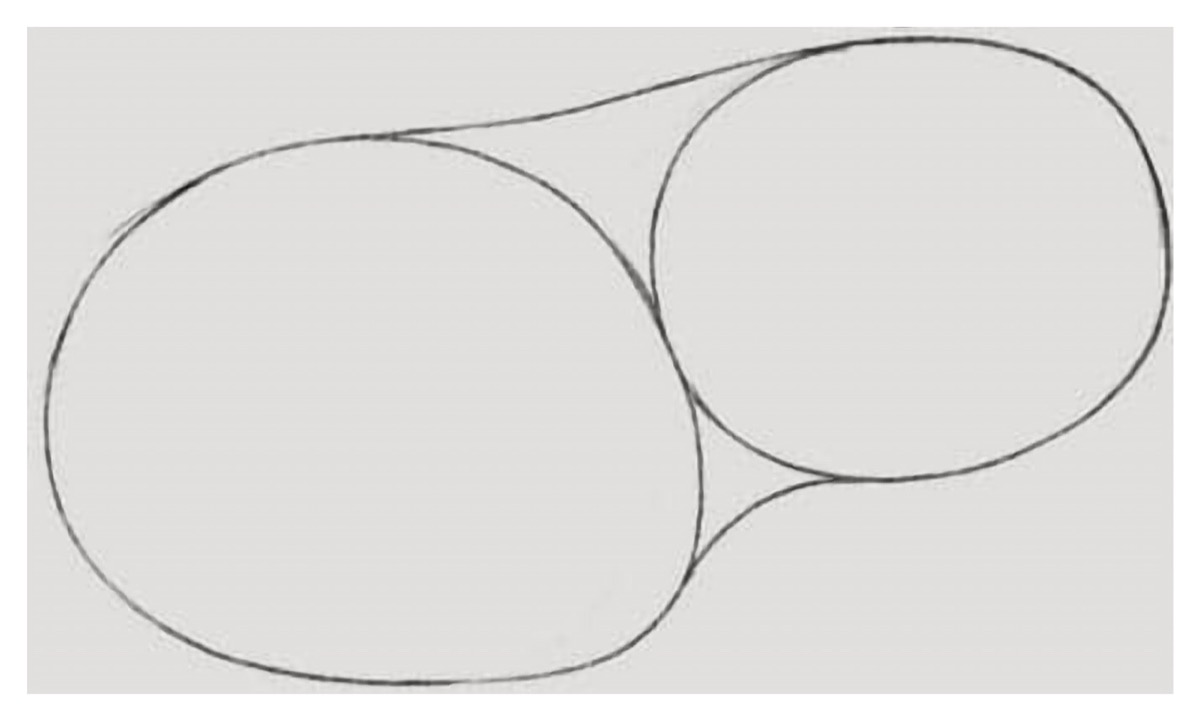
Connect the two circles at the top and bottom with smooth bridges. Draw a gently sloping line across the top for the back, and a shallow dip underneath for the relaxed belly line.
Step 3: Remove Inner Pencil Lines
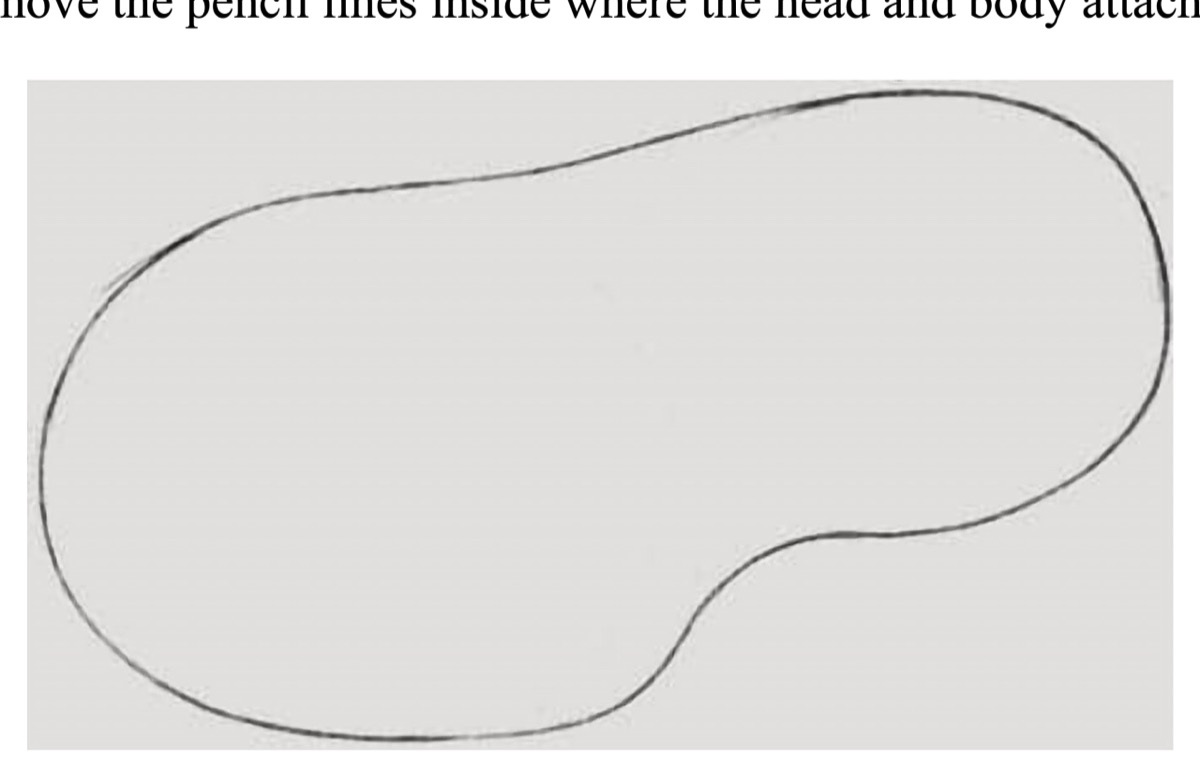
Erase the interior curved lines where the two circles overlap. Notice how the shape immediately unifies into a single, cohesive animal body resembling a peanut or kidney bean!
Step 4: Four Short Little Legs
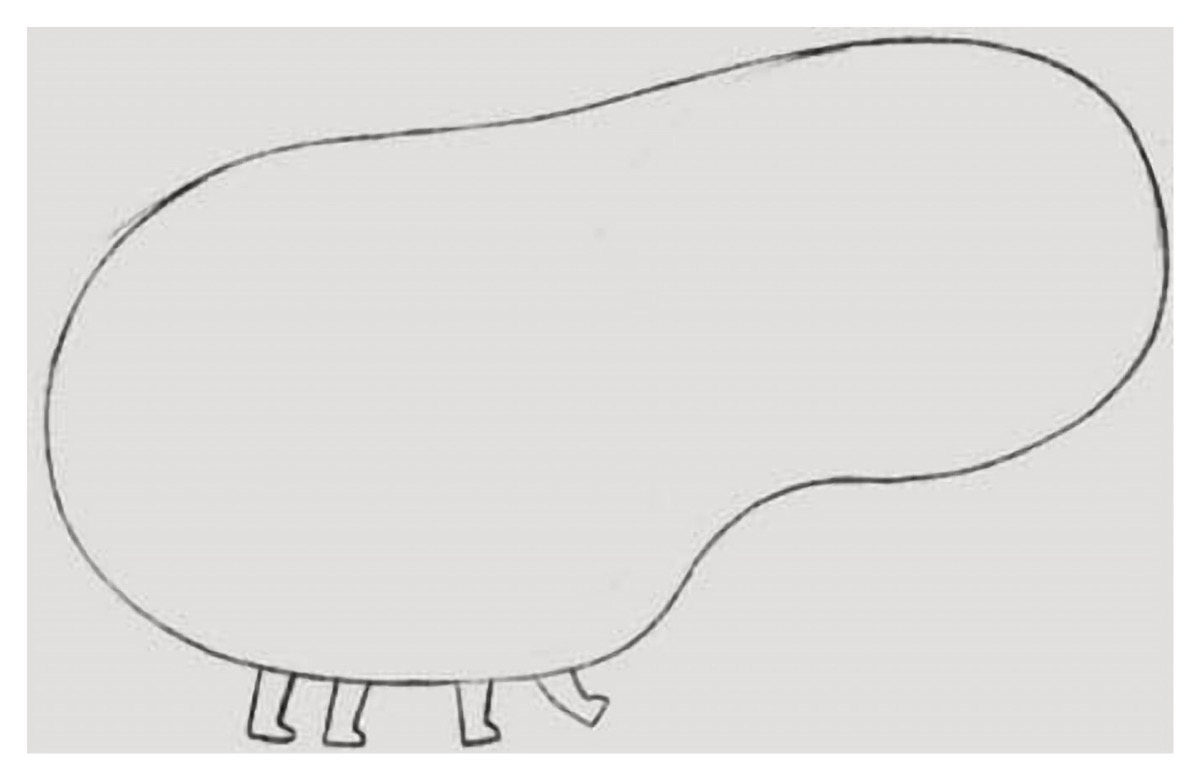
Add four short, stubby legs extending down from the underside. Two legs support the heavy hindquarters, and two support the front chest, giving your capybara a grounded, sturdy stance.
Step 5: Muzzle, Ear & Serene Face Details
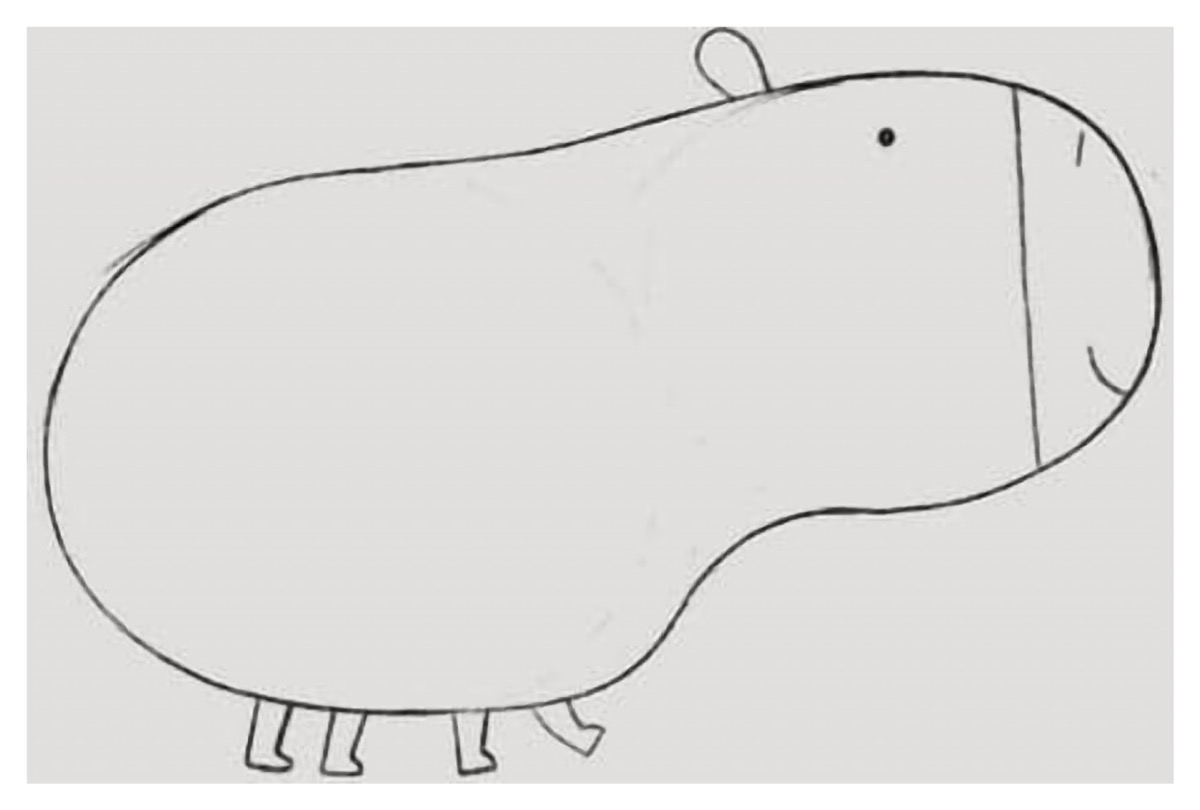
Drop a vertical dividing line down the front to section off the blunt, boxy snout. Add an elongated half-circle ear perching near the crown, a tiny dot eye, a nostril notch, and a tiny contented smile. Your capybara outline is complete!
Step 6: Coloring Your Zen Capybara
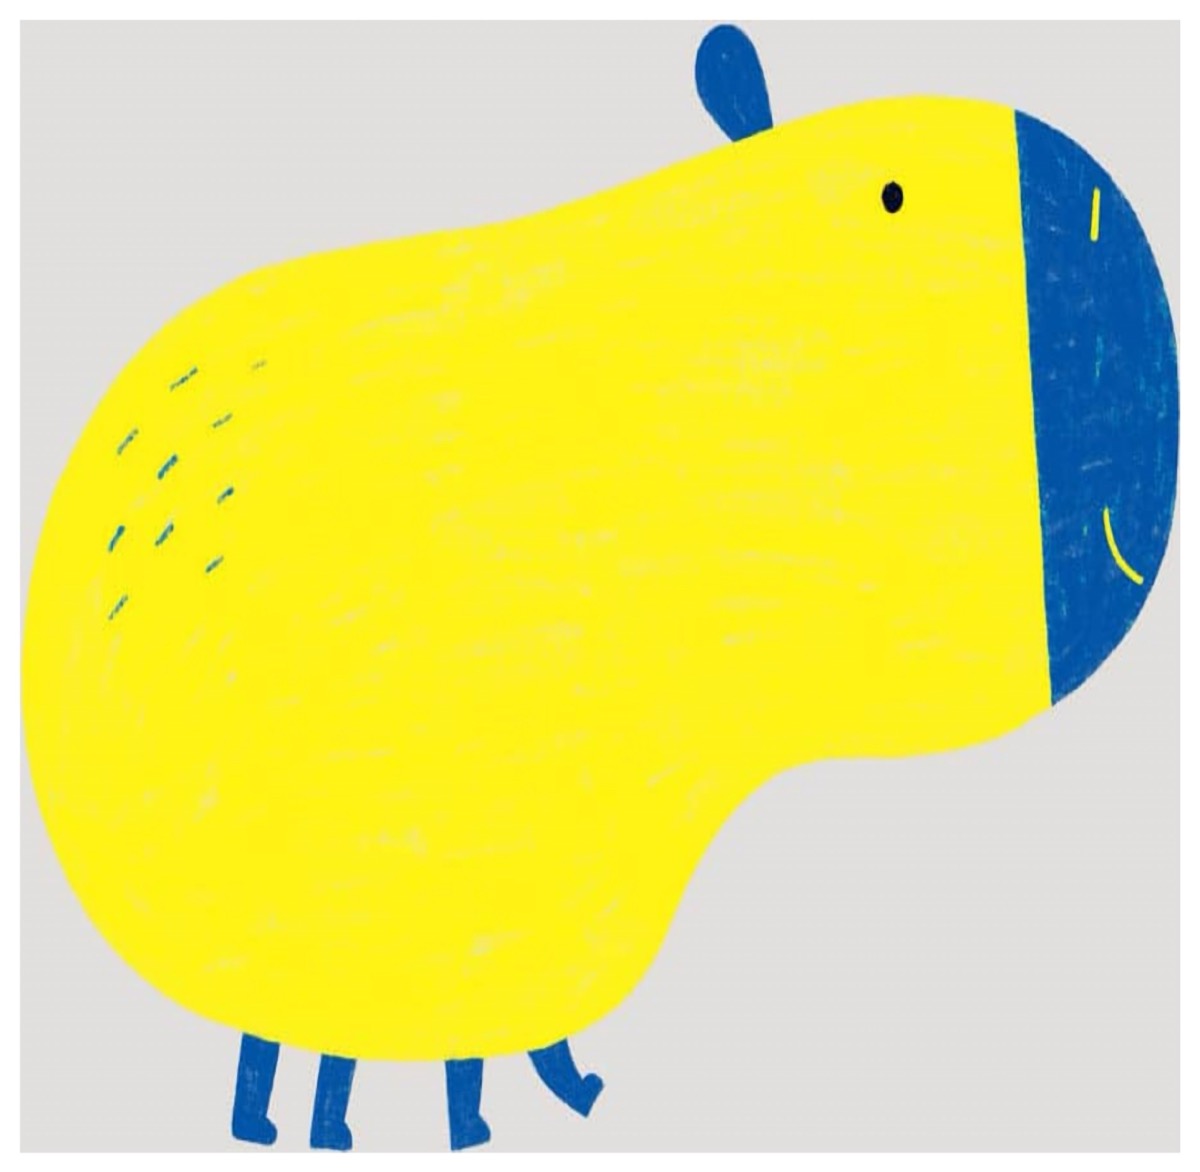
The artist uses a vibrant, playful palette that gives this capybara a joyful modern aesthetic:
- Body: Bright sunshine yellow or warm caramel ochre.
- Muzzle & Paws: Deep bold cobalt blue or rich chocolate brown.
- Coat Texture: Add delicate dashed hatch marks across the rump to suggest bristly, waterproof capybara fur.
- Smile Accent: A sunny yellow curve on the blue snout.
Bonus: Capybara Onsen & Bird Bestie Poses
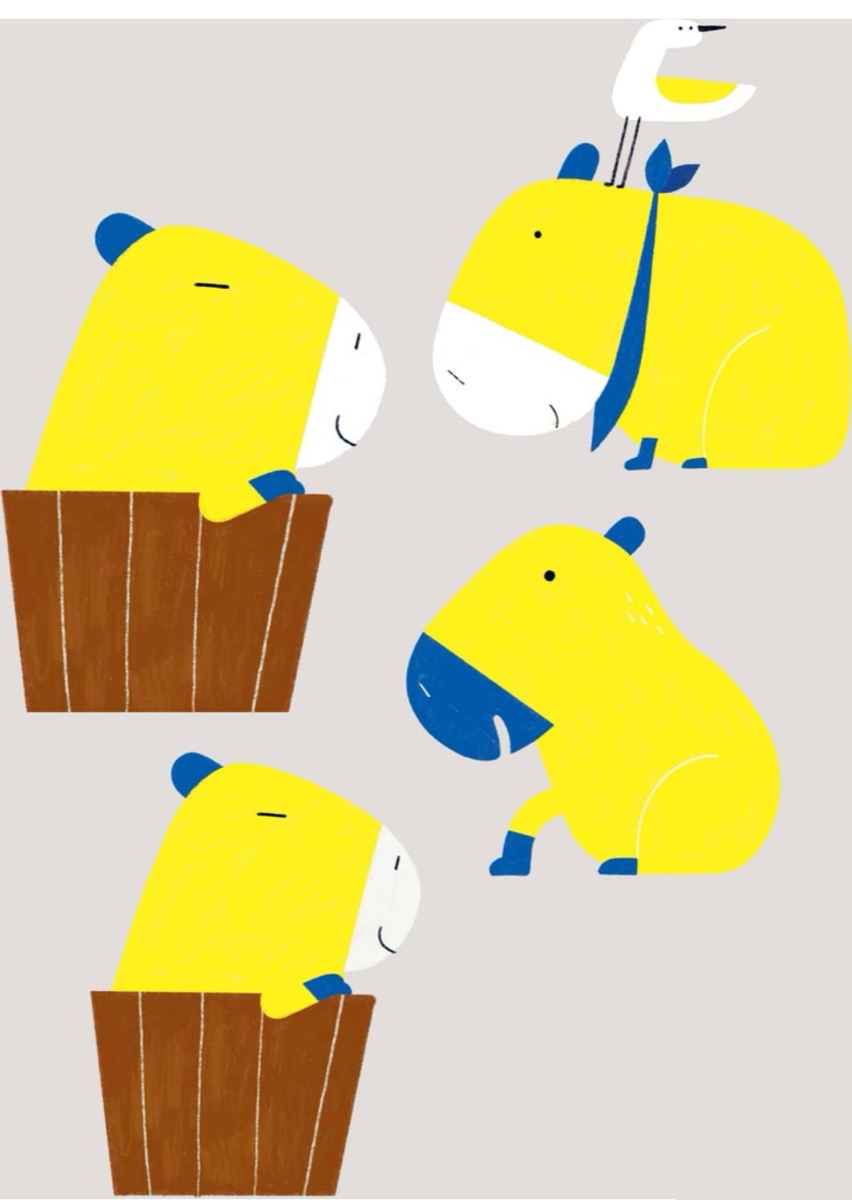
Take your drawing further with these popular sketchbook variations:
- The Onsen Hot Tub Soaker: Draw a slatted wooden tub with your capybara resting its sleepy chin on the rim, soaking in steaming water!
- The Bird Perch Friend: Add a friendly white bird or seagull happily standing on your capybara’s head while wearing a blue necktie.
- The Zen Loaf: Tuck the legs completely underneath for the ultimate relaxed “capybara loaf” pose.
Keep Drawing! Explore Sibling Animal Tutorials
Keep filling your sketchbook with these interactive step-by-step drawing lessons: