How to Make a Paper Circle Santa Claus Ornament (Easy DIY Christmas Tree Bauble)
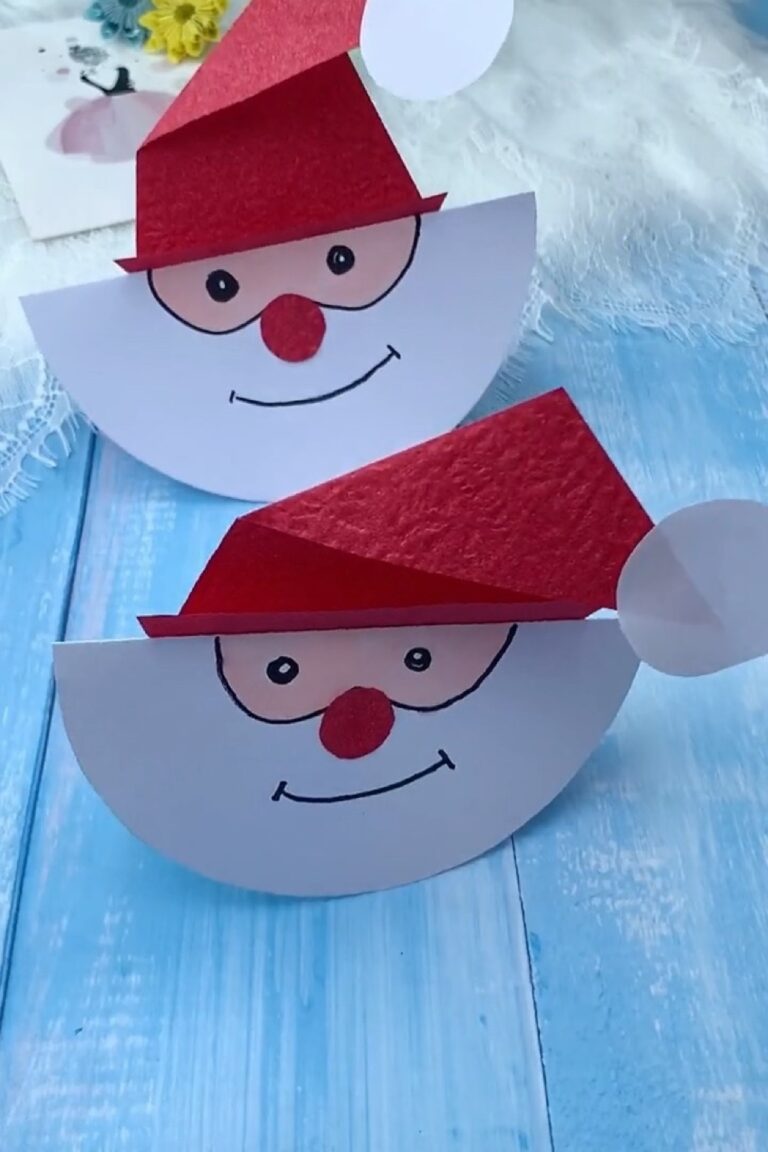
Bring joyful handmade warmth to your Christmas tree this holiday season with this easy DIY Paper Circle Santa Claus Ornament! Built entirely from simple cardstock circles, clean paper cuts, and layered scallops, this charming holiday tree bauble is wonderfully accessible for kids, classroom crafting, and cozy family DIY afternoons.
In this beginner-friendly 10-minute paper craft guide, you will learn how to layer paper semicircles, arrange pillowy scalloped white beard circles, assemble Santa’s iconic pointed hat and fluffy pompom, and attach a secure ribbon hanging loop. Hang your finished Santa baubles from evergreen tree branches, string them across holiday mantels as festive garlands, or tie them as personalized gift tags on Christmas presents!
Watch the Step-by-Step Video Tutorial 🎥
Paper Craft Supplies & Materials ✂️
- Pink Craft Paper / Cardstock: One 4-inch (10 cm) circle for Santa’s cheerful face base. Standard 80–160 gsm construction paper or cardstock works beautifully.
- Red Craft Paper / Cardstock: One matching 4-inch circle cut in half for the hat crown, one small 1-inch circle for the button nose, and one 0.5 × 6 inch strip for the hanging loop.
- White Craft Paper / Cardstock: One narrow trim strip (0.5 × 4 inches) for the hat brim, 8–10 small white circles (1 inch diameter) for the scalloped beard, and one 1.25-inch circle for the hat pompom.
- Craft Glue Stick or Liquid Paper Glue: For clean, warp-free cardstock bonding.
- Pair of Scissors or 1-Inch Circle Punch: For snipping clean circular contours.
- Black Fine Marker or Gel Pen: For creasing Santa’s smiling curved eye arcs.
- Optional Embellishments: Iridescent glitter glue for sparkling beard highlights or festive holiday ribbon.
Step-by-Step Visual Progression Sheet 📋
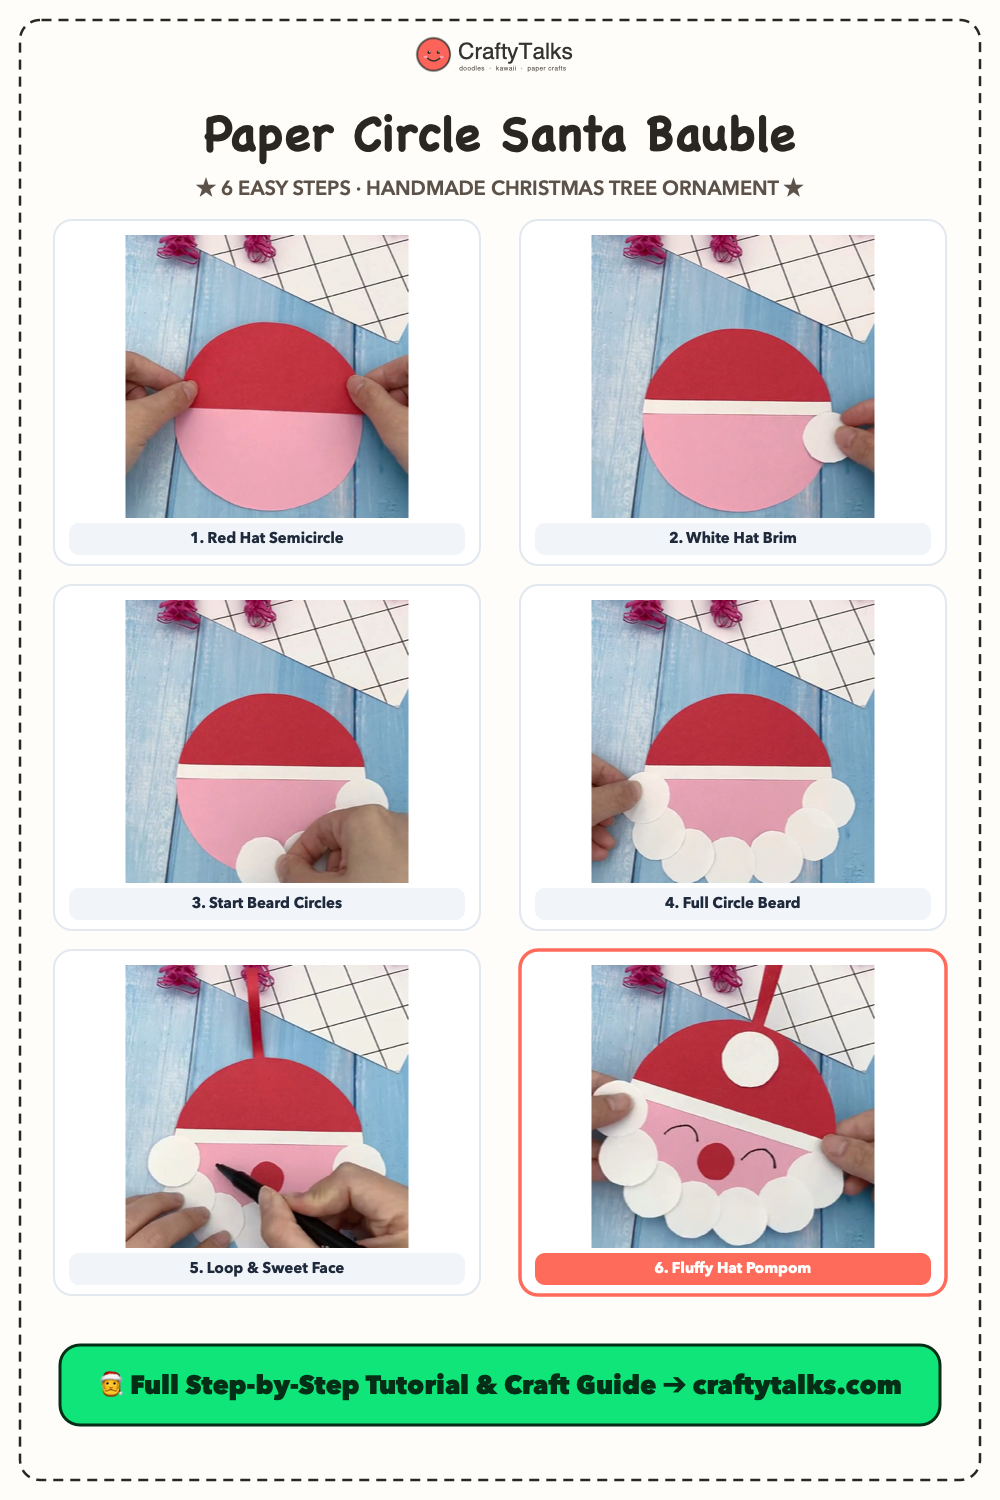
Here is your complete 6-stage visual master guide showing each assembly step from basic paper circles to the completed Christmas tree bauble:
Step-by-Step Assembly Instructions 🎅
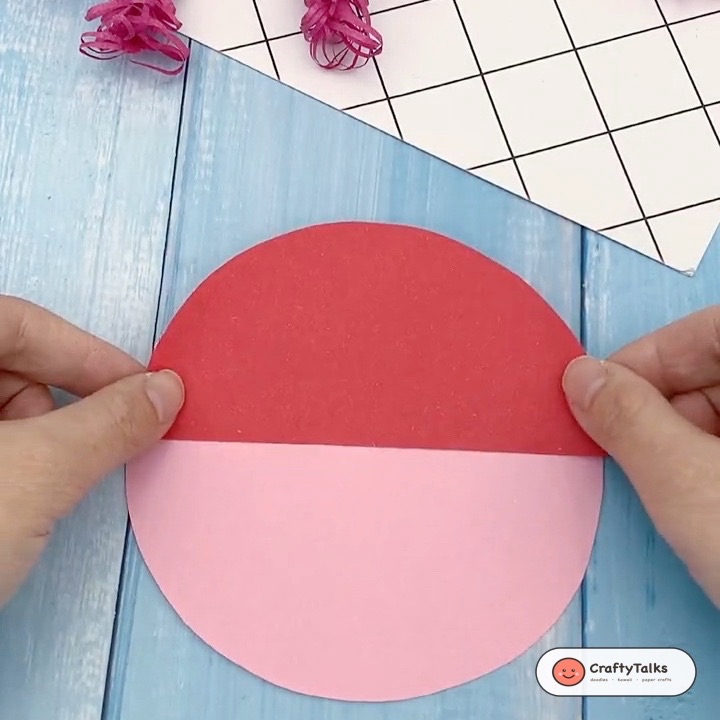
Step 1: Affix the Red Hat Semicircle to the Pink Base
Cut a 4-inch (10 cm) circle from soft pink cardstock to serve as Santa’s cheerful face base. Cut a matching red cardstock circle in half, apply a smooth layer of paper craft glue along its flat base, and align the curved top flush against the upper perimeter of the pink circle to form Santa’s hat crown.
💡 Craft Secret: Use a round drinking glass, jar lid, or compass to trace your circles so both halves line up symmetrically.
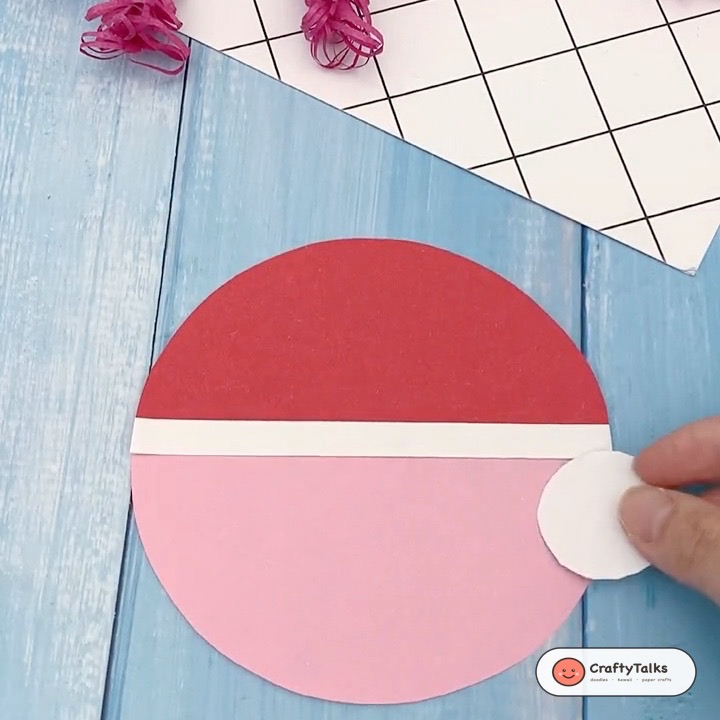
Step 2: Adhere the Snowy White Hat Brim Trim
Cut a slender rectangular strip of crisp white paper (approx. 0.5 inches / 1.2 cm wide) matching the diameter of your circular base. Apply craft glue across the horizontal seam where the red hat crown meets the pink face, pressing the white band firmly in place to create the fluffy snowy fur brim.
💡 Craft Secret: Allow the white strip to extend slightly past the edges, flip the ornament over, and trim the excess flush with the curved outer edge for seamless borders.
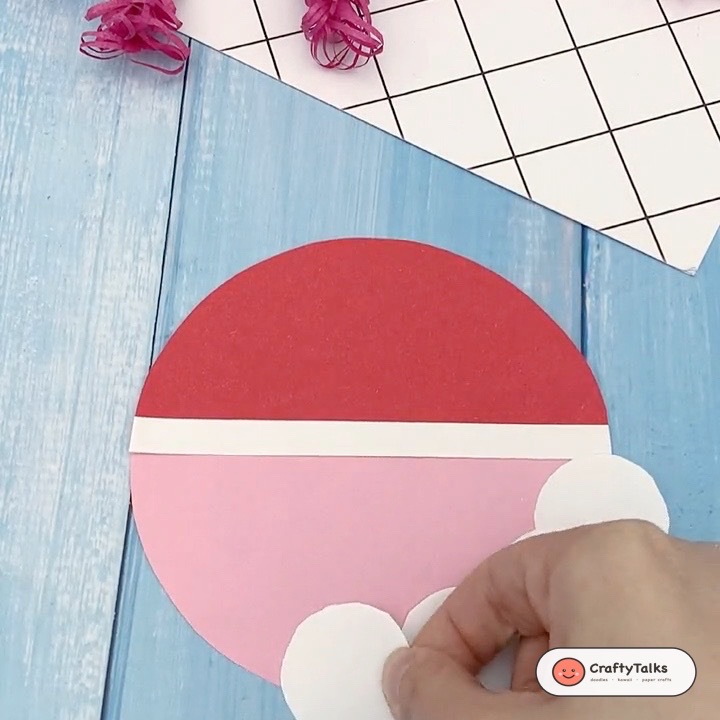
Step 3: Begin Layering Scalloped Beard Circles
Punch or cut small white paper circles (approx. 1 inch / 2.5 cm diameter). Dab a dot of craft glue on the back of each circle and begin adhering them along the lower curved edge of Santa’s face, starting directly underneath the hat brim.
💡 Craft Secret: Overlapping each small circle by about a quarter of its width builds a pillowy, scalloped texture that gives Santa’s beard wonderful handmade depth.
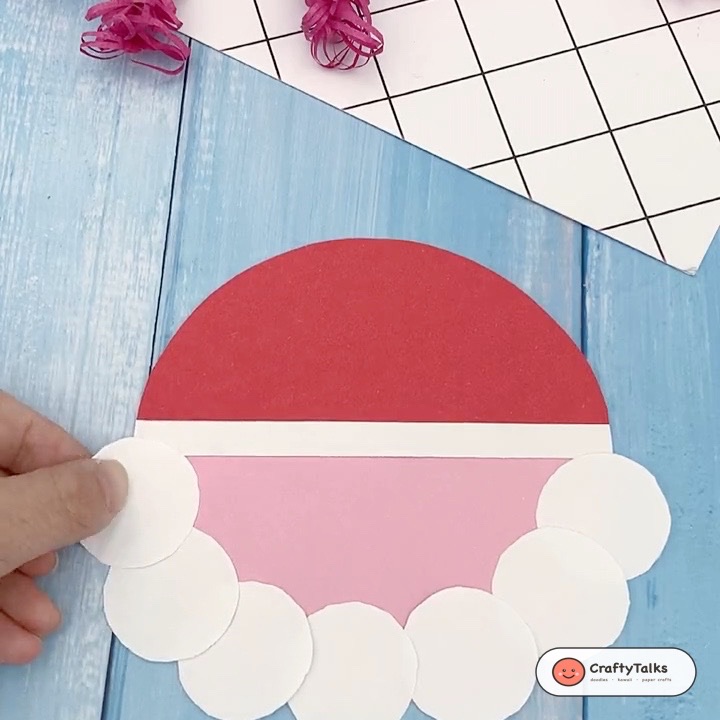
Step 4: Complete the Full Scalloped Beard & Whiskers
Continue adhering overlapping white circles all the way around the lower contour of the chin until reaching the opposite side of the brim. Layer a second row across the lower cheeks to shape a full, bushy beard.
💡 Craft Secret: Using slightly textured or deckled-edge paper circles gives the beard an extra cozy storybook feel!
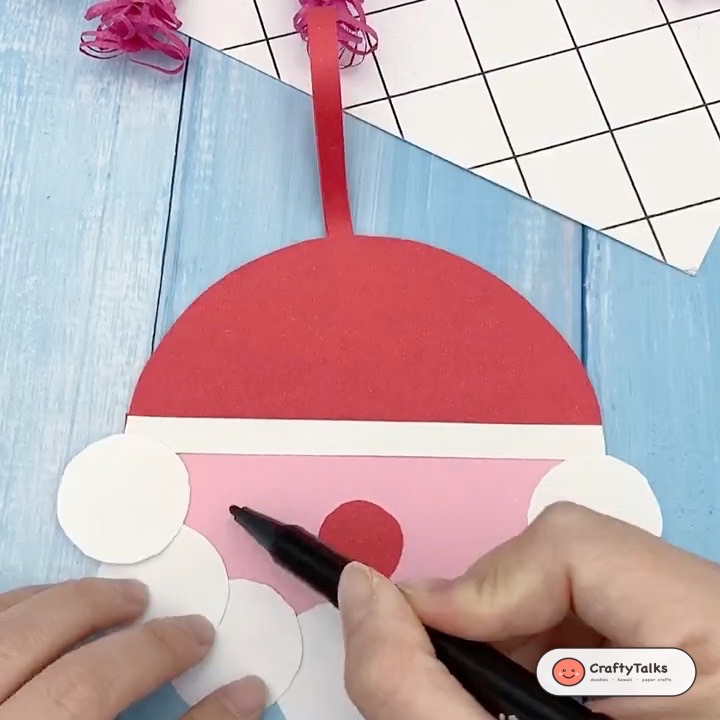
Step 5: Attach Hanging Loop, Red Button Nose & Smiling Eyes
Cut a small red circle for Santa’s button nose and glue it directly in the center of the pink face. Cut a narrow 6-inch (15 cm) red paper strip or ribbon, fold it in half to form a hanging loop, and glue the raw ends securely to the back of the hat crown. With a fine black marker, crease two friendly upturned arcs for Santa’s smiling eyes.
💡 Craft Secret: Place the curved eye arcs close to the hat brim and above the red nose to give Santa an endearing, jolly holiday expression.
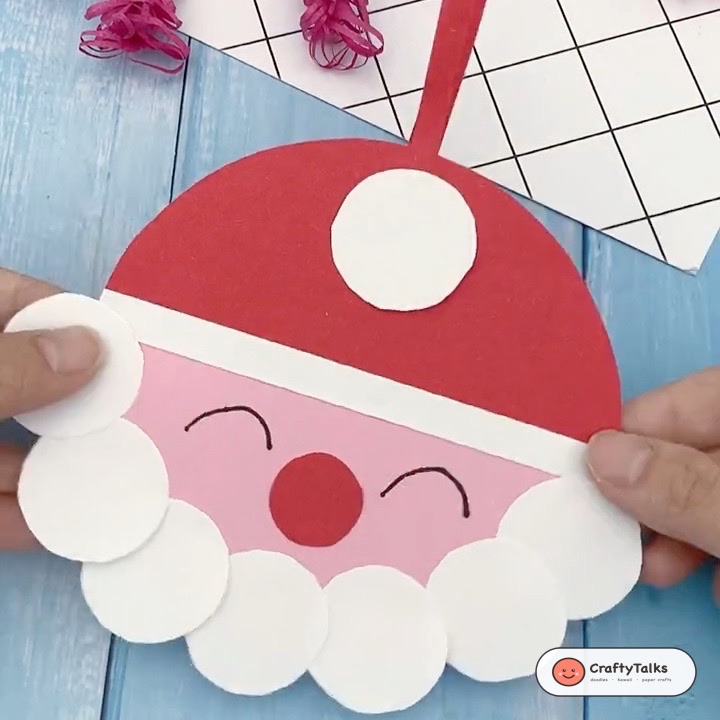
Step 6: Glue the White Hat Pompom to Complete Your Bauble
Cut a crisp white circle (approx. 1.25 inches / 3 cm diameter) and glue it squarely in the middle of Santa’s red cap as the fluffy pompom. Press all layers firmly with flat fingertips, let the glue cure for a few minutes, and your festive ornament is ready to hang!
💡 Craft Secret: For magical holiday twinkle, apply a gentle brush of iridescent glitter glue across the pompom and snowy beard circles.
Festive Holiday Craft Palette & Paper Colors 🎨
To give your handmade Santa Claus ornament timeless holiday warmth, use high-contrast seasonal cardstock shades. Here is our curated color harmony:
Explore More Festive Christmas Paper Crafts! 🎄 🦌
Love making holiday decorations with paper? Check out our other popular Christmas paper craft tutorials:
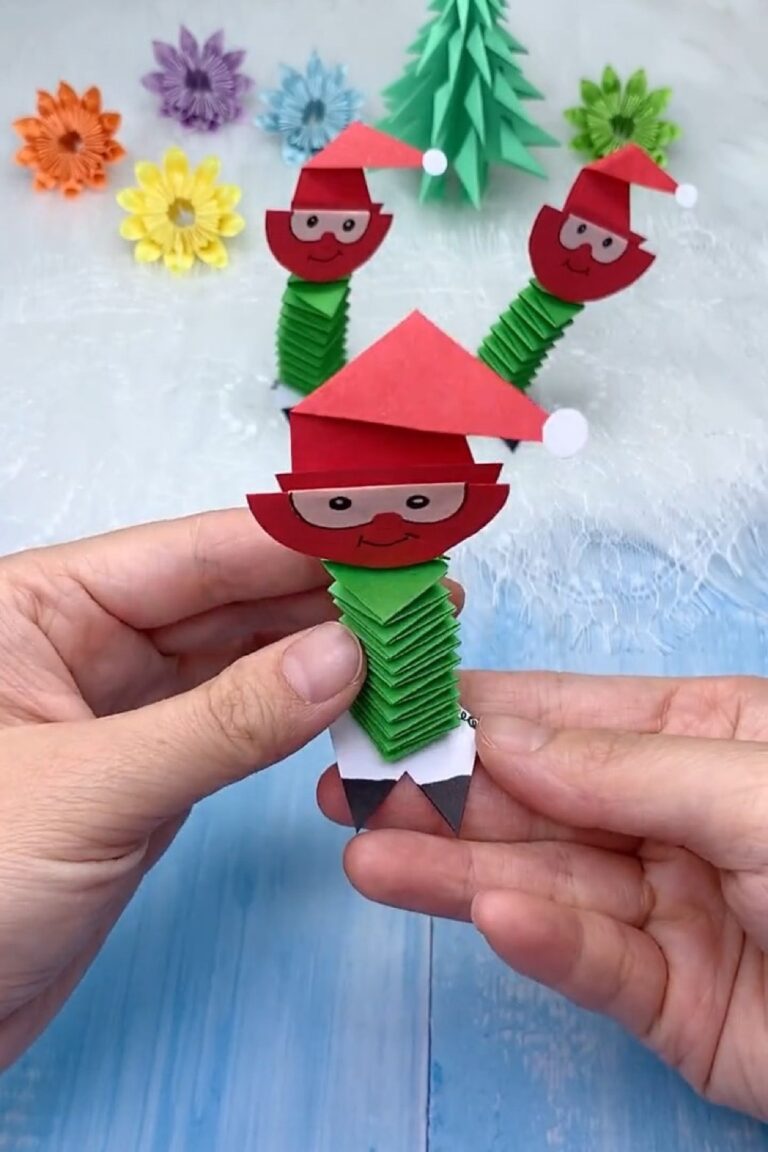
🎅 How to Make an Accordion Paper Spring Santa — Bouncy 3D pop-up holiday toy.
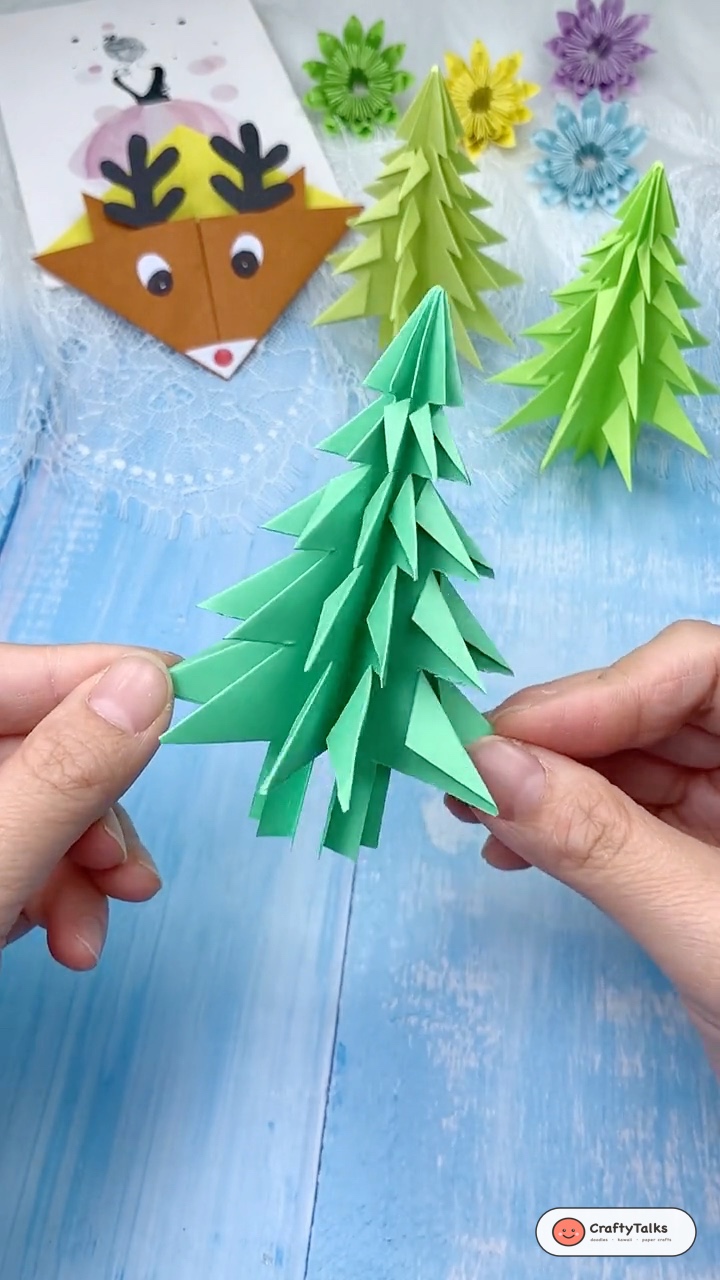
🦌 How to Make a Reindeer Corner Bookmark — Cute Rudolph origami book corner.
🌿 How to Make a 3D Paper Holiday Wreath — Festive evergreen wall & door wreath with snow shaker.
❄️ How to Make an Origami Santa Claus — Classic folding paper Santa with stand-up suit.