How to Make Kirigami Paper Snowflakes (Easy Heart-Tipped Winter Window Star)
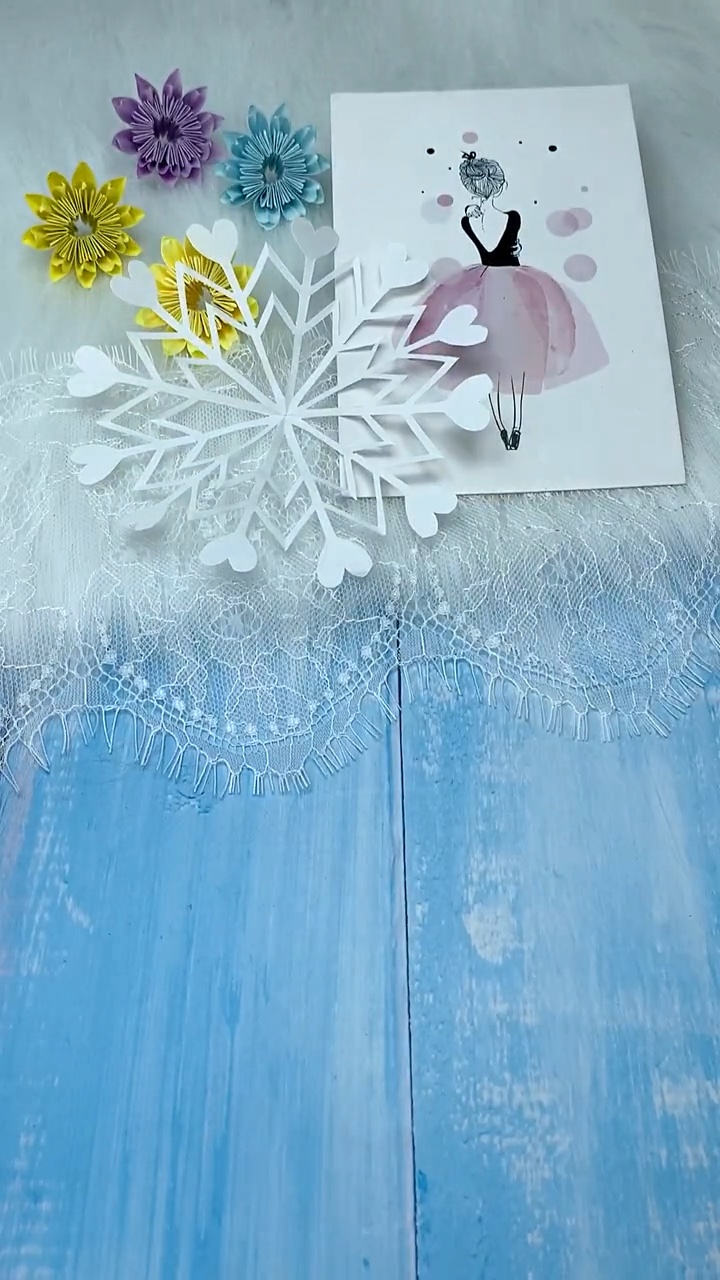
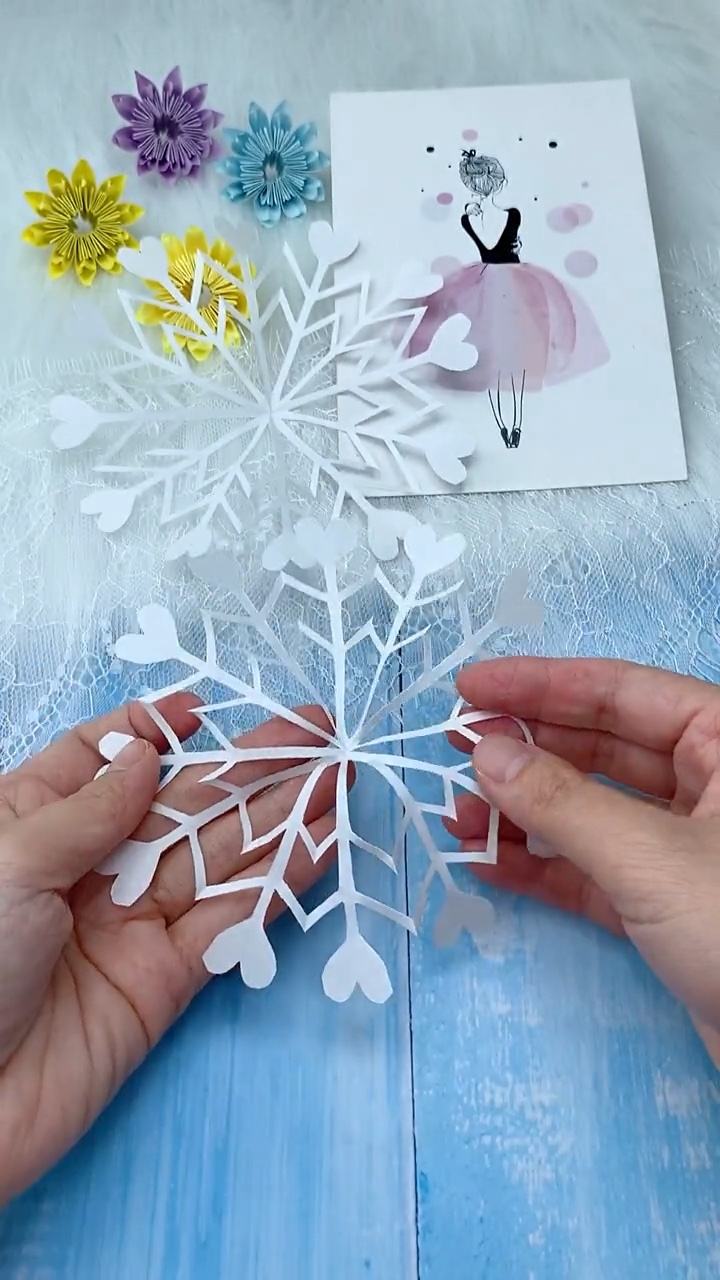
Transform simple sheets of white paper into breathtaking winter lace with these Kirigami Paper Snowflakes! Featuring delicate crystalline branches crowned with charming miniature heart-shaped tips, this folded paper cutting craft captures the intricate beauty of real winter frost with a sweet, romantic touch.
Kirigami—the traditional Japanese art of folding and cutting paper—allows you to achieve astonishingly complex, symmetrical patterns from very simple geometric cuts. By folding a paper square into a six-layered wedge and snipping away negative space around a penciled heart template, unfolding the paper reveals a mesmerizing, perfectly balanced holiday star. It is the perfect cozy winter afternoon craft for crafters of all skill levels!
Craft Overview: At a Glance
⏱ Time Needed:
8 – 10 Minutes
🎯 Skill Level:
Beginner Friendly
📄 Recommended Paper:
1 Square (15×15 cm) Crisp White Craft or Origami Paper
🎄 Occasion:
Winter Window Decor, Christmas Tree Stars, Garland & Gift Wrapping
Supplies & Materials Checklist
Here is everything you will need before you begin folding and shaping:
Paper & Essentials
- Square White Craft or Origami Paper (15×15 cm / 6×6 in): Lightweight paper (around 70–80 gsm) is essential because folding multiple layers can get thick for standard scissors. Crisp white paper delivers that authentic frosty lace aesthetic!
- Fine-Point Detail Scissors or Embroidery Scissors: Sharp, slender blades make it easy to navigate tight curves around the heart tips and narrow branch cutouts.
- Pencil & Soft Eraser: To lightly sketch the cutting guidelines on your folded paper wedge before snipping.
Optional Enhancements
- Clear Double-Sided Tape or Glue Dots: For adhering finished snowflakes seamlessly to winter window glass.
- Iridescent Twine or Fishing Line: To suspend multiple snowflakes from ceilings, mantels, or curtain rods.
- Subtle Glitter Shimmer Mist (Optional): A light spritz adds magical winter sparkle under holiday lights!
Watch the Step-by-Step Video Tutorial
Watch our real-time video demonstration below to see how the geometric folding, template sketching, and intricate cutting are done step by step:
Pro Crafter Secret: Sharp Snips & Sharp Folds
Because the paper is folded into six or twelve layers, press each fold line firmly with a bone folder before drawing your template. When cutting out the negative spaces between branches, start cutting from the outer edge inward toward the folded spine, and always use the tips of your sharpest scissors for razor-clean cuts!
Step-by-Step How to Make Kirigami Paper Snowflakes Tutorial
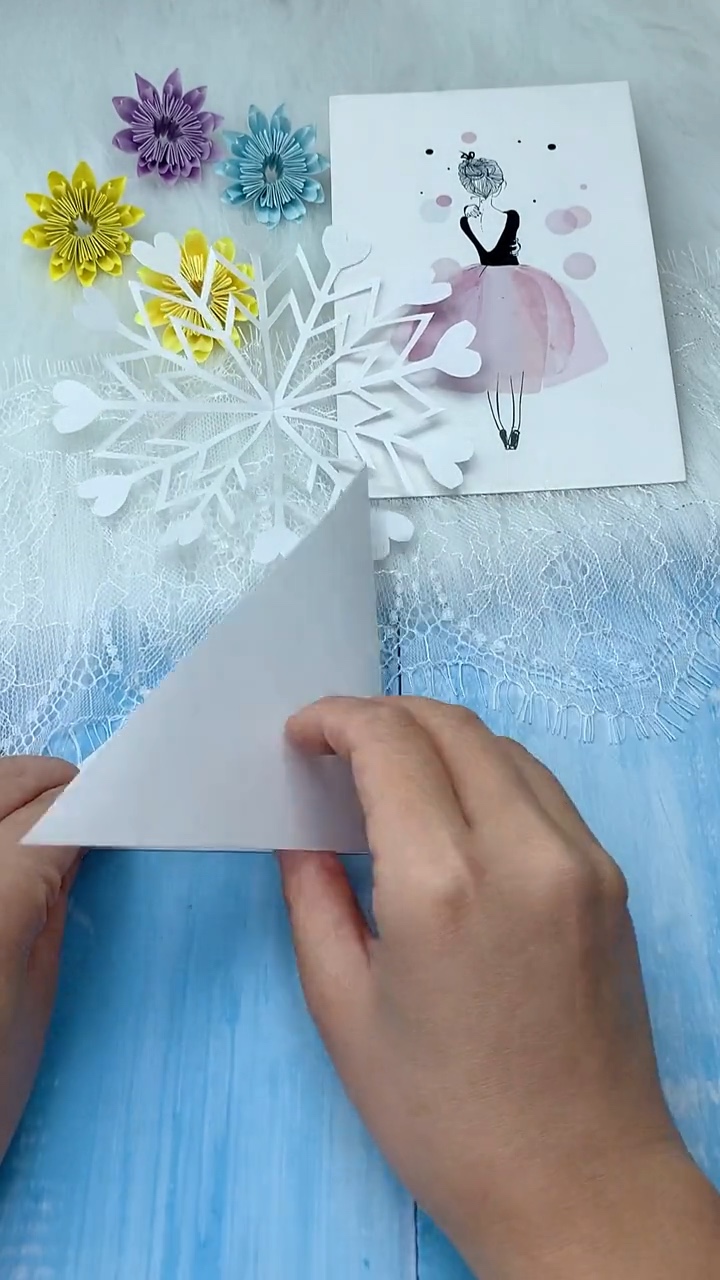
Step 1: Fold Square Paper Diagonally into a Triangle
Place your white paper square flat and fold it diagonally from corner to corner. Press firmly along the bottom folded edge with your fingernail or bone folder.
Ensure the points align precisely so your snowflake will unfold with true radial symmetry.
Step 2: Fold into a Symmetrical Geometric Wedge
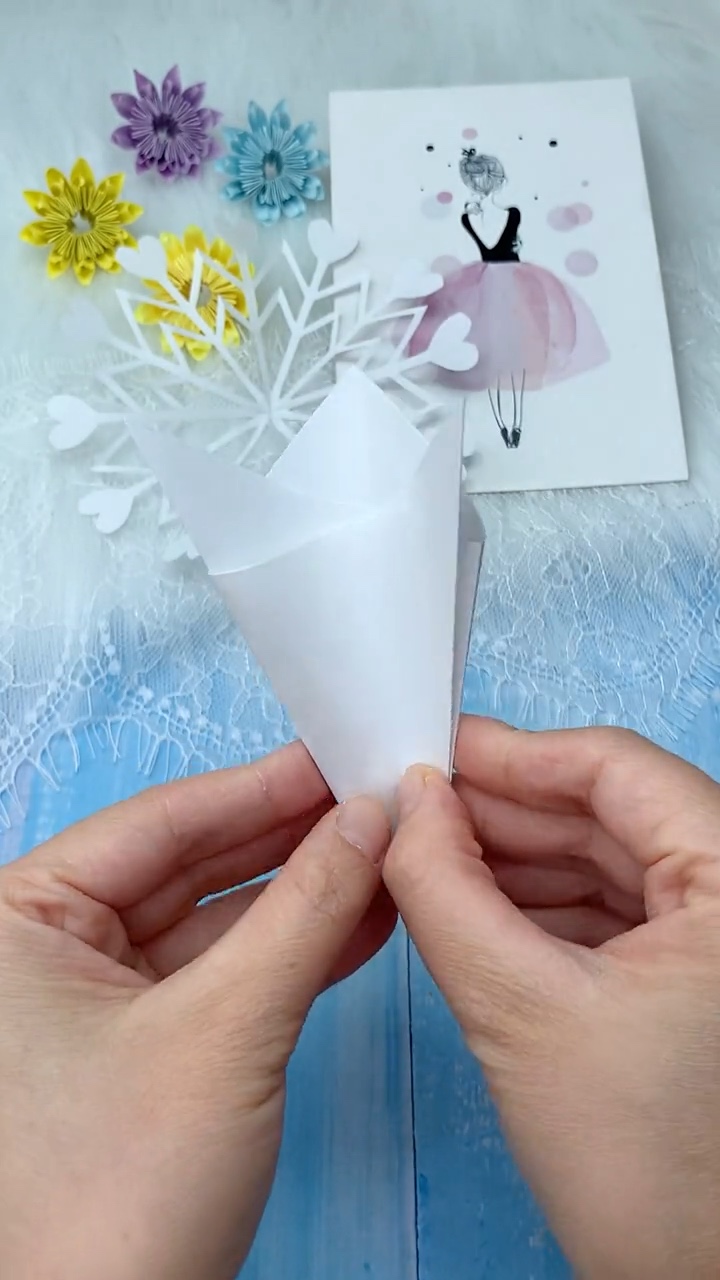
Crease the center vertical line lightly as a guide. Fold the left and right wings inward overlapping at 60-degree angles across the midline, forming a narrow arrowhead shape.
This creates the 6-point crystalline geometry that authentic winter snowflakes have!
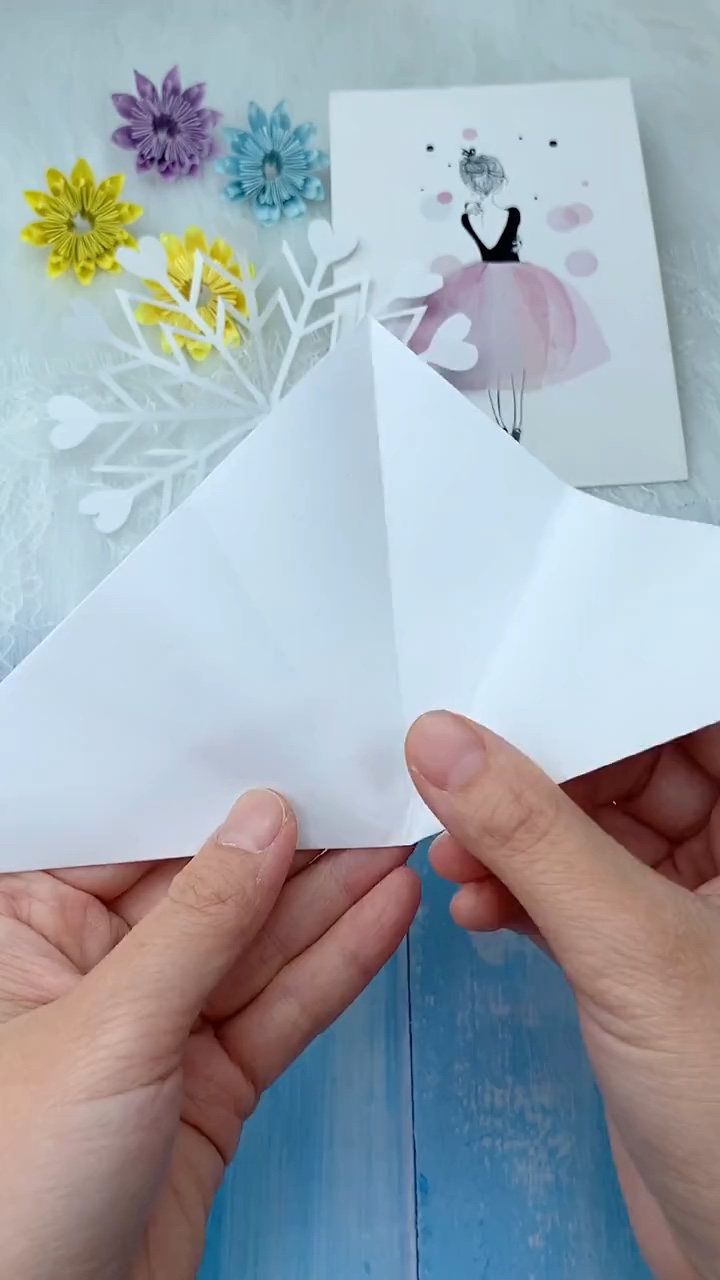
Step 3: Press Sharp Creases & Trim the Top Irregular Points
Press firmly across all layered folds so the wedge lies as flat as possible. Using your detail scissors, cut straight across the top uneven points to create a clean, uniform triangular cone.
Your paper is now properly prepared for sketching the snowflake branch silhouette.
Step 4: Sketch the Heart-Tipped Branch Template
With a light pencil, sketch a sweet rounded heart shape centered near the outer upper edge of your wedge.
Draw a slender vertical stem beneath the heart, flanked by 2 to 3 diagonal branch bars extending toward the folded edges, mapping out the negative space to be cut away.
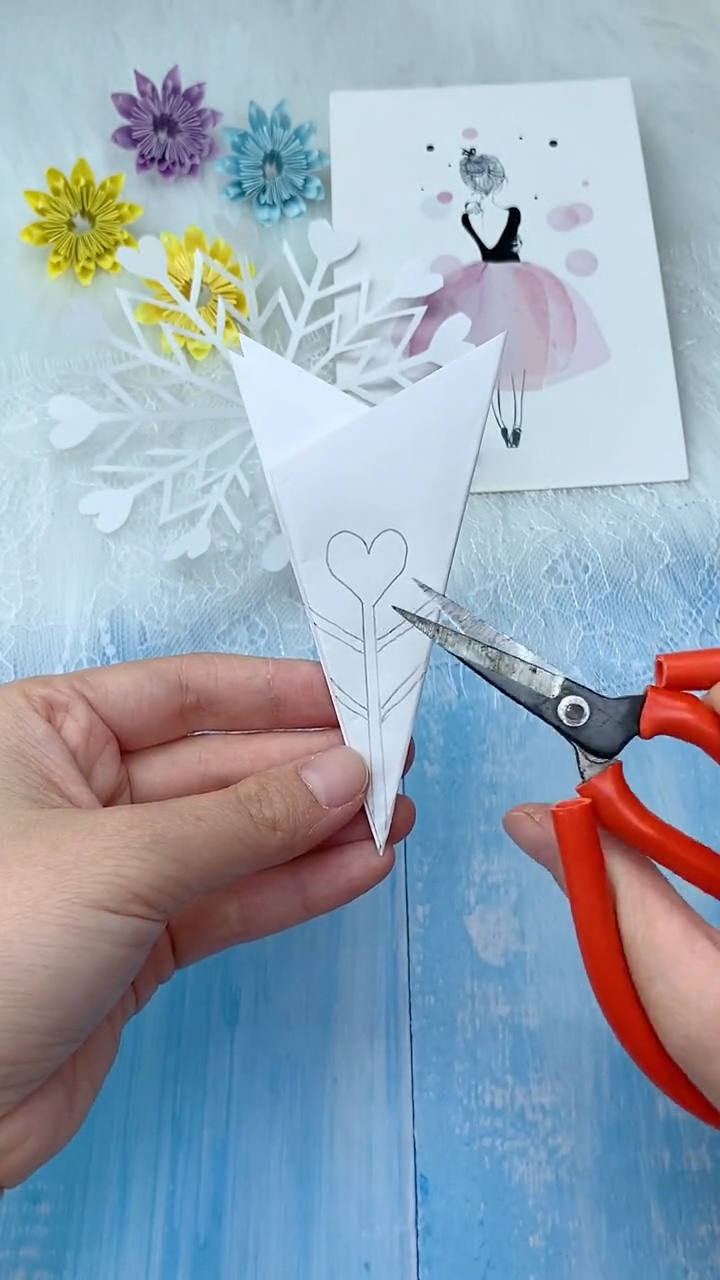
Step 5: Cut Out the Negative Space Silhouettes
Guide the slender blades of your scissors along the penciled lines, carefully cutting out and removing the paper between the branch bars.
Take your time navigating the gentle curves of the heart crest. Keep the central connection points intact so the snowflake arms remain firmly bonded to the core!
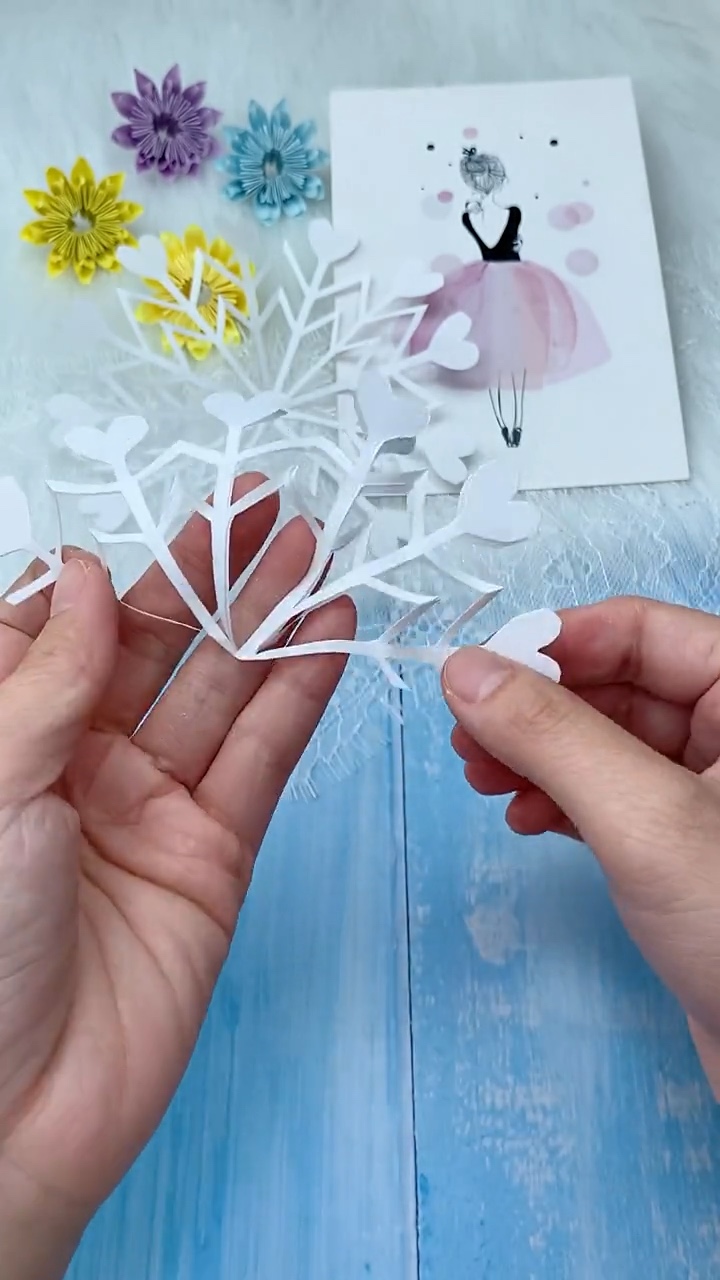
Step 6: Gently Unfold Your Exquisite Heart Snowflake Star
Slowly and gently open each fold, easing the delicate paper branches apart to prevent any catching or tearing.
Press the finished snowflake gently under a heavy book or smooth with your palms. Your stunning Kirigami Heart-Tipped Snowflake is ready to dazzle your winter decor!
4 Creative Ways to Display & Gift Your Creation
1. ❄️ Enchanting Frosty Window Clings
Adhere a flurry of varying sized snowflakes across your living room or bedroom window panes using tiny glue dots to recreate magical storybook winter frost!
2. 🌲 Floating Holiday Garland
String multiple snowflakes along clear monofilament thread or silver satin ribbon to hang horizontally across your fireplace mantel, doorway, or stair railing.
3. 🎁 Romantic Gift Box Toppers
Place a snowflake atop our origami paper gift boxes wrapped in brown kraft paper or colored tissue for an exquisite, bespoke holiday presentation.
4. ⛄ Winter Village Backdrop
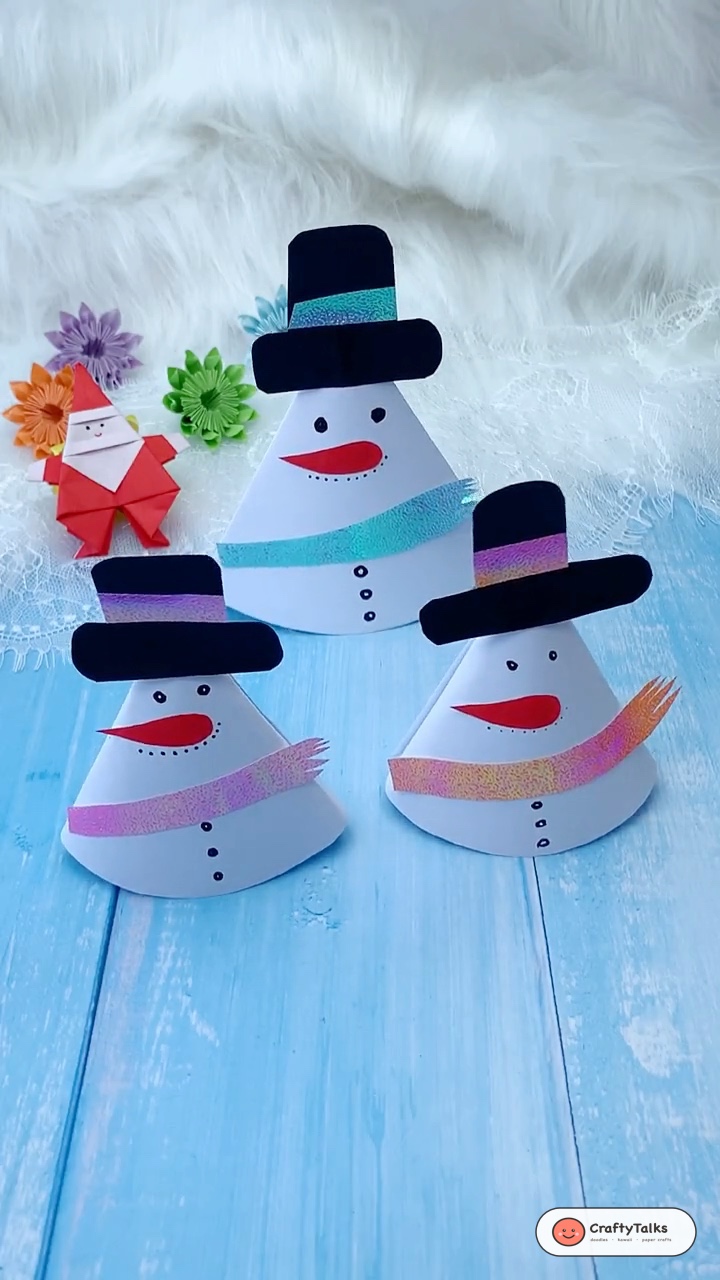
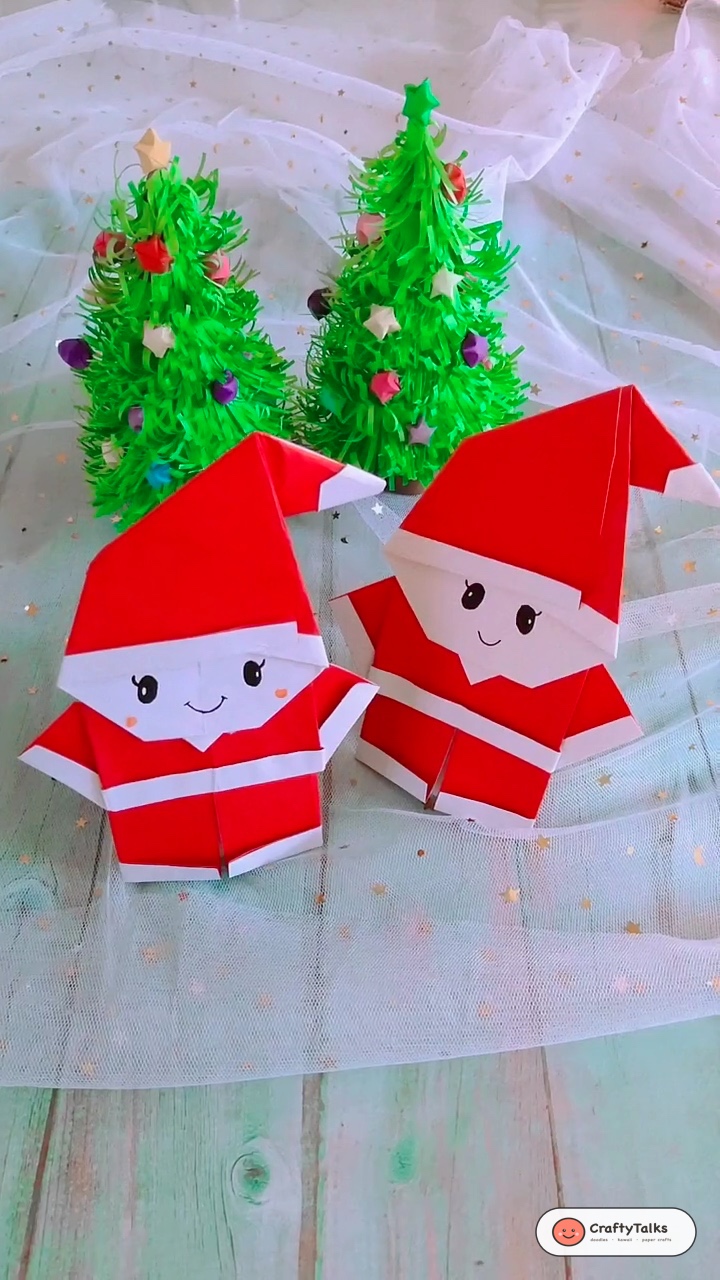
Hang snowflakes as a backdrop behind our 3D paper snowmen and origami Christmas trees to complete your holiday tabletop display.
📌 Save This Holiday Paper Craft on Pinterest!
Loved this easy holiday paper crafting tutorial? Pin this post to your Christmas Crafts, Origami Ideas, or Holiday DIY board to inspire your festive season!