How to Make an Accordion Paper Spring Santa (Easy Pop-Up Christmas Toy)
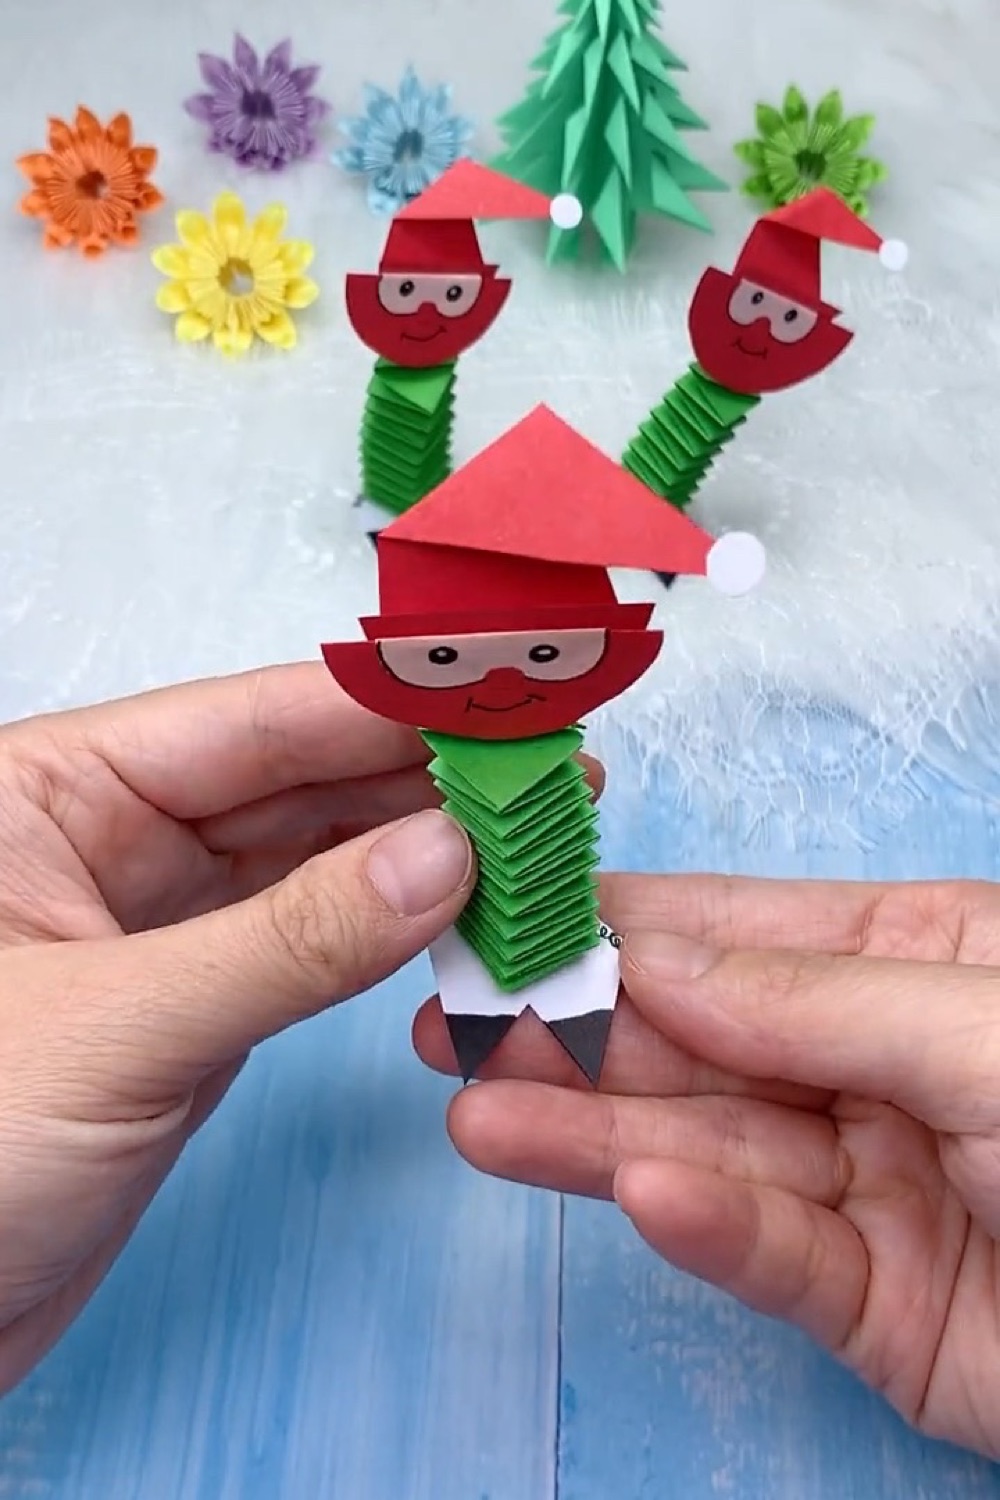
Get ready for giggles and festive holiday cheer with this adorable DIY Accordion Paper Spring Santa! Unlike flat greeting cards or traditional paper cutouts, this whimsical Christmas craft features a three-dimensional accordion-folded spring body that bobbles, bounces, and springs to life whenever you gently press down on Santa’s cap.
In this simple 10-minute tutorial, you will learn the classic paper accordion weaving technique using two strips of paper, craft a cheerful smiling Santa face, fold a classic pointed red cap with a fluffy white pompom, and attach standing black boots that keep Santa sturdy on any desktop, shelf, or holiday mantelpiece.
Craft Supplies & Materials
- 2 Long Strips of Green Craft Paper (approx. 2.5 cm wide × 30 cm long): Bright emerald or pine green paper creates the elastic accordion spring body. Standard 80–120 gsm copy or construction paper works best.
- Red Craft Paper: For cutting Santa’s rounded beard silhouette and folding his iconic pointed cap.
- Peach / Light Flesh Tone Paper: For Santa’s smiling face insert.
- Small White Paper Scrap: For punching or cutting the fluffy round hat pompom.
- Small White & Black Paper Scrap: To craft Santa’s sturdy boot stand base.
- Black Gel Pen or Fineliner: To draw cartoon eyes, joyful eyebrows, and a wide friendly smile.
- Glue Stick or Paper Craft Glue: To seal the spring folds and assemble all parts firmly.
- Scissors: For cutting clean paper strips and face contours.
Watch Video
Step-by-Step Folding & Assembly Instructions
Step 1: Glue Green Paper Strips at a 90-Degree Corner
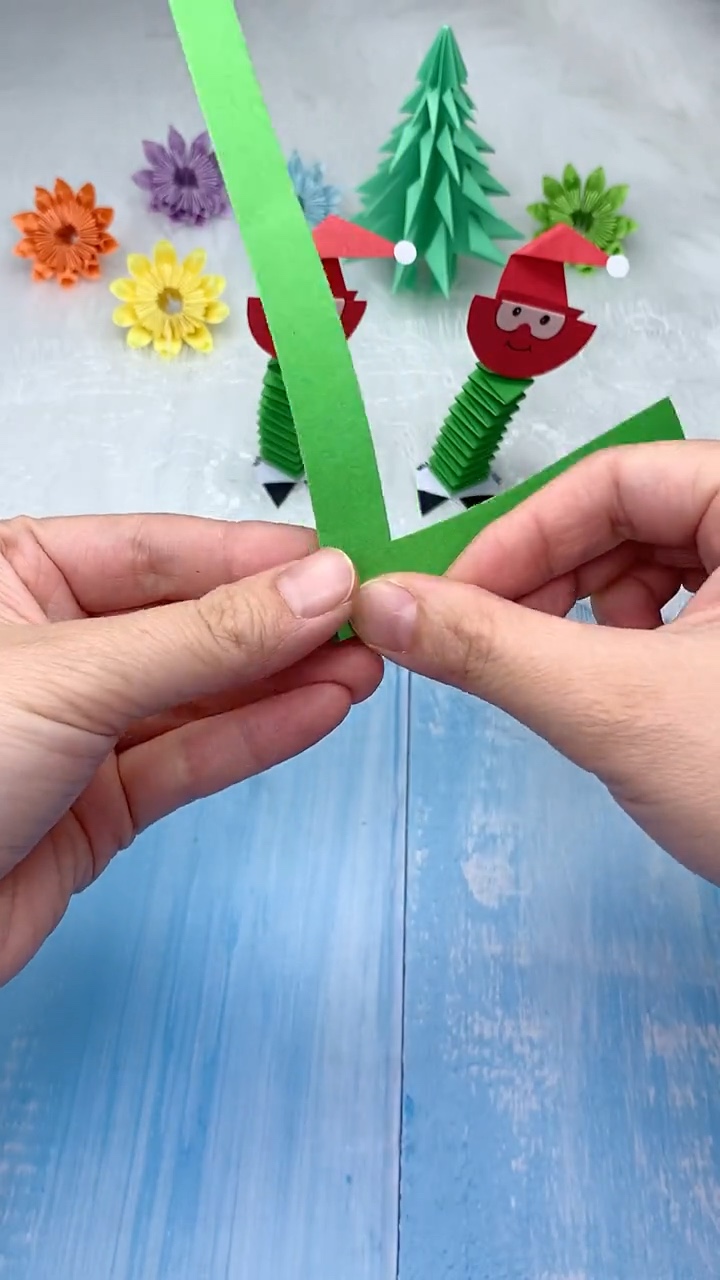
Begin by cutting two identical green paper strips approximately 2.5 cm (1 inch) wide and 30 cm (12 inches) long. Place a small dab of glue on the very end of one strip, then place the end of the second strip directly on top to form a crisp, perpendicular 90-degree “L” shape corner. Press firmly for a few seconds to let the bond set.
Step 2: Fold Alternating Accordion Spring Pleats
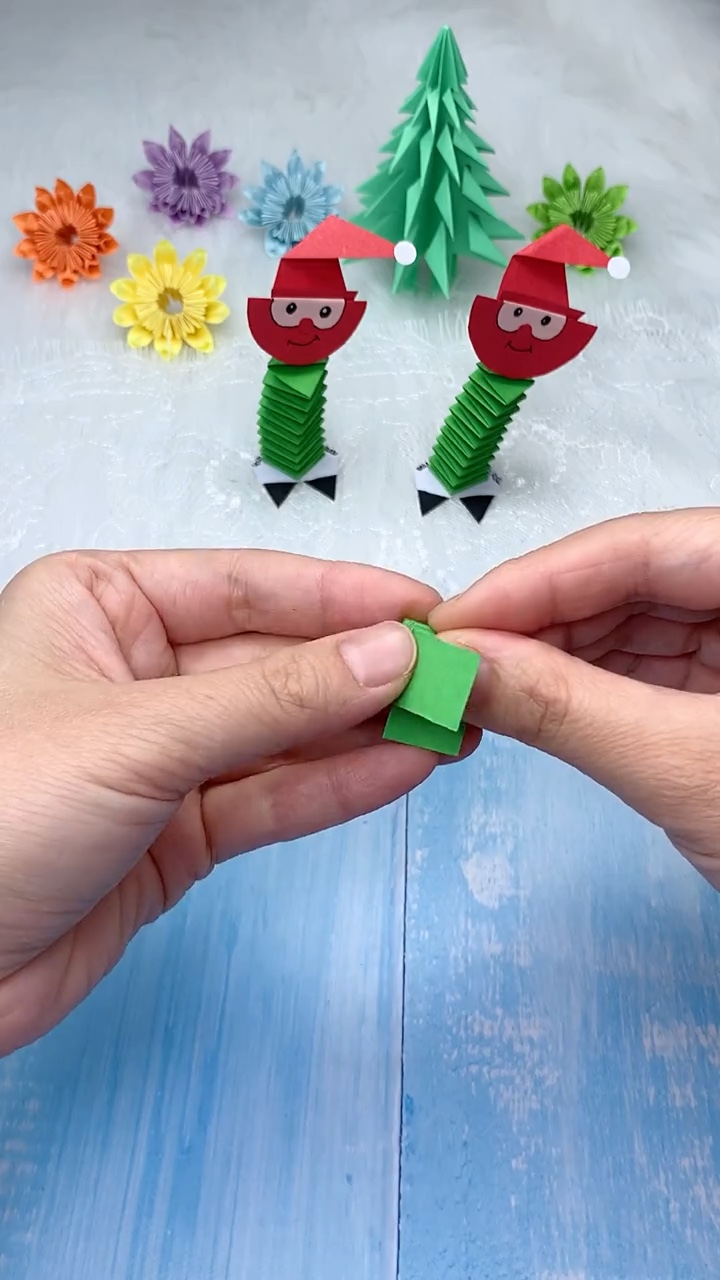
Take the bottom strip that lies underneath and fold it straight across over the top strip, creasing firmly along the edge. Next, take the other strip and fold it over the first one in the opposite direction. Continue this rhythmic back-and-forth folding pattern all the way up the length of both strips. Watch as a neat, square accordion stack begins to rise right in your fingertips!
Pro Tip: Keep your creases straight and even without pulling too tightly. Crisp edges give the spring maximum bounce and vertical resilience!
Step 3: Glue Top Edge to Seal the Bouncy Paper Spring
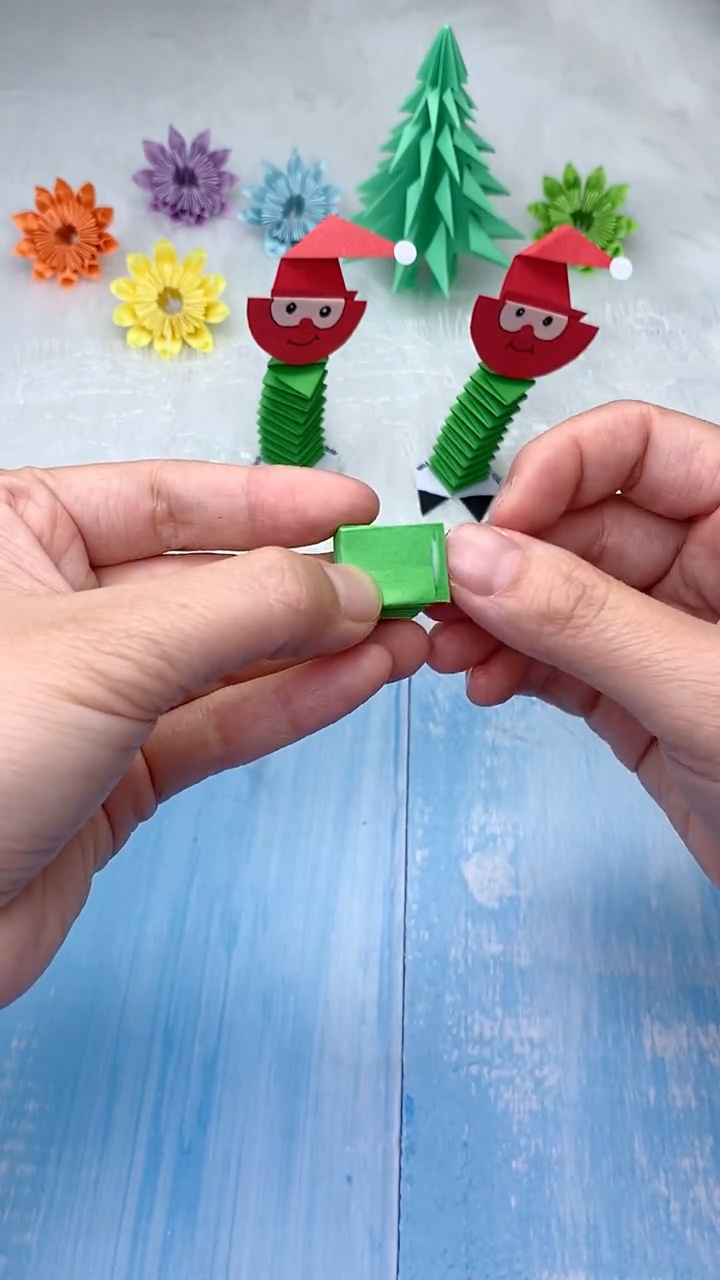
Once you reach the final few centimeters of paper, trim any small excess overhang with scissors. Apply a small dot of craft glue to the top tab and press down firmly to seal the stack closed. Gently release your hold and pull the ends slightly apart—you now have a delightfully springy, bouncy paper column that compresses and bounces back effortlessly!
Step 4: Cut Semicircular Beard & Peach Face Mask
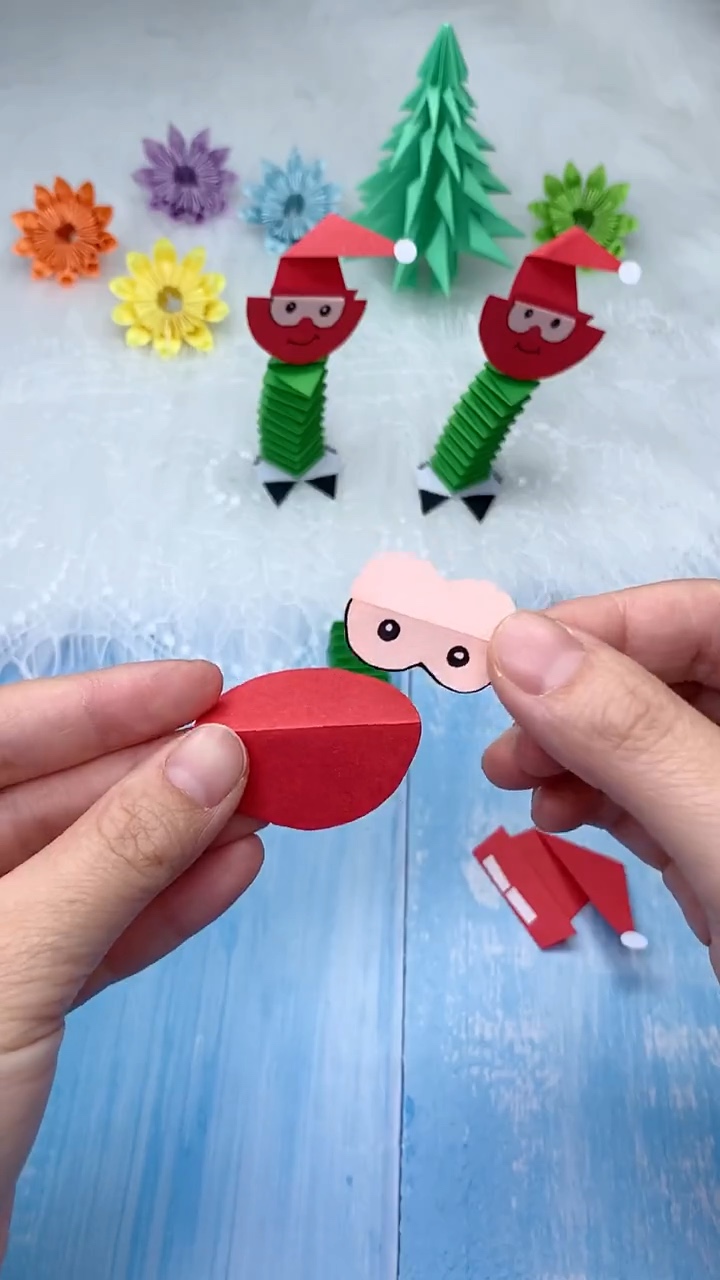
From your red craft paper, cut a smooth rounded oval (or half-oval) about 5 cm wide to serve as Santa’s base and beard contour. Next, cut a curved peach face mask piece and glue it across the upper half of the red base. Using your black pen, draw two twinkling cartoon eyes and a jolly nose outline to bring Santa’s warm personality to life.
Step 5: Fold Pointed Red Hat with White Pompom
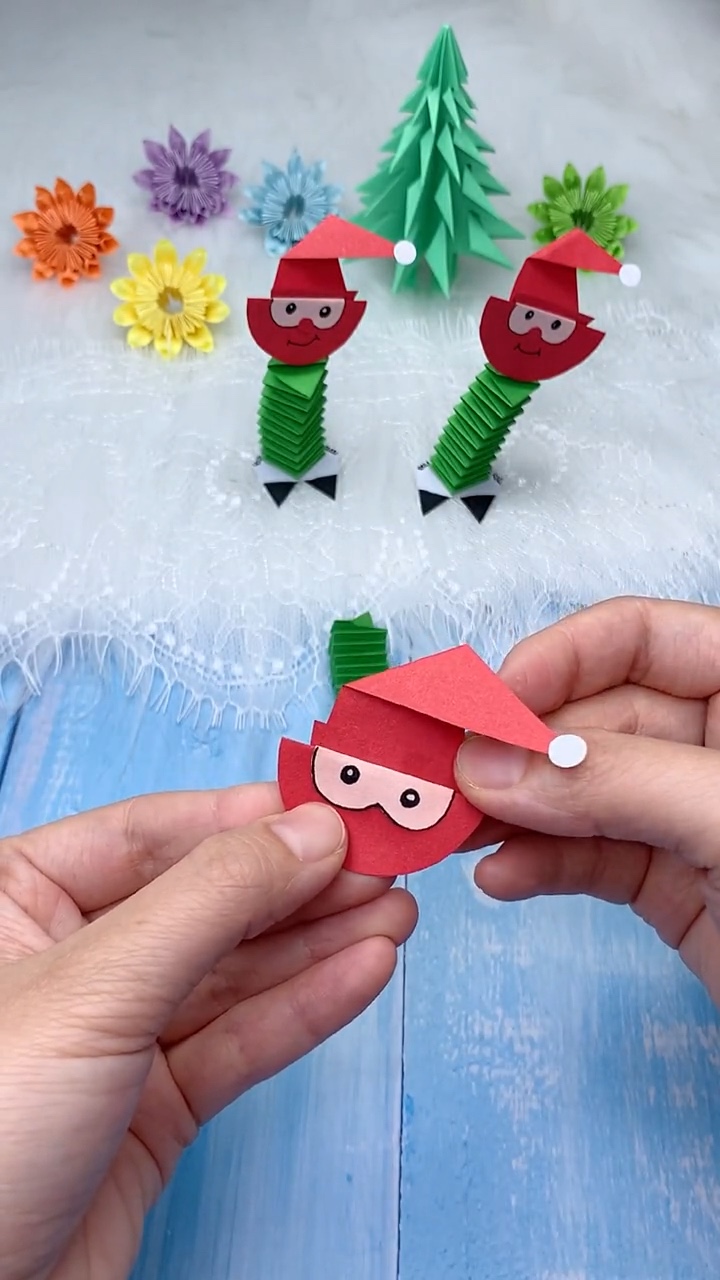
Cut a small red paper rectangle (about 4 × 5 cm). Fold the bottom edge up by 0.5 cm to form a crisp cap brim, then angle the top corners downward to crease a pointed, drooping Santa hat. Cut a small circle from white paper and glue it to the jaunty drooping tip of the cap. Glue the completed hat slightly tilted across Santa’s forehead.
Step 6: Attach Head to Spring and Glue Standing Boots Base
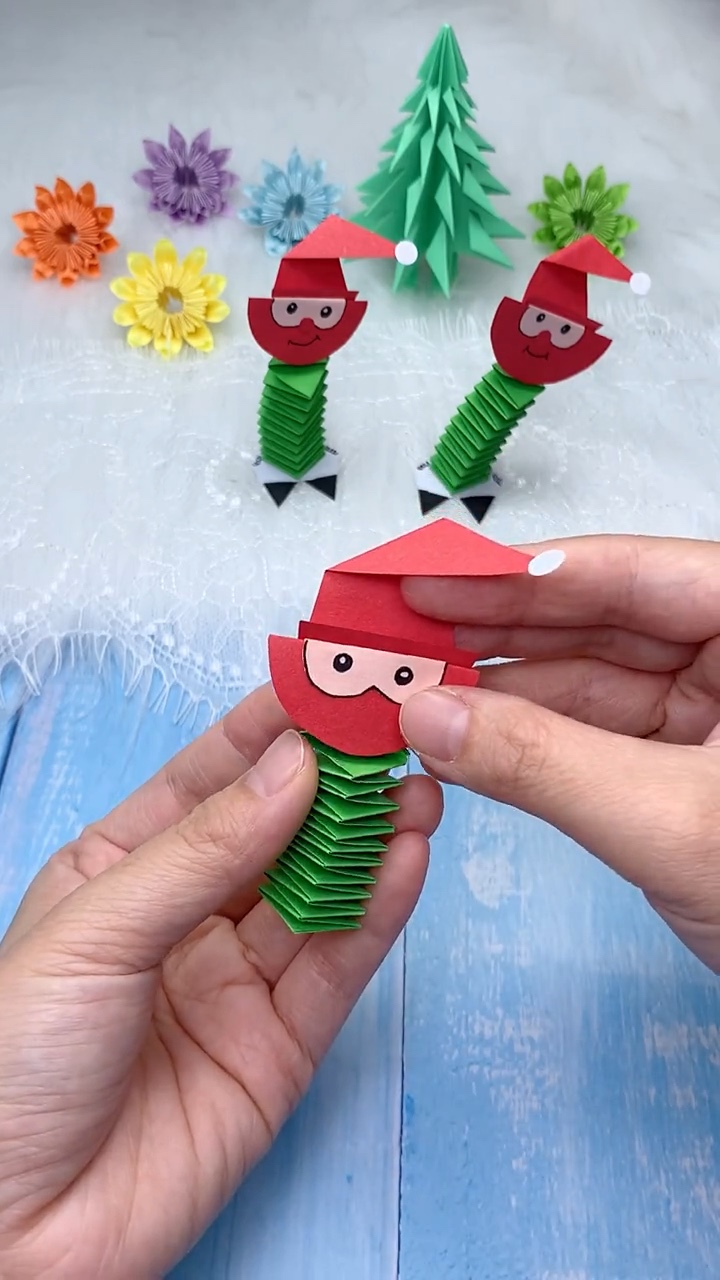
Apply a generous dab of glue to the top square platform of your green accordion spring and press Santa’s head firmly in place until set. Finally, cut a small white paper card with two triangular black boots pointing forward and glue it securely underneath the bottom of the spring column. Set your new Santa down on a table and tap his hat to watch him bounce happily!
Fun Ways to Display & Play with Your Spring Santa
Here are creative ways to enjoy your handmade bouncy Santa toy this holiday season:
- Bobblehead Holiday Desk Decor: Place Santa beside your computer monitor or keyboard—every time you tap your desk, he bobs and nods cheerfully.
- Interactive Gift Topper: Tape the boot base on top of a wrapped Christmas present instead of a standard ribbon bow for a memorable, playful surprise!
- Classroom Holiday Activity: Kids of all elementary ages love the repetitive folding rhythm of paper springs. Experiment with red and white paper strips to make candy cane springs!
Looking for more festive DIY paper projects? Explore our other holiday favorites:
- 🦌 How to Make an Origami Reindeer Corner Bookmark — Fold a cute Rudolph corner bookmark for winter reading.
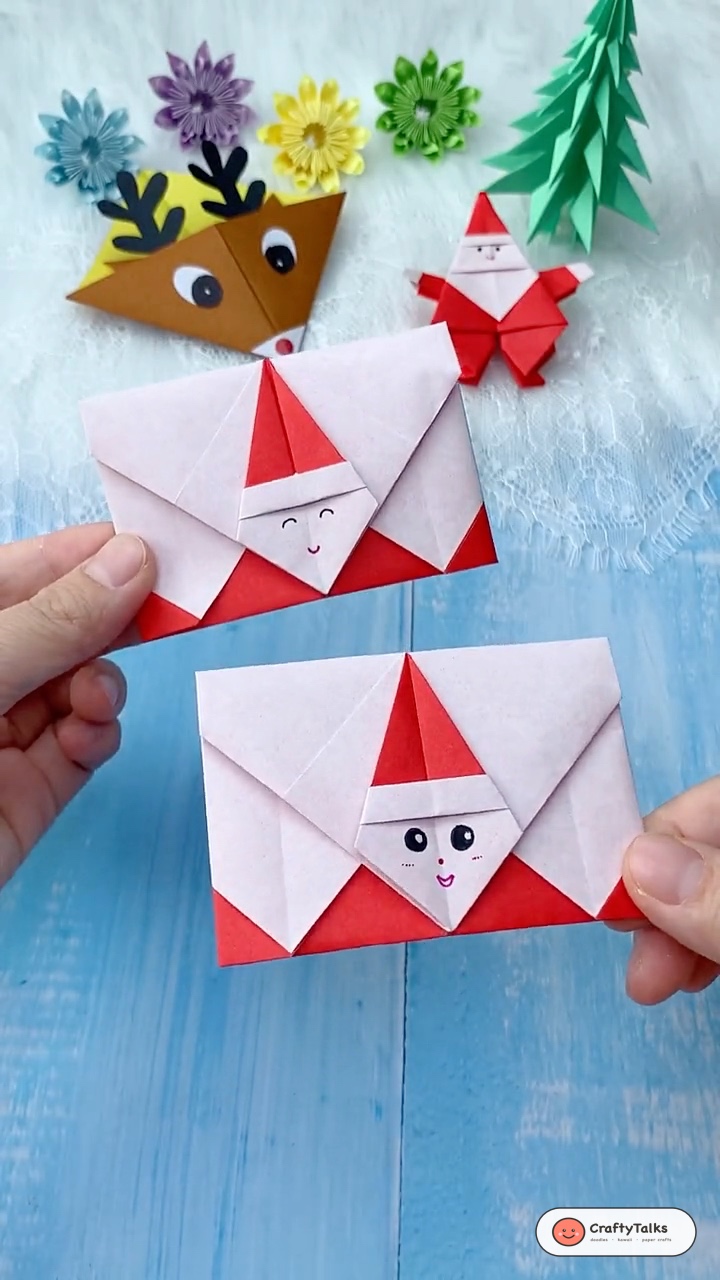
- 🎅 How to Make an Origami Santa Claus — Easy step-by-step traditional folding guide.
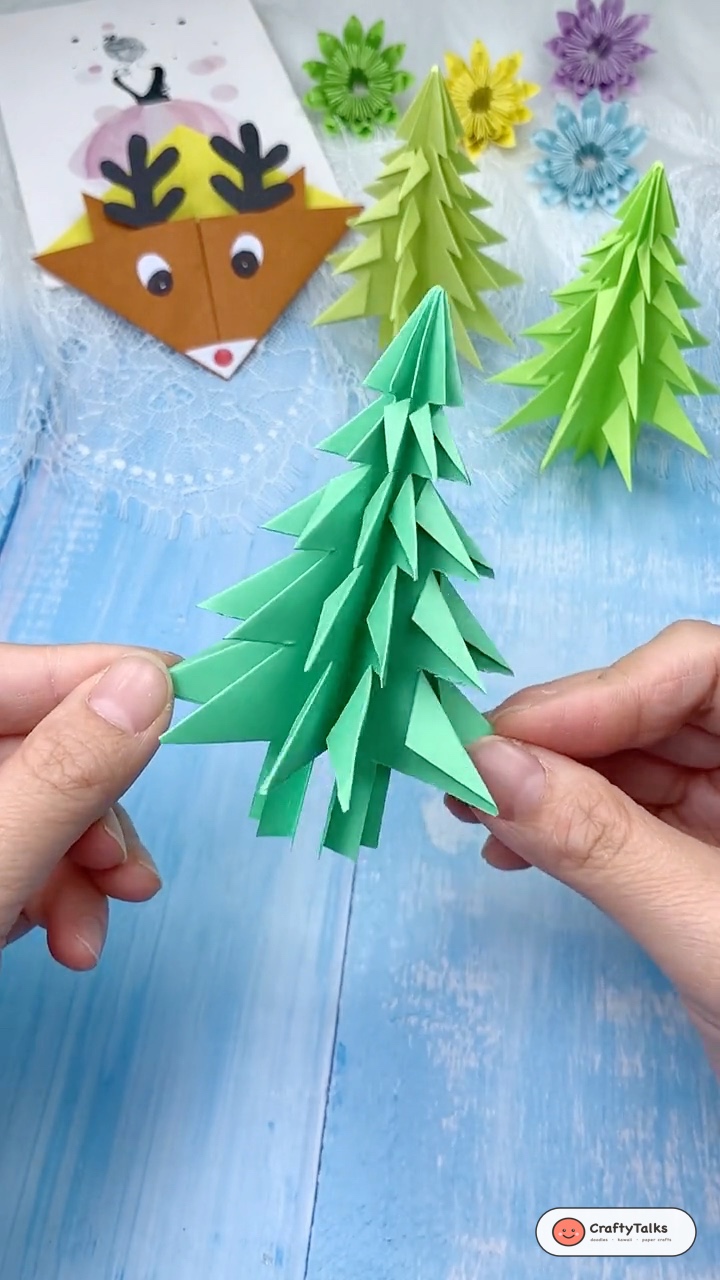
- 🎄 How to Fold a 3D Origami Christmas Tree — Freestanding decorative holiday fir tree.
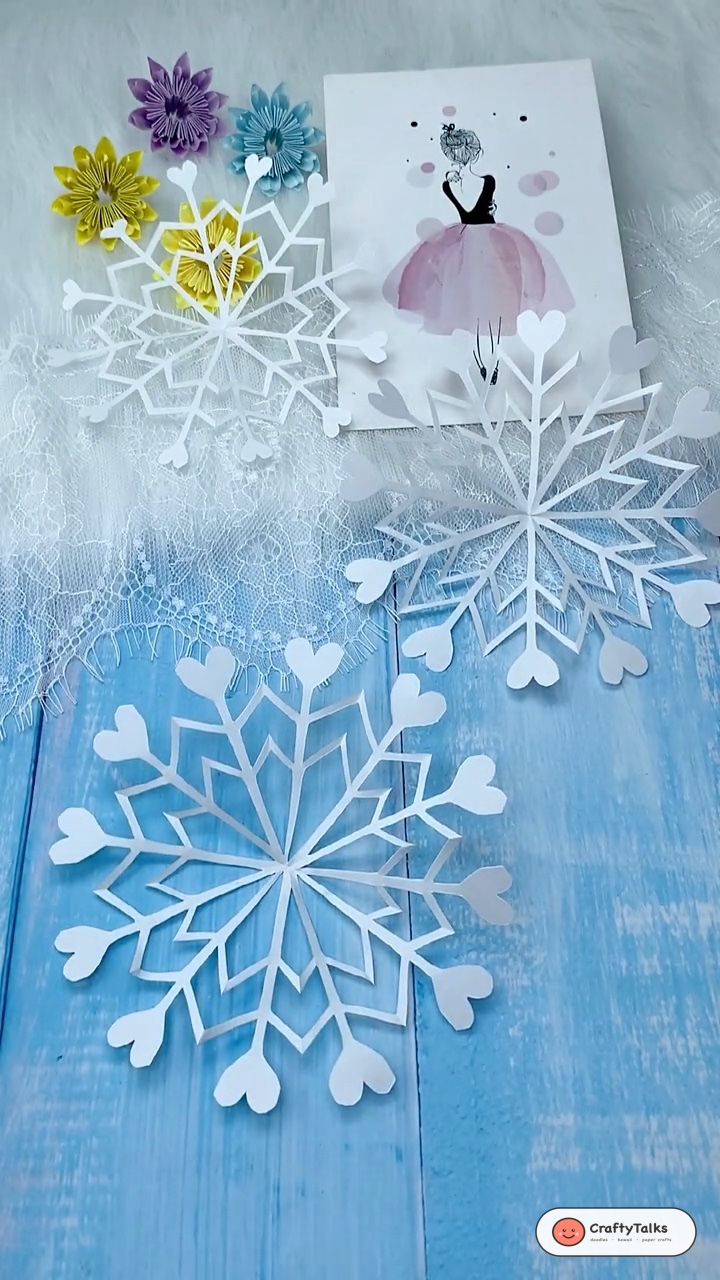
- ❄️ How to Make Kirigami Paper Snowflakes — Beautiful heart-tipped paper window stars.