How to Make a 3D Paper Holiday Wreath (Easy Christmas Wall Decor)
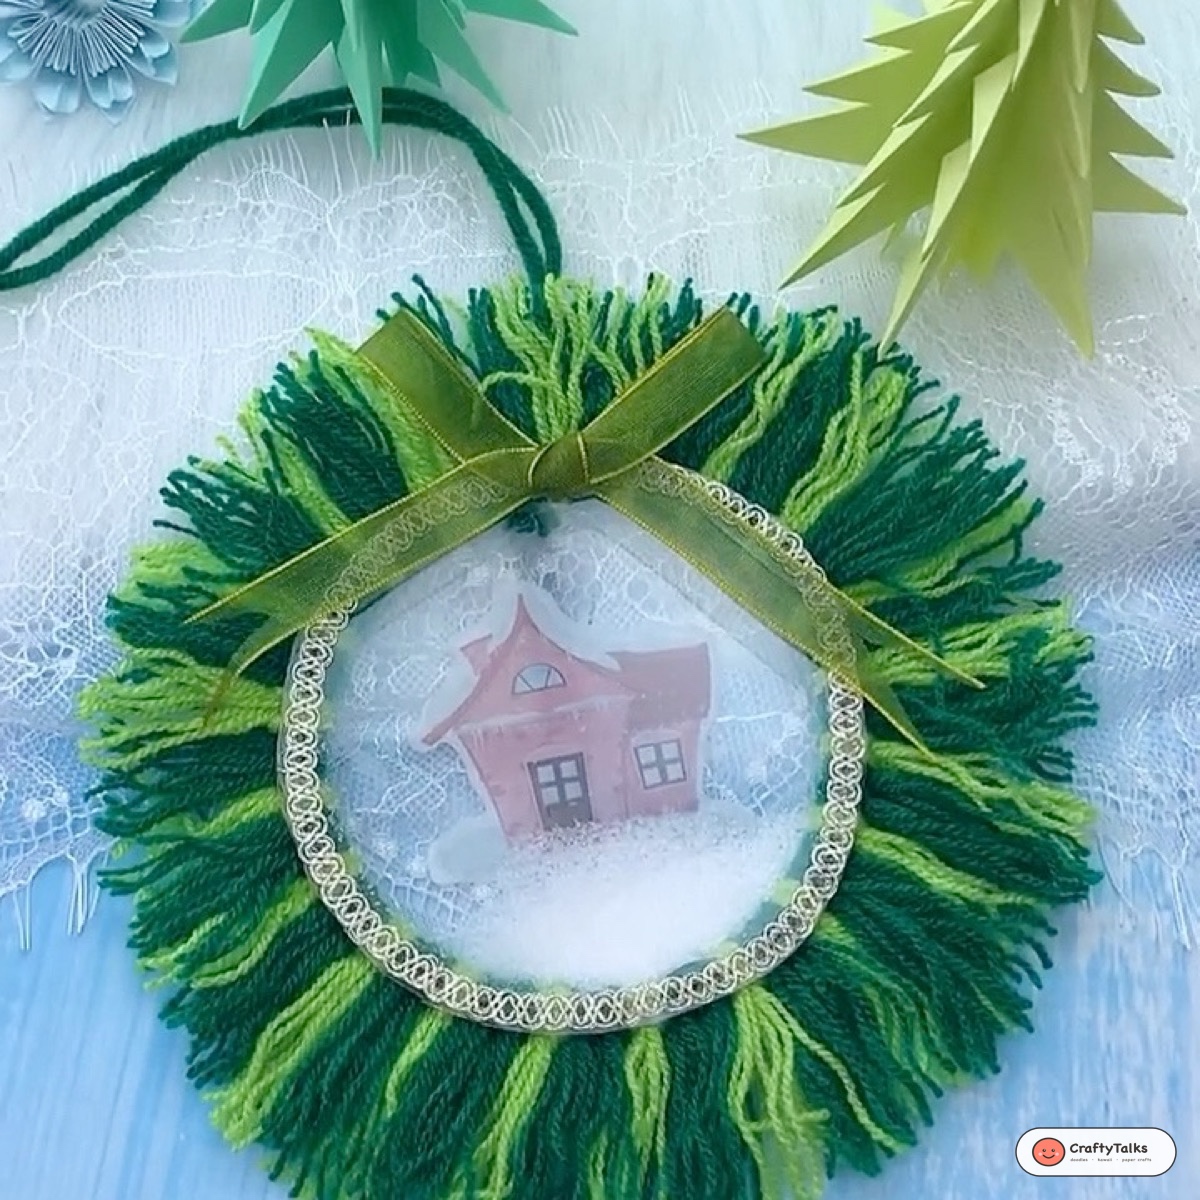
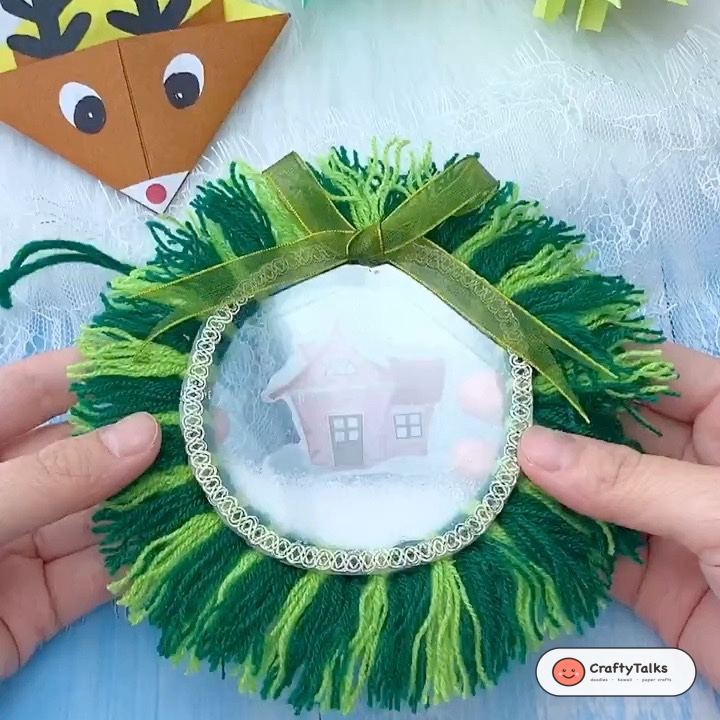
Bring warmth, texture, and handmade holiday charm to your home with this stunning DIY 3D Paper Christmas Wreath! Combining dimensional fringed evergreen boughs, a festive snow globe shaker center, and an elegant satin ribbon bow, this easy paper craft turns simple cardstock and recycled cardboard into a holiday showpiece you can proudly hang on your front door, gallery wall, or mantelpiece.
Unlike store-bought plastic garlands, a handcrafted paper wreath lets you customize your holiday palette—from classic pine green and cranberry red to modern frosted neutrals. Whether you are crafting cozy winter decor for your living space or looking for a delightful weekend project to make with family, this step-by-step tutorial guides you through each fold, loop, and finishing detail with zero guesswork.
Tools & Materials You Will Need
You only need basic, budget-friendly craft supplies to assemble this dimensional wreath:
| Craft Material | Recommended Specification | Purpose in Project |
|---|---|---|
| Cardboard Core Ring | 8–10 cm diameter (recycled tape core or heavy cardstock) | Forms the rigid, sturdy foundation ring. |
| Green Craft Paper / Fringe Strands | Forest pine green & lime green (approx. 10 cm lengths) | Creates lush, realistic needle texture around the base. |
| Cranberry Red Accent Strands | Vibrant holiday red paper or yarn strips | Adds pops of seasonal berry color in alternating blocks. |
| Clear Dome or Acetate Cover | 6–7 cm circular transparent blister or clear film | Encloses the interactive center snow globe scene. |
| Faux Snow Crystals | 1–2 tablespoons coarse craft snow or sea salt | Provides the winter snowfall shaker effect. |
| Mini Figurine or Paper Cutout | Winter cottage, bear, or miniature reindeer | Focal decorative scene inside the shaker dome. |
| Decorative Ribbon & Rhinestone Chain | Satin bow, gold trim, and hanging loop cord | Frames the shaker dome and suspends the wreath securely. |
| Craft Adhesive | Craft glue stick, PVA glue, or low-temp glue gun | Locks loops firmly and adheres decorative accents. |
💡 Pro-Maker Tip: Choosing Your Wreath Core
Repurposing an empty shipping tape roll or heavy-duty ribbon spool is the easiest way to get an ultra-sturdy, perfectly circular core that never bends under tension. If cutting your own base from corrugated cardboard, trace concentric circles using bowls and cut with a craft blade on a self-healing mat.
Step-by-Step Instructions: Crafting Your 3D Paper Wreath
Step 1: Prepare the Circular Ring Base
Every long-lasting wreath starts with a solid foundation. Begin by preparing your circular cardboard core. If using a recycled tape core, ensure the outer and inner edges are smooth and free of sticky residue. If crafting a flat ring base from cardstock, cut a donut-shaped circle with an outer diameter of 10 cm and an inner hole of 6.5 cm.
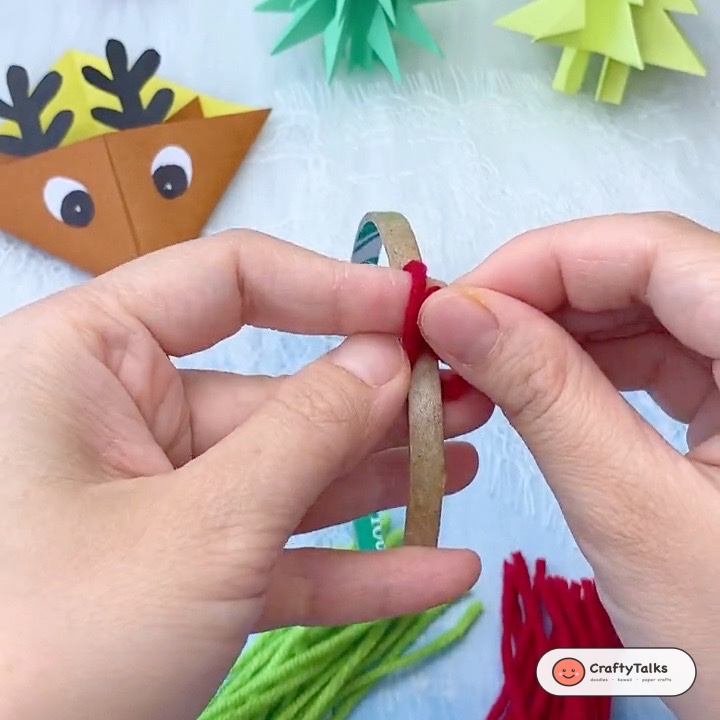
Fold your first red craft strand precisely in half so that the folded loop sits on one side and the two loose tails rest on the other. Align this folded strand vertically over the cardboard ring wall.
Step 2: Loop the Primary Fringe Strands
To lock each fringe strand firmly onto the wreath base without messy glue seeping, use the classic lark’s head knot technique. Slide the folded loop behind the cardboard ring wall, wrap the loop over the top rim, and pull the two loose tails through the loop opening. Pull both tails firmly downward to cinch the knot snug against the ring.
Repeat this hitching motion with consecutive strands, pushing them tightly together so that no raw cardboard peeks through between the knots. This dense knotting creates an authentic, full-bodied evergreen texture.
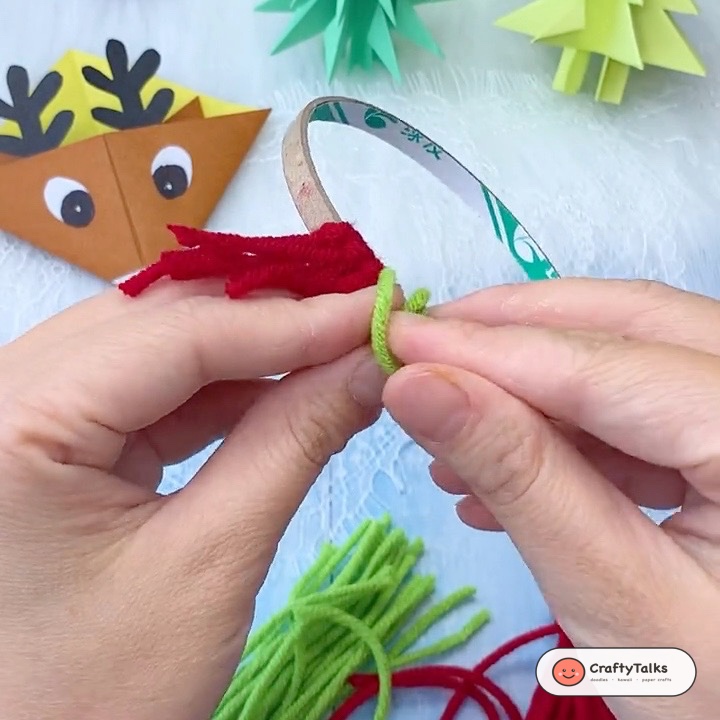
Step 3: Alternate Seasonal Evergreen and Berry Accents
Bring visual rhythm and contrast to your wreath by alternating color groups. Hitch 5 to 6 strands of deep forest pine green, followed by 2 to 3 strands of bright lime green, and periodically introduce pairs of vibrant cranberry red strands. The lime strands mimic fresh tender pine needles, while the red strands evoke cluster holly berries nestled deep within winter foliage.
Continue working around the full 360-degree perimeter of the ring until the entire circumference is densely packed. Leave a long matching green cord extending from the top back to serve as your hanging loop.
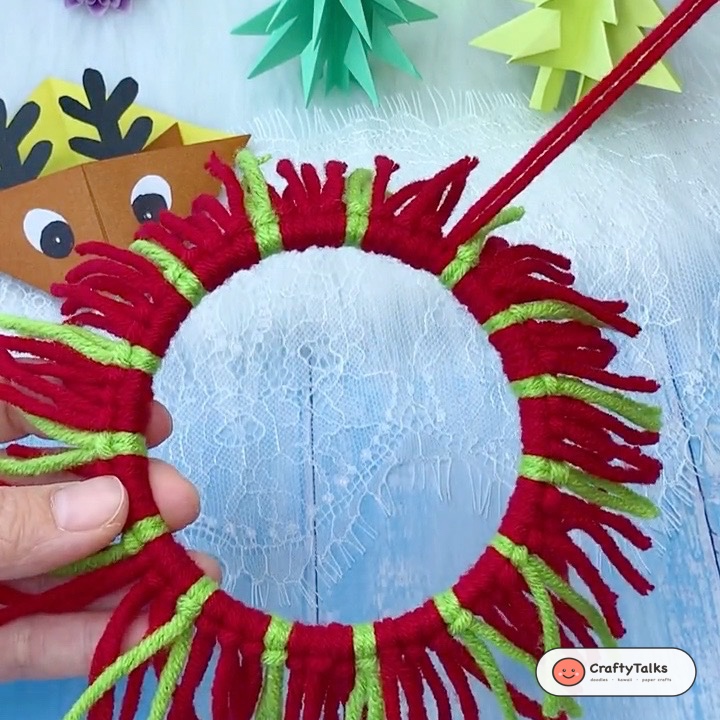
Step 4: Comb, Fluff, and Shape the Dimensional Boughs
Once all strands are securely hitched around the ring, lay your wreath flat on your work surface. Using a wide-tooth comb or your fingertips, gently brush the fringe strands outward away from the center. Fraying and separating the fibers creates lush, three-dimensional volume that looks like genuine pine branches.
Next, use sharp craft scissors to trim around the outer perimeter, evening out stray ends into a balanced, symmetrical circle. Cut a circular disc of white cardstock sized to match the inner diameter of the ring, apply craft adhesive to its rim, and firmly press it against the backside of the ring to create a clean backdrop for your center display.
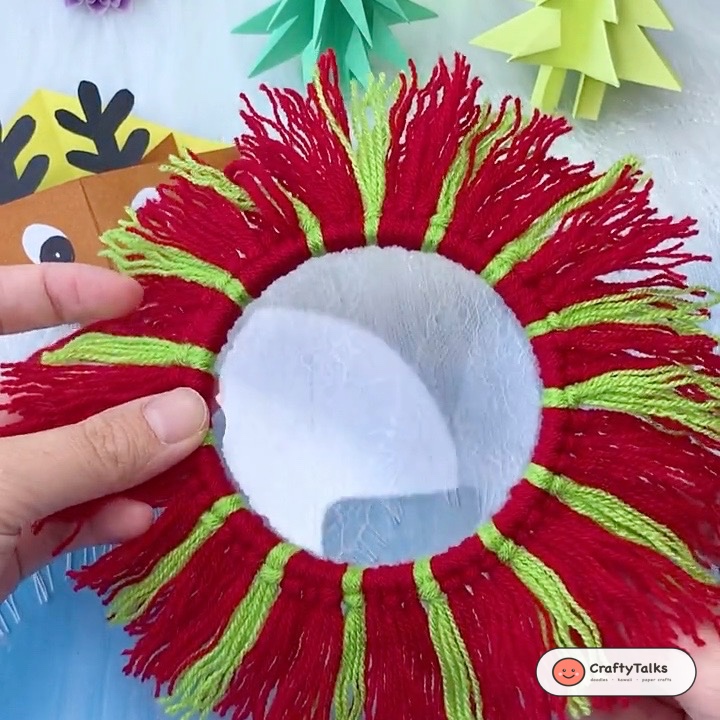
Step 5: Craft the Winter Snow Globe Shaker Center
Now comes the magical interactive focal point of your wreath! In the center of the white backing disc, adhere your chosen winter scene—such as a charming hand-cut paper cottage, a miniature woodland deer, or a pair of festive figurines. Ensure the figurine is firmly bonded so it stays put when shaken.
Gently spoon 1 to 2 tablespoons of coarse craft snow, micro glitter, or coarse sea salt into the base of the scene. The weight of coarse salt gives a crisp, audible rustle and settles beautifully against the cottage roof whenever the wreath is gently moved.
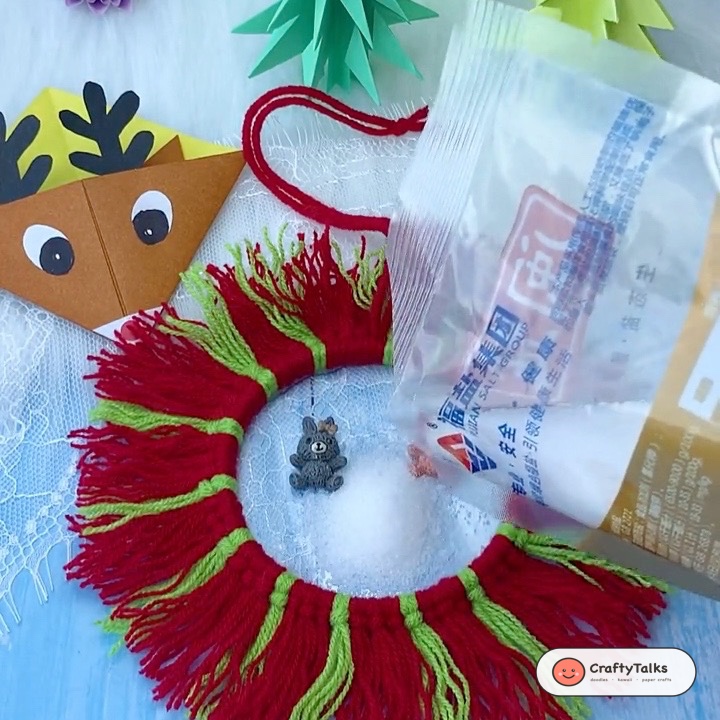
Step 6: Adhere Sparkling Trim and Satin Hanging Ribbon
To seal the shaker dome, run a thin, continuous bead of clear craft glue around the inner rim of the ring base. Press the transparent dome down firmly, holding for 30 seconds to guarantee an airtight seal that prevents snow crystals from escaping.
To conceal the dome edge and add festive brilliance, glue a sparkling rhinestone chain or metallic gold braid around the circular junction. Finally, tie a neat double-loop bow from shimmering olive or emerald satin ribbon and adhere it directly above the shaker dome. Hang your finished 3D wreath from its top cord and admire the handcrafted sparkle!
Creative Variations to Try
- Frosted Winter Wonderland: Use crisp white and silver paper strands for the fringe, paired with icy blue ribbon and iridescent snowflake sequins inside the shaker dome.
- Traditional Victorian Red & Gold: Combine deep ruby red cardstock loops with warm golden beads, natural cinnamon sticks, and dried mini pinecones glued along the bottom bough.
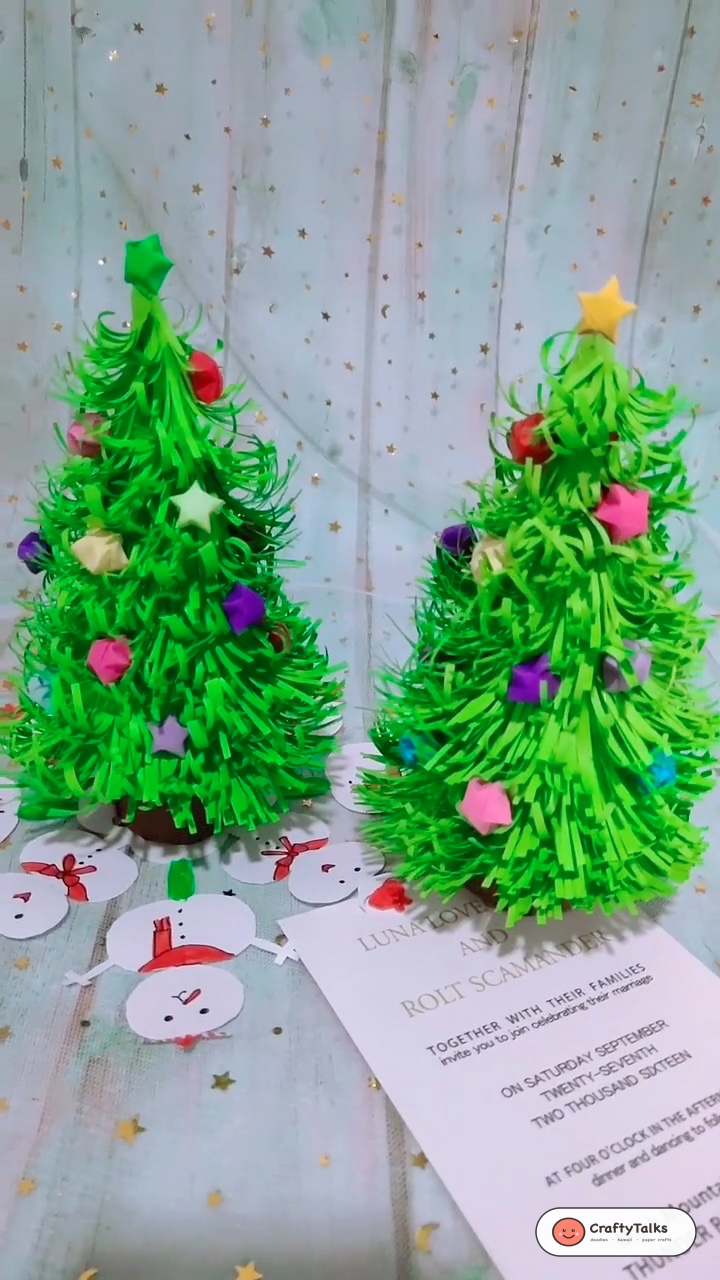
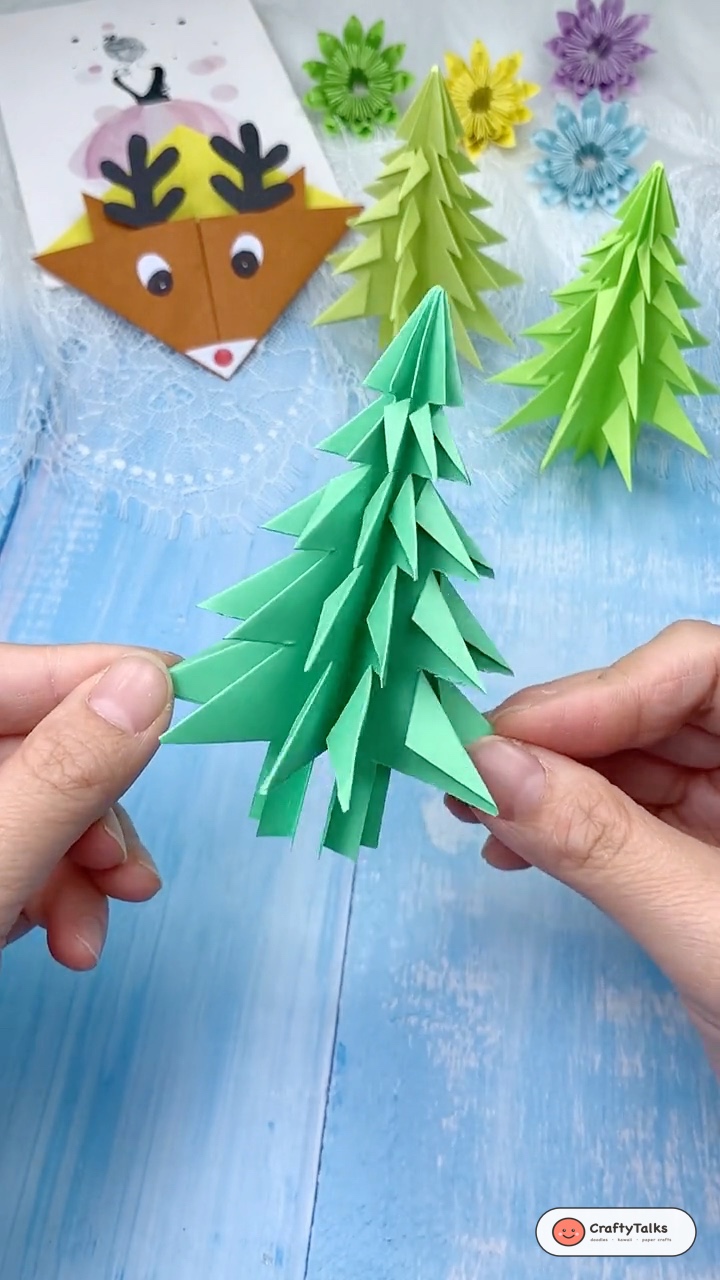
- Mini Tree Ornaments: Scale the dimensions down by using empty tape spool cores (approx. 5 cm diameter) to create an entire matching set of miniature shaker wreath ornaments for your Christmas tree. Pair them alongside our freestanding 3D Origami Christmas Tree and festive Kirigami Paper Snowflakes!
🎁 Expand Your Holiday Paper Craft Collection!
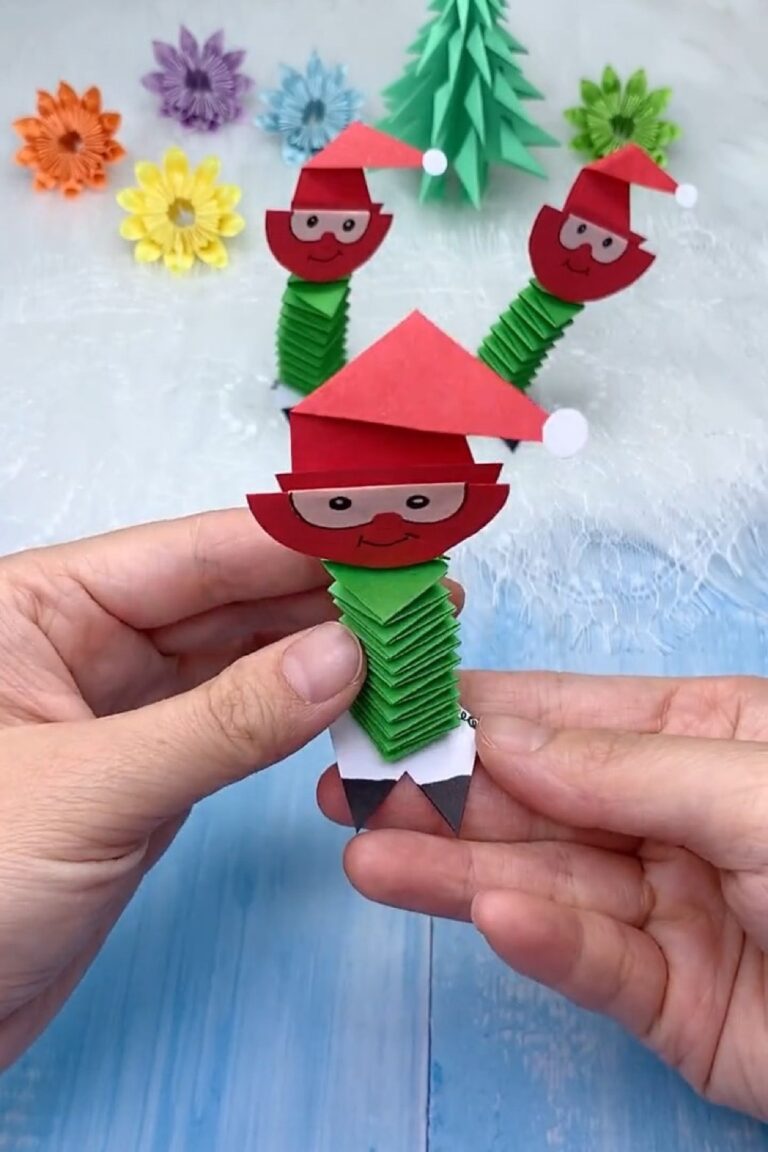
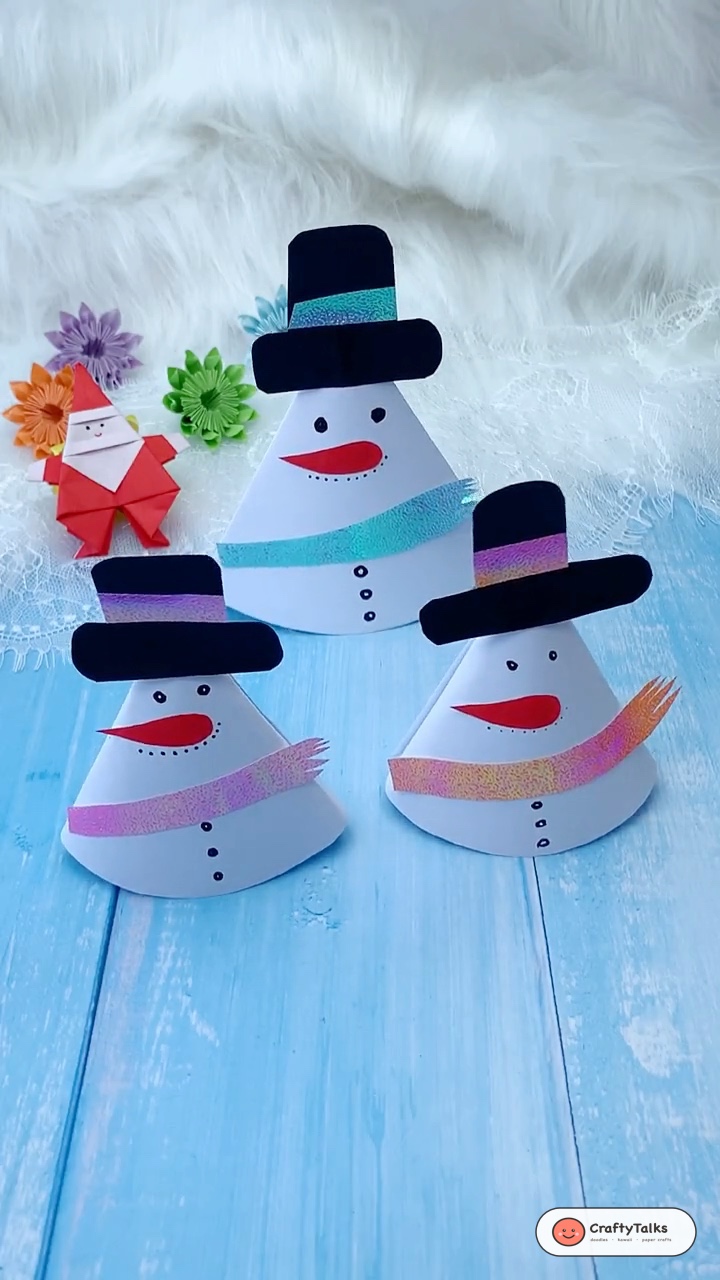
Pair your holiday wreath with our collection of festive handmade paper crafts! Fold an adorable Origami Santa Envelope for holiday cards, make a tiered 3D Paper Snowman, or fold an elegant Origami Paper Gift Box for holiday favors.
Frequently Asked Questions (FAQ)
How long will this paper wreath last?
When stored flat in a cool, dry box between holiday seasons, cardstock wreaths can easily last 3 to 5 years without fading. Keep away from direct sunlight or damp entryways to prevent the paper from warping.
What is the best glue to use for the shaker dome?
Clear tacky craft glue or low-temperature hot glue works best. Avoid liquid school glue, as its high water content can wrinkle paper discs and cause clear domes to fog up inside.
Can I make this wreath with kids?
Yes! Looping the strands over the cardboard ring is a wonderful fine-motor activity for children ages 6 and up. An adult should assist with cutting heavy cardboard and sealing the shaker dome with adhesive.
How heavy is the finished wreath?
The finished wreath weighs only about 40 to 60 grams, meaning it can easily hang from a lightweight command hook, magnetic wreath hanger, or small suction cup on glass windows.
Have you tried making your own holiday wreath? Share your favorite seasonal color combinations in the comments below, and don’t forget to save our step-by-step pins to your holiday DIY Pinterest boards!