How to Draw a Realistic Black-eyed Susan in 6 Easy Steps (Interactive Draw-Along)
Learn how to draw a realistic black-eyed Susan (Rudbeckia hirta) in 6 simple, step-by-step stages! Famous for its striking dark chocolate central cone surrounded by brilliant golden-yellow ray petals, the black-eyed Susan is one of North America’s most beloved native wildflowers. Whether you are filling your botanical sketchbook, practicing nature journaling, or seeking an easy flower drawing tutorial, this guide breaks down realistic floral anatomy into accessible geometric construction shapes, organic petal rhythms, and classic botanical shading techniques.
Interactive Draw-Along Studio: Black-eyed Susan Edition
Try our interactive digital drawing studio right below! Trace each construction stage, toggle guidelines on and off, test warm wildflower color palettes, and download your high-resolution artwork when finished.
 Step Guide 🔍
Loading Step...
Loading instructions...


Switch to Another Animal
Pick any animal below to start a new step-by-step draw-along!
Step Guide

🎉 High Five, Artist!
Your custom animal illustration is ready to download and share!

Black-eyed Susan Anatomy & Field Sketching Secrets
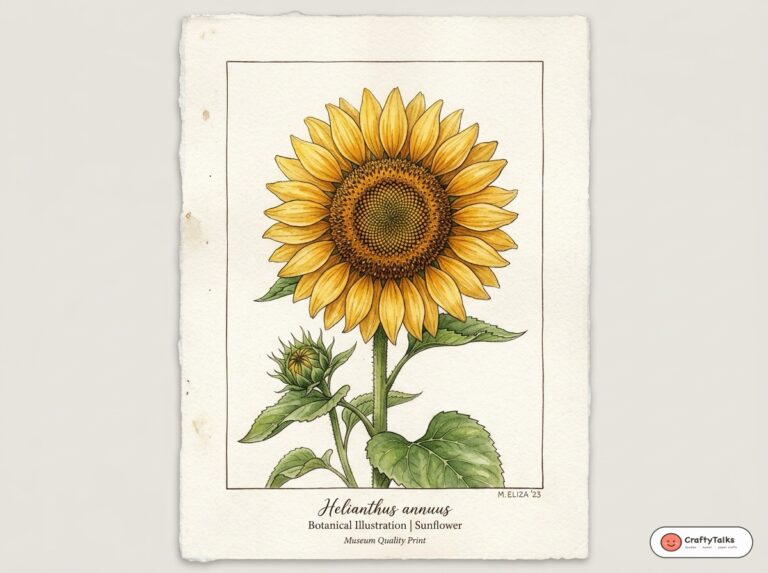
While beginners often mistake black-eyed Susans for common daisies or yellow sunflowers, observing three key anatomical characteristics will instantly elevate the realism of your floral sketches:
- The Raised Conical “Eye” (Disc Florets): Unlike the flat central button of a lawn daisy, a black-eyed Susan features a prominent dome-shaped or conical central disc packed with hundreds of tiny, dark purplish-brown florets.
- Downward Cascading Ray Petals: The vibrant yellow petals do not lie flat on a single plane. Instead, they gently cascade downward away from the raised cone like a fluttering summer sun parasol, with subtle ripples and notched tips.
- Bristly, Hirsute Stems & Leaves: Both the sturdy stem and the alternate lanceolate leaves are covered in fine, stiff bristly hairs that catch backlight outdoors. Incorporating soft, broken contour lines communicates this tactile texture effortlessly.
Step-by-Step Realistic Black-eyed Susan Drawing Tutorial
Step 1: Dome Cone Armature & Stem Guideline
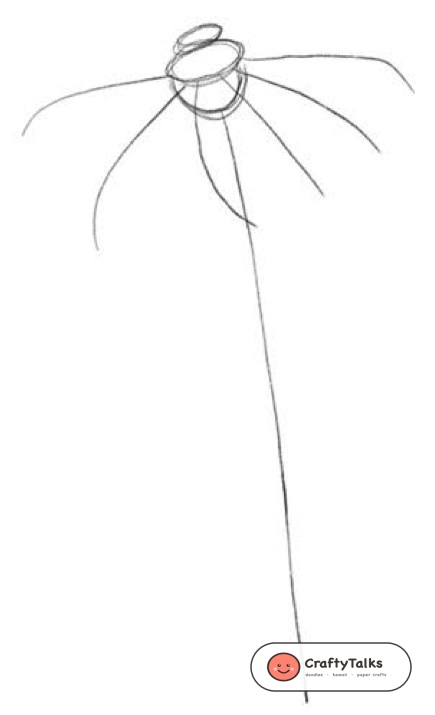
Begin with a light 2H graphite pencil. Near the top of your page, sketch a slightly tilted hemispherical dome for the flower’s raised central cone. From the base of this dome, extend a gentle, graceful S-curve guideline downward to establish the natural sway and posture of the main stem.
Step 2: Radiating Directional Petal Spokes
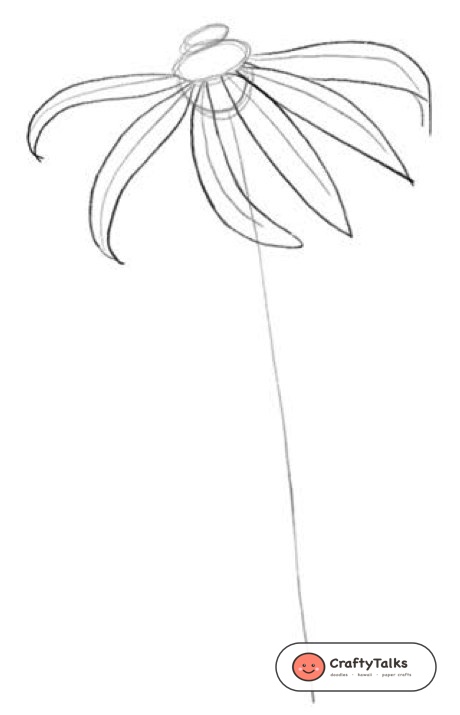
Lightly draw radiating directional spoke lines extending outward from the perimeter of the center cone. Angle the upper spokes slightly upward before curving out, while angling the side and lower spokes downward to map out the signature drooping parasol perspective.
Step 3: Layered Cascading Ray Petals
Using your radial spokes as central guides, block in the primary ring of slender ray petals. Taper each petal gently at its attachment point beneath the cone, let the body broaden, and round the tips. Peek a few secondary petals behind the gaps to build lush botanical depth.
Step 4: Curved Stem & Lanceolate Stem Leaves
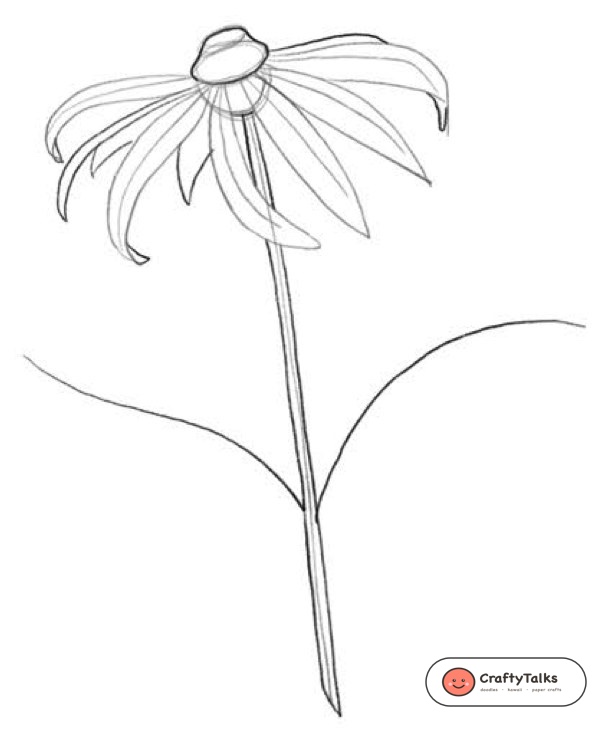
Draw a second parallel contour along the stem guideline, maintaining an even, slender cylinder width. Add small pointed leafy calyx bracts directly underneath the flower head, and sketch two alternate, elongated lanceolate leaves clasping the stem.
Step 5: Clean Archival Inking & Petal Creases
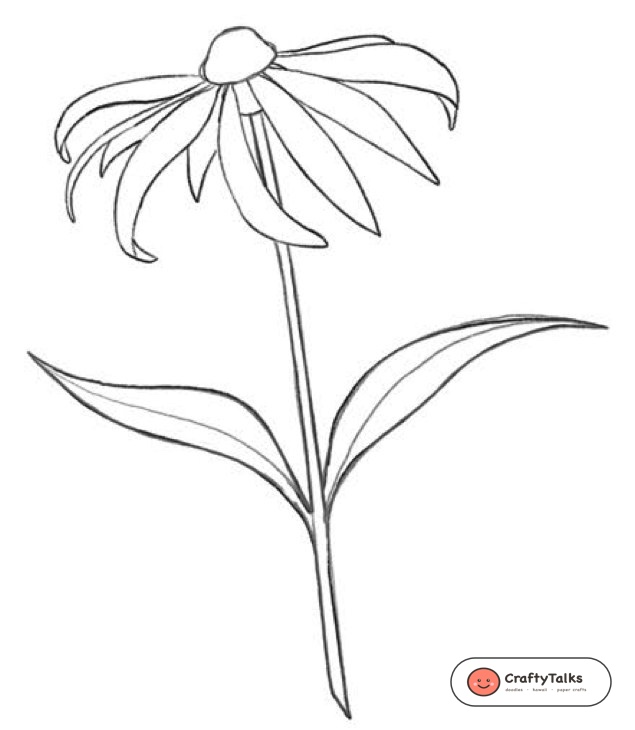
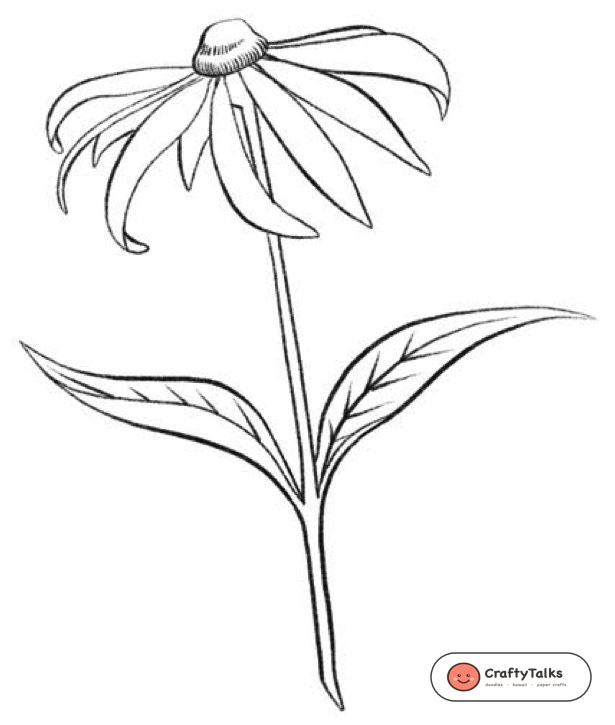
Switch to a fine-tip archival drawing pen (0.3mm or 0.5mm). Trace your permanent outlines with smooth, confident strokes. Give the petal edges subtle organic waves and tiny notches at the tips. Once your ink has fully dried, gently erase all pencil construction lines.
Step 6: Stippled Dark Eye & Botanical Shading
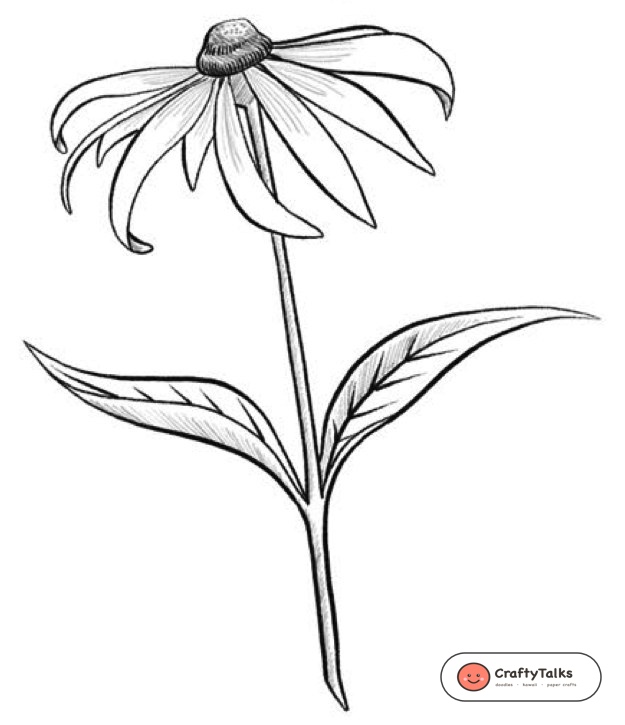
Now bring your wildflower to life with realistic botanical shading! Stipple dense, dark clusters across the central seed cone, leaving a gentle highlight curve near the top-left to define its round dome. Add delicate longitudinal vein lines along each petal, shade the cast shadows where petals overlap, and hatch the stem leaves with central vein ridges.
Botanical Color Palette & Painting Guide
Whether you color your finished piece with watercolors, colored pencils, or alcohol markers, blending these signature wildflower shades will produce rich botanical realism:
Deep chocolate-black tone for the dense stippled seed cone and disc florets.
Warm, glowing mid-tone yellow covering the broad body of each cascading ray petal.
Rich burnt orange-amber for shading petal bases directly beneath the center cone.
Earthy herbal green for the bristly stem, sepals, and rough lanceolate leaves.
Save to Pinterest & Share Your Botanical Artwork!
Pin this tutorial to your flower drawing, nature journaling, or botanical sketchbook inspiration board so you can revisit the steps whenever inspiration strikes!