How to Draw a Realistic Tulip (Tulipa) in 6 Easy Steps
Learning how to draw a realistic tulip (Tulipa) is one of the most rewarding milestones for botanical artists, nature journalers, and sketchbook lovers. With their iconic chalice-shaped blooms, smooth curving petals, and graceful lanceolate foliage, Dutch tulips offer the perfect study in floral form, symmetry, and subtle watercolor gradients. In this step-by-step masterclass, you will learn how to construct a three-dimensional tulip blossom from basic gesture curves, define delicate petal overlaps, and render life-like botanical shading without feeling overwhelmed.
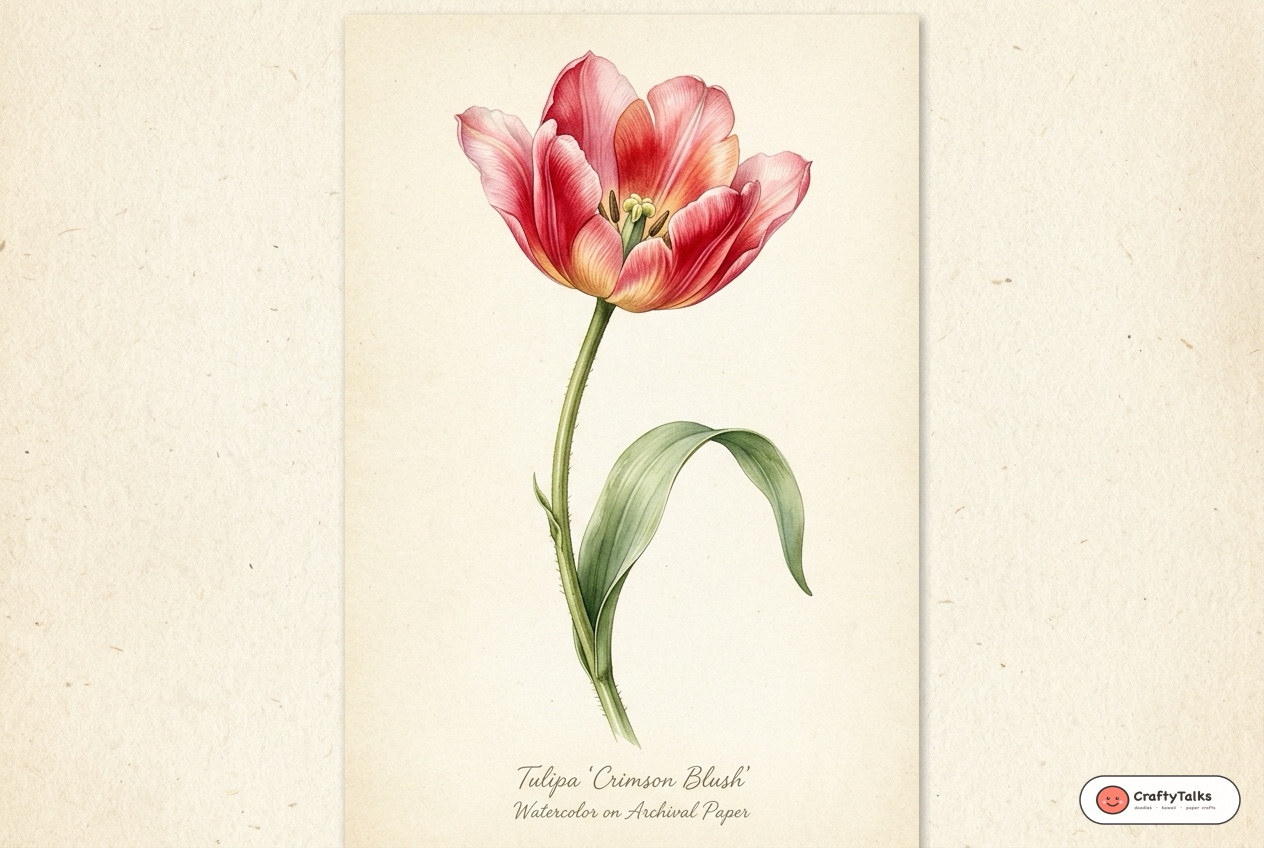
Anatomy of Tulip: What Every Artist Needs to Know
Before laying pencil to paper, understanding tulip anatomy will dramatically elevate your drawing realism. Unlike flat composite flowers, a tulip is a radial cup made of six ‘tepals’ (three outer petals and three inner petals) that gently cup inward toward a central pistil. The stem is smooth, fibrous, and succulent, emerging directly between broad, waxy leaves that wrap partially around the lower stem before tapering into elegant points. When sketching, always visualize the blossom as a three-dimensional hollow sphere sitting securely on a curved cylinder.
Recommended Drawing Materials & Botanist Tools
- Graphite Pencils: 2H for initial armature and gesture curves; 2B for refined contour lines.
- Smooth Hot-Pressed Paper: 160+ GSM botanical drawing paper or smooth Bristol vellum.
- Kneaded Eraser: For lifting guidelines without scuffing paper fibers.
- Archival Fineliner (Optional): 0.1mm and 0.3mm waterproof pigment pens for crisp line work.
- Botanical Watercolors or Colored Pencils: Crimson red, rose blush, warm amber, and sap green for rich tonal depth.
🎨 Interactive Draw-Along Studio: Realistic Tulip
No paper handy? Draw along directly on your tablet, phone, or computer using our in-browser Interactive Draw-Along Studio! Toggle trace lines, pick curated botanical colors, and save your finished artwork:
 Step Guide 🔍
Loading Step...
Loading instructions...


Switch to Another Flower
Pick any flower below to start a new step-by-step draw-along!
Step Guide

🎉 High Five, Artist!
Your custom botanical illustration is ready to download and share!

How to Draw a Realistic Tulip Step-by-Step
Step 1: The Blossom Egg & Stalk Gesture Line
Begin by lightly sketching a tall, upward-tilted oval (or egg shape) to establish the boundary of the tulip flower cup. From the center-bottom of this oval, sweep a long, gentle vertical curve downward to define the main flower stem. Finally, branch a second sweeping S-curve upward from the lower stem to map the energetic gesture of the leaf.
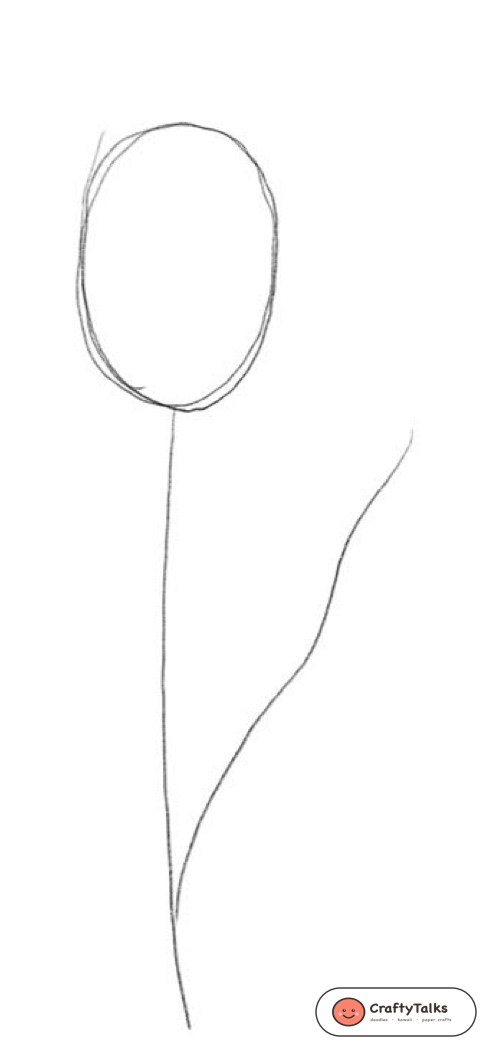
Botanical Artist Tip: Keep your pencil pressure whisper-light (2H pencil). These initial construction lines are your architectural scaffold and will be partially erased later.
Step 2: Center Petal Division & Leaf Contour
Divide the floral egg into petals by drawing two gentle inner curves that drop from the upper rim down to the base, defining the prominent center petal. Next, thicken the stem with a parallel line and sketch the outer boundary of the leaf as it curves gracefully away from the main stalk.
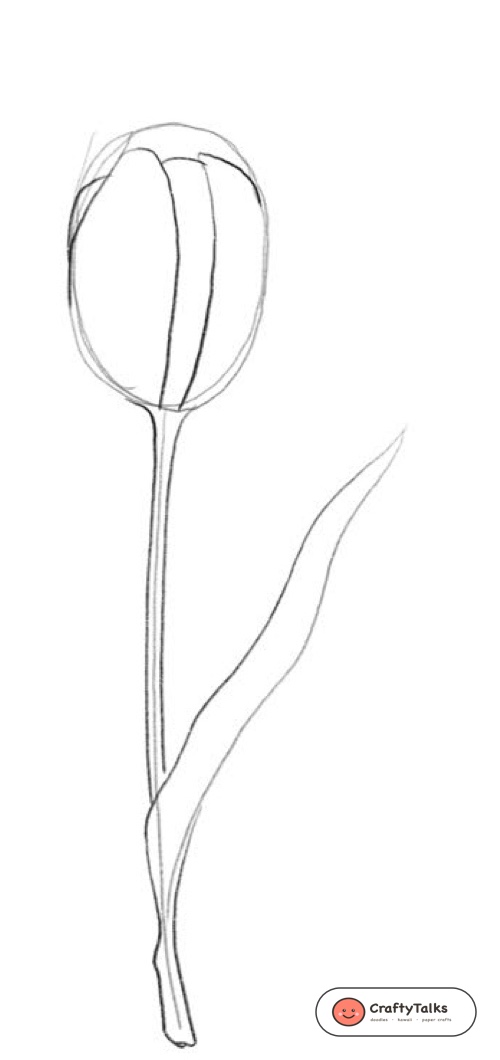
Botanical Artist Tip: Tulip petals overlap like shingles on a roof. Ensure the front center petal visibly overlaps the side petals at the base.
Step 3: Back Petals & Foliage Ribbon Thickness
Sketch the tips of the rear petals peeking out from the cup rim to create realistic 3D depth. Reinforce the stem with a second line to create consistent cylinder thickness, and define the inner trough of the tulip leaf so it resembles a curving ribbon.
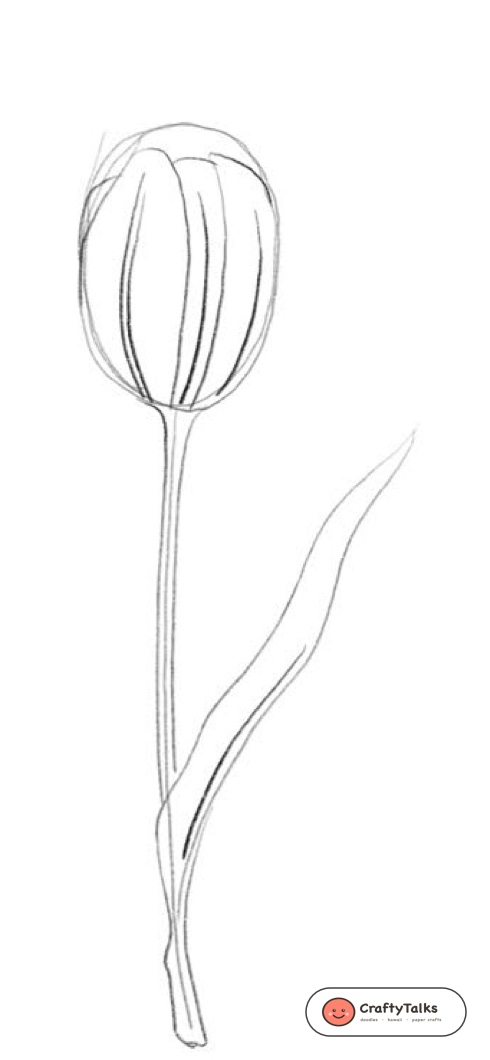
Botanical Artist Tip: Botanical leaves are not flat paper; they curl in three dimensions. Giving the leaf an inner and outer ribbon surface creates instant realism.
Step 4: Scalloped Petal Edges & Leaf Crest Contour
Transition from loose construction lines to defined contour ink. Add delicate undulating ripples along the petal margins, giving them their characteristic organic texture. Refine the outer leaf curl, bringing it to a crisp botanical tip.
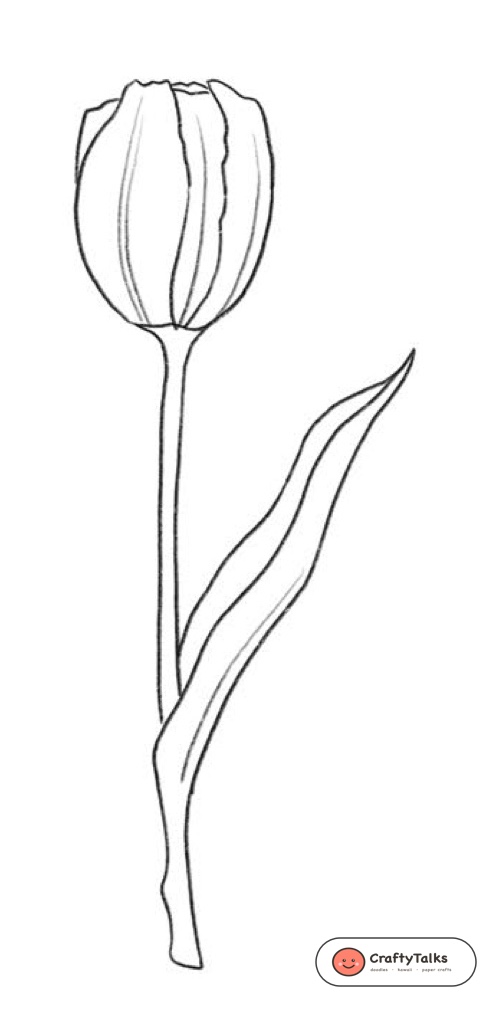
Botanical Artist Tip: Avoid making petal edges too jagged or sharp. Real tulip petals have smooth, slightly cupped, wavy margins.
Step 5: Line Art Cleanup & Ink Refinement
Carefully erase all initial oval armatures and unwanted construction lines using a kneaded eraser. Trace the final petal contours, stem edges, and leaf margins with a smooth 0.3mm fineliner or a sharp 2B pencil.
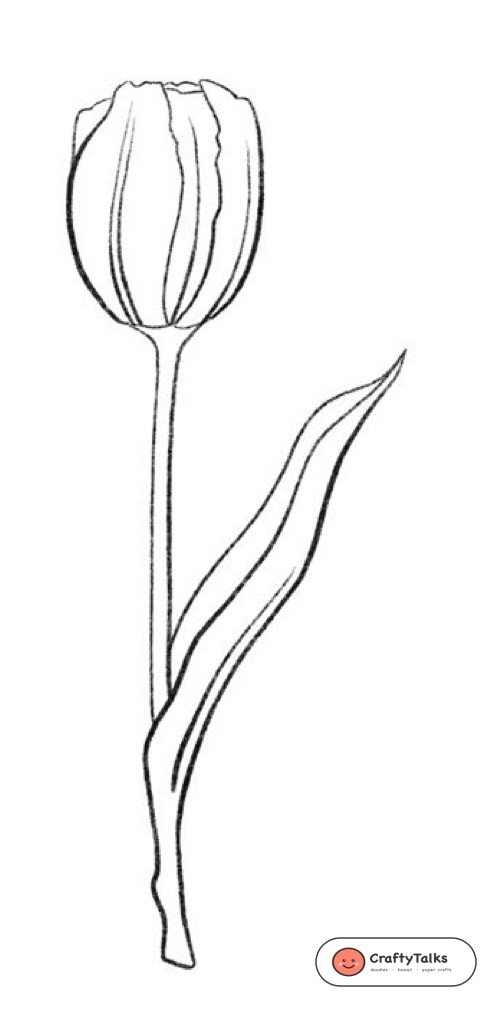
Botanical Artist Tip: Vary your line weight slightly: use thicker lines along the shadowed base of the blossom and underneath the leaf curve, and thinner lines along the top sunlit petal tips.
Step 6: Botanical Shading & Fine Vein Striations
Complete your drawing by adding delicate longitudinal shading lines along the length of each petal. Follow the spherical contour of each petal from base to tip. Add subtle parallel hatching along the stem and leaf trough to capture realistic botanical volume and lighting.
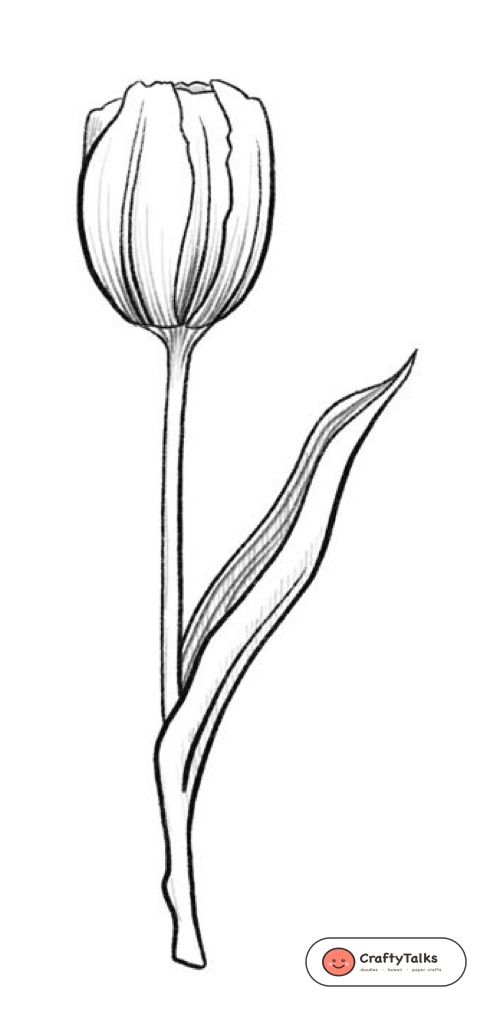
Botanical Artist Tip: Keep your hatching lines curved rather than straight. Straight lines flatten the flower, while lines that follow the petal curves create rich spherical volume.
Botanical Color Palette & Watercolor Tinting Guide
To paint or color your tulip with botanical realism, start with a light wet-on-wet wash of Spring Amber near the lower petal joint. While damp, bleed in Rose Blush across the outer petal curves, deepening the inner crevices with rich Dutch Crimson. Keep the leaf vibrant by layering Spring Meadow with Olive Green in the recessed trough.
- Dutch Crimson (#dc2626): Deep petal body and vibrant focal saturation.
- Rose Blush (#f43f5e): Delicate petal tints and upper rim feathering.
- Spring Amber (#f59e0b): Luminous inner floret warmth and petal base highlights.
- Olive Stem (#4d7c0f): Core stalk base and shadowed leaf creases.
- Spring Meadow (#84cc16): Sunlit leaf face and fresh foliage contours.
- Cream Parchment (#fef3c7): Warm archival background tone.
Explore More Botanical Drawing Tutorials
Continue developing your floral sketchbook with our companion drawing guides:
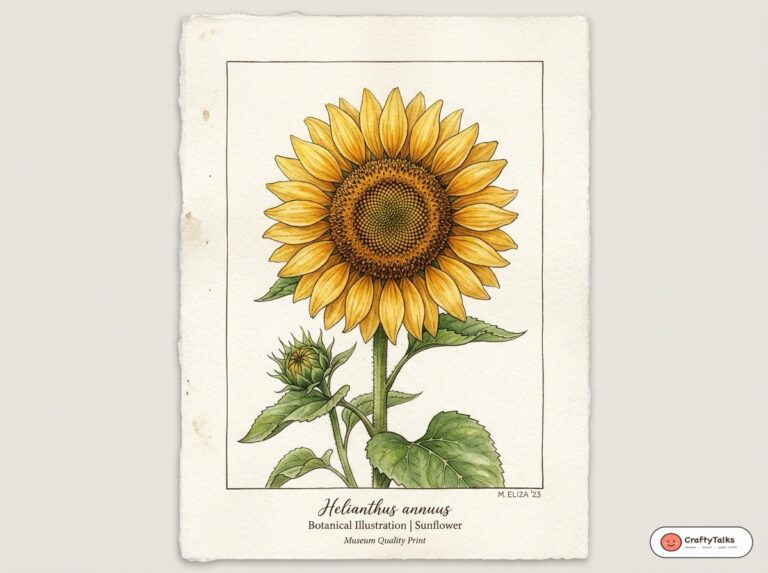
- Master circular symmetry and Fibonacci patterns in our Realistic Sunflower Botanical Drawing Guide.
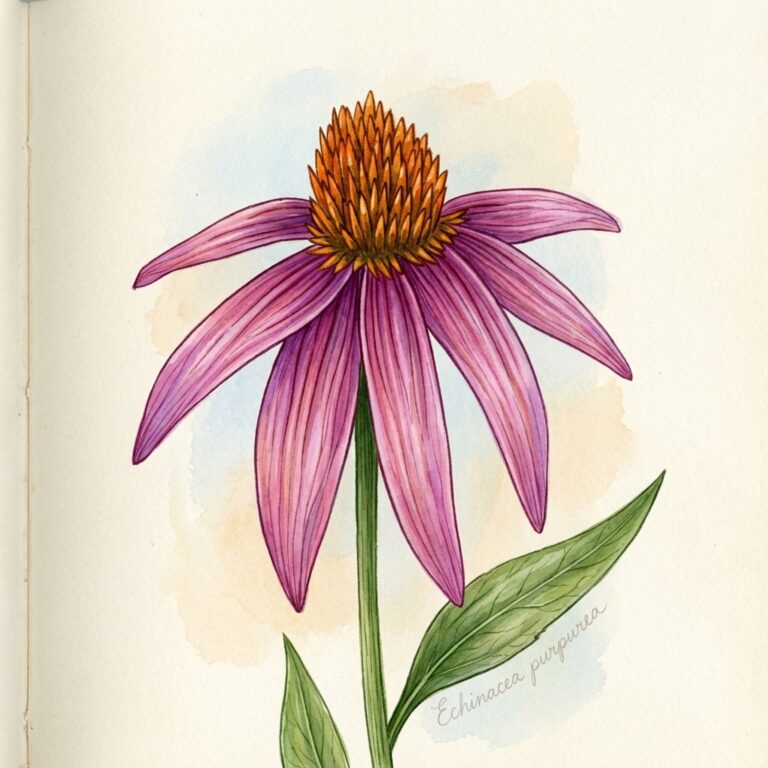
- Explore reflexed petals and seed cones with our Botanical Coneflower Tutorial.
- Master stroke dynamics and line hierarchy with The Beginner’s Guide to Line Weight (7 Secrets).
- Build organic forms from simple geometry using our Magic Shapes Drawing Method.
Frequently Asked Questions About Drawing Tulips
What is the secret to making tulip petals look curved rather than flat?
The key is keeping your initial oval armature three-dimensional and curving your longitudinal hatching lines along the petal surface. Straight shading lines flatten the drawing, whereas strokes that follow the curvature of an egg create instant spherical volume.
How many petals does a tulip actually have?
Botanically, tulips have six tepals: three outer tepals and three inner tepals. From most side-view angles, only three to four tepals are visibly prominent, with the tips of rear tepals peeking out from the back rim.
Should I ink my tulip before or after coloring?
If you are using watercolors, always use a waterproof pigment fineliner (such as a Sakura Pigma Micron) if inking beforehand, or lay down your watercolor washes first and ink delicate botanical details over the dry paper.