How to Draw a Realistic Sunflower (Helianthus Annuus) in 8 Easy Steps
The Common Sunflower (Helianthus annuus) is nature’s most magnificent golden emblem of summer and early autumn. Revered by botanists and master artists alike—from Vincent van Gogh to modern botanical illustrators—the sunflower is a masterclass in organic architecture: radiant yellow ray florets encircling a hypnotic, spiral seed head arranged in mathematically precise Fibonacci geometry.
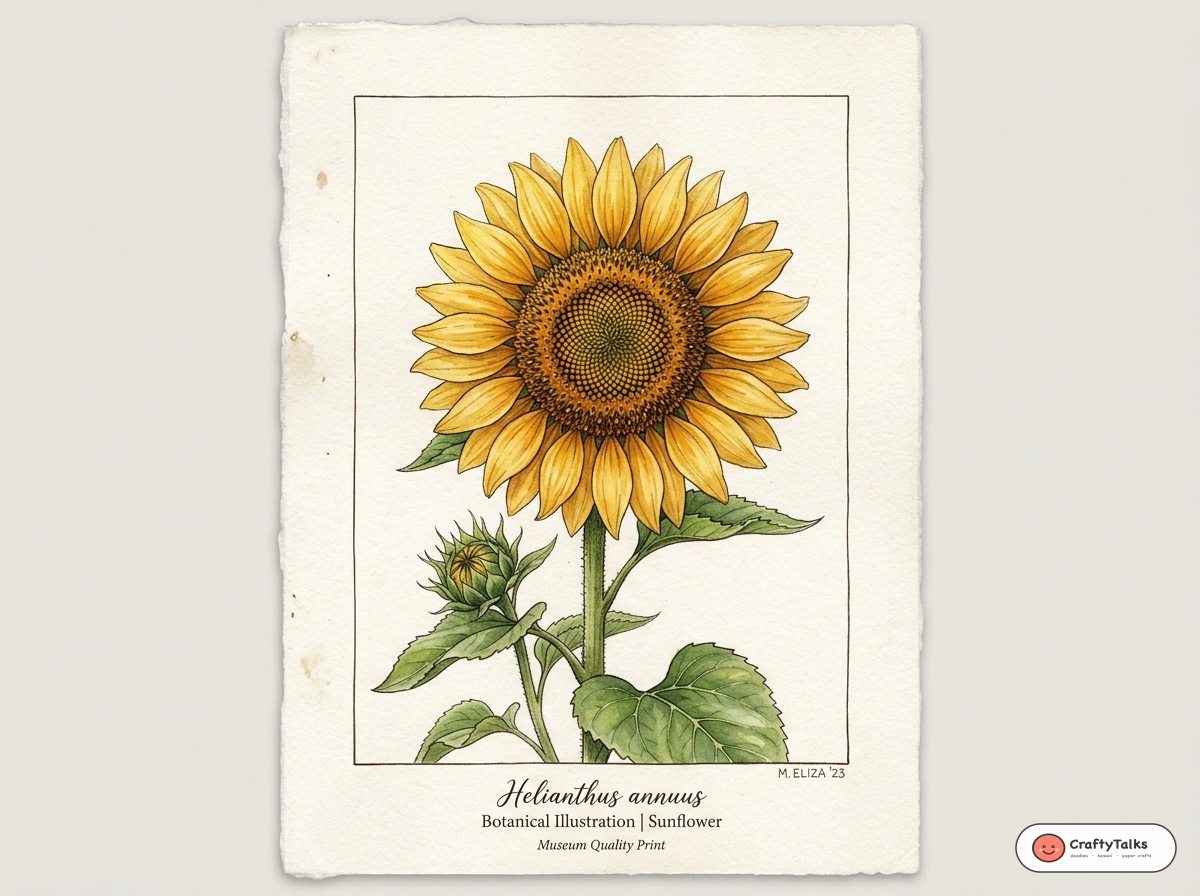
In this comprehensive botanical masterclass, you will discover how to construct a realistic sunflower from simple geometric armatures into a museum-quality ink drawing. Practice directly in your sketchbook or draw along on your screen using our Interactive Draw-Along Studio below!
- Difficulty Level: Beginner to Intermediate (Botanical Line Art)
- Total Steps: 8 Construction Steps + Botanical Inking & Watercolor Harmony
- Estimated Drawing Time: 20–30 minutes
- Recommended Supplies: 0.1mm & 0.3mm Fineliner Pens, 2H Sketching Pencil, Smooth Bristol / Watercolor Paper
- Botanical Subject: Helianthus annuus (Asteraceae family)
- Printable Practice Sheet: Download Free A4 PDF Worksheet
🎨 Interactive Draw-Along Studio: Realistic Sunflower
Prefer practicing directly on your tablet, iPad, or computer screen? Draw along using our in-browser Interactive Draw-Along Studio! Toggle traceable reference lines, select curated color swatches, and download your finished artwork:
 Step Guide 🔍
Loading Step...
Loading instructions...


Switch to Another Flower
Pick any flower below to start a new step-by-step draw-along!
Step Guide

🎉 High Five, Artist!
Your custom botanical illustration is ready to download and share!

The 3 Botanical Secrets of Sunflower Anatomy
Many beginners struggle with sunflowers because drawing dozens of individual petals feels overwhelming. Understanding the flower’s structural hierarchy breaks down the complexity into manageable shapes:
1. The Golden Ratio Seed Disk
The center disc is composed of hundreds of fertile disk florets arranged in interlocking Archimedean spirals. Using a rosette pencil guide locks in this natural pattern effortlessly.
2. Tiered Ray Petals
Sunflowers have two distinct rows of petals: broad, prominent foreground ray petals, and sharp secondary petals peeking through negative spaces behind them.
3. Fibrous Stems & Ovate Leaves
Sunflower leaves are large, coarse, and heart-shaped (ovate-cordate) with distinct arching veins and rough, serrated edges anchored to thick, sturdy stalks.
Step-by-Step Sunflower Drawing Breakdown
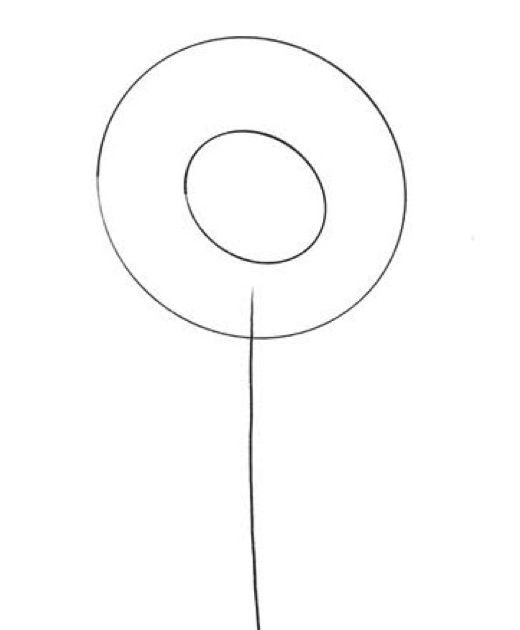
Step 1: Concentric Circles Armature & Stem Guideline
Begin with clean construction geometry. Using a compass or a light hand, draw a large outer circle that defines the maximum reach of your petals. Inside it, draw a smaller concentric circle representing the central seed disc. Drop a plumb, slightly curving vertical line downward to establish the stem axis.
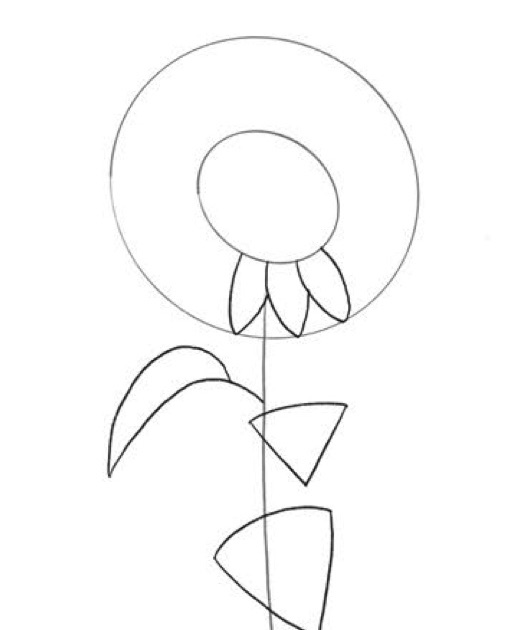
Step 2: Anchor the Lower Petals & Leaf Guide Shapes
Instead of guessing petal placement, anchor the bottom three ray petals first. They start at the lower edge of the inner disc and extend down to meet the outer perimeter line. Along the stem, sketch two geometric wedge polygons on the right and an arching curve on the left to mark where the large foliage will live.
Step 3: Complete Petal Ring & Rosette Geometry
Continue around the circle, drawing pointed elliptical ray petals pointing outwards from the central disc to the outer circle boundary. Inside the seed disc, lightly draw overlapping petal-like arcs that cross each other at the center—this creates a symmetrical sacred geometry rosette that mimics Fibonacci seed packing.
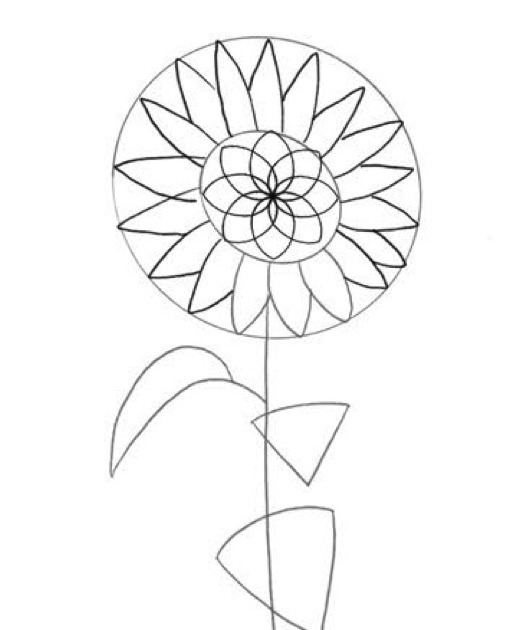
Step 4: Stippled Bead Florets & Back-Layered Petals
Following the curved tracks of your rosette guidelines, draw rows of tiny circular bead florets. Between every pair of front ray petals, sketch the triangular tip of a secondary petal in the background. This second layer is what makes a sunflower look lush, full, and botanically accurate.
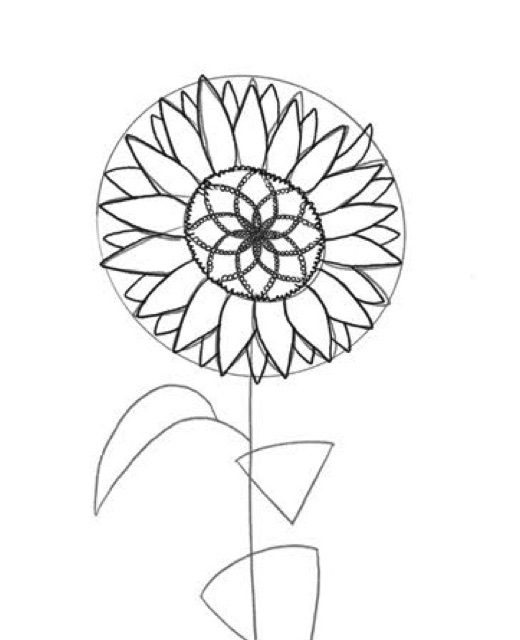
Step 5: Thick Stem Contours & Leaf Outlines
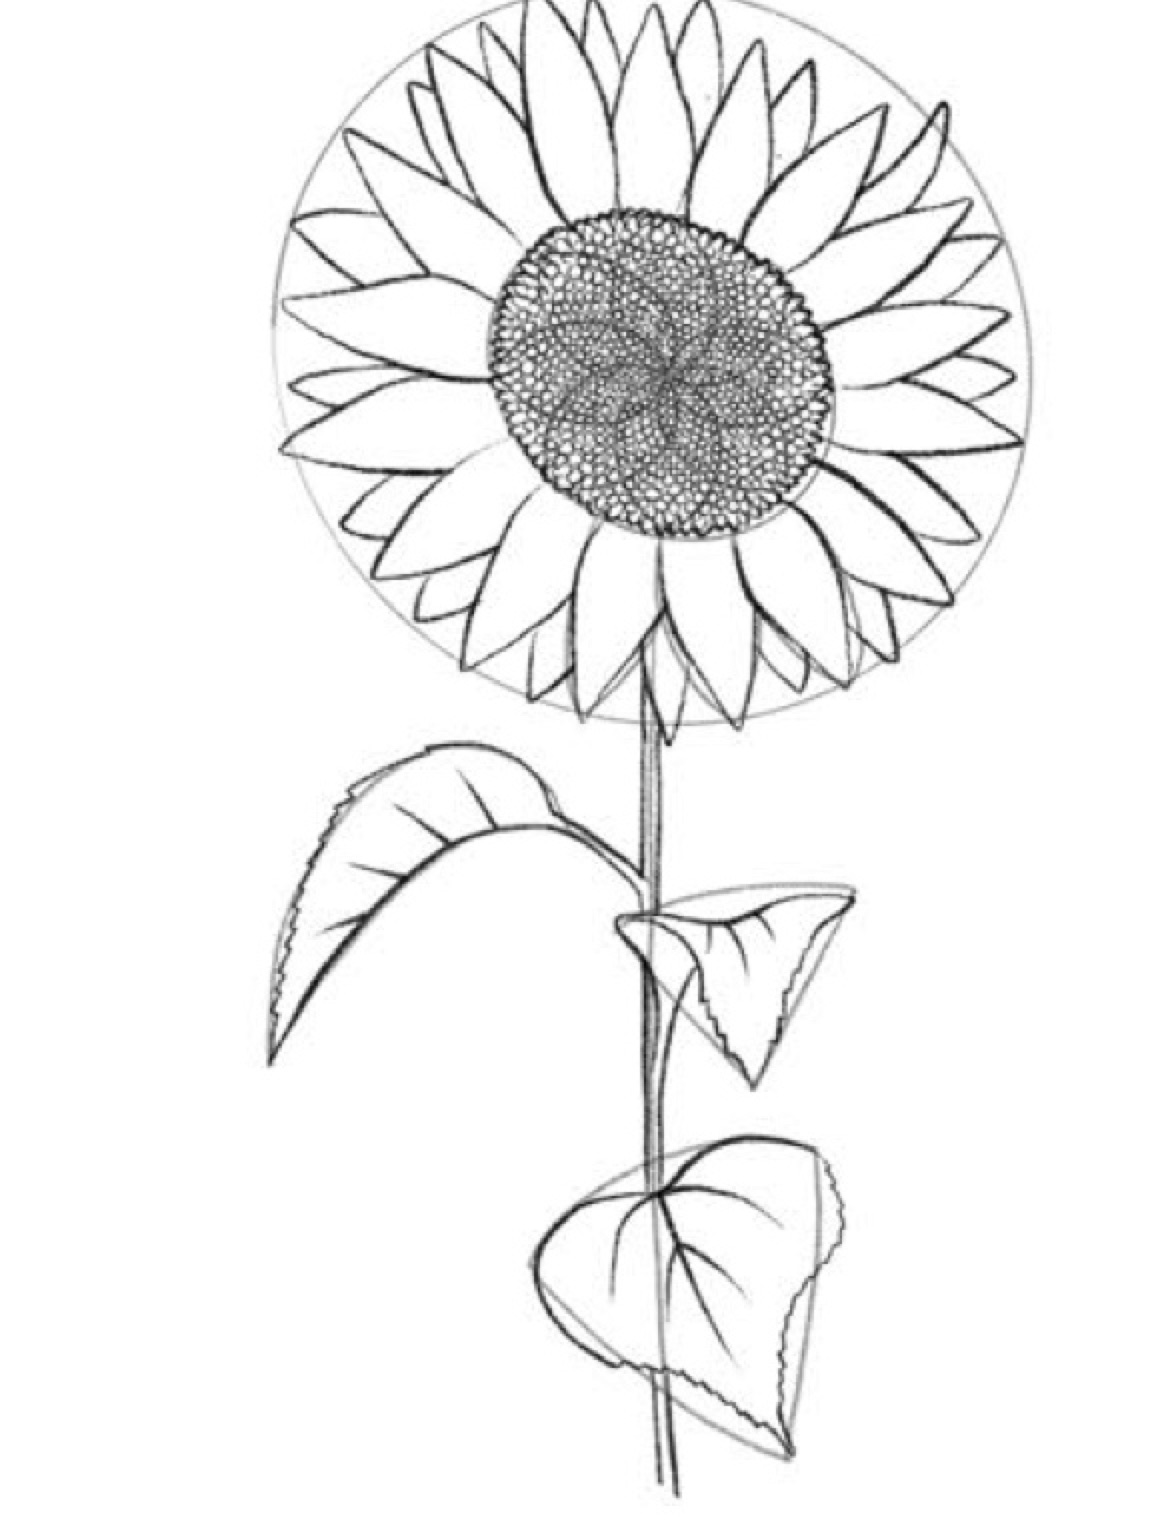
Give structural weight to the flower. Double the stem guide into two parallel contours that widen slightly as they approach the base of the flower head. Trace curved, natural leaf edges over your wedge guides, creating broad heart-shaped silhouettes that drape gracefully downward.
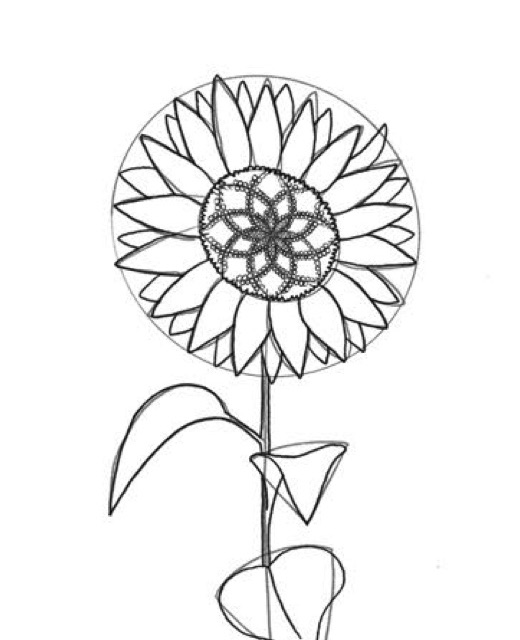
Step 6: Dense Spiral Seed Head & Serrated Margins
Now fill the seed disc with denser spiral stippling, packing tiny circular seed cups closely together. On the foliage, add fine, sharp jagged tooth serrations around the perimeter of each leaf, capturing the rugged, fibrous texture typical of sunflower foliage.
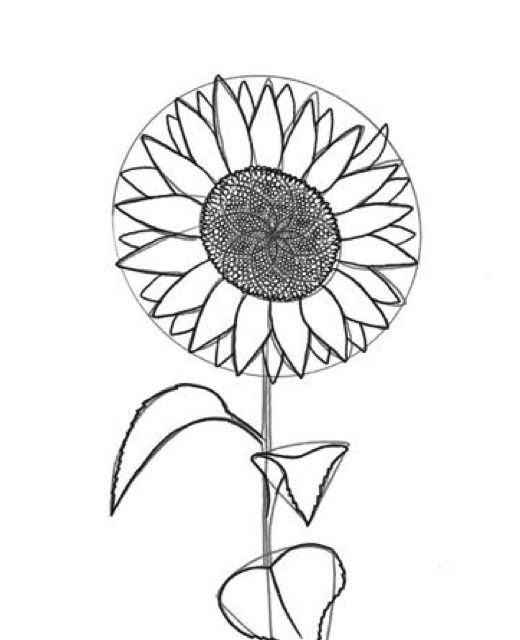
Step 7: Curved Leaf Venation & Petal Creases
Draw deep central midribs down each leaf blade, then branch elegant secondary veins that curve upward toward the serrated margins. Draw subtle longitudinal crease lines down the center of each petal, showing where the petal fold catches sunlight.
Step 8: Botanical Ink Masterpiece & Depth Shading
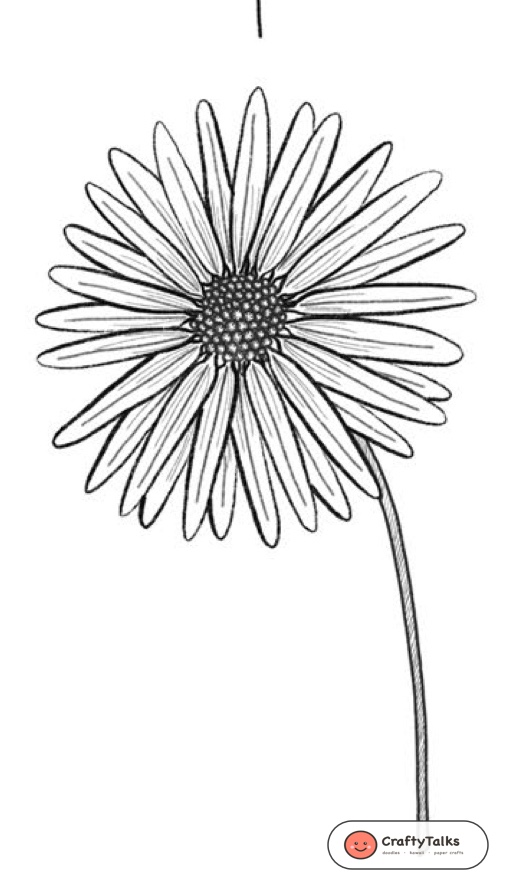
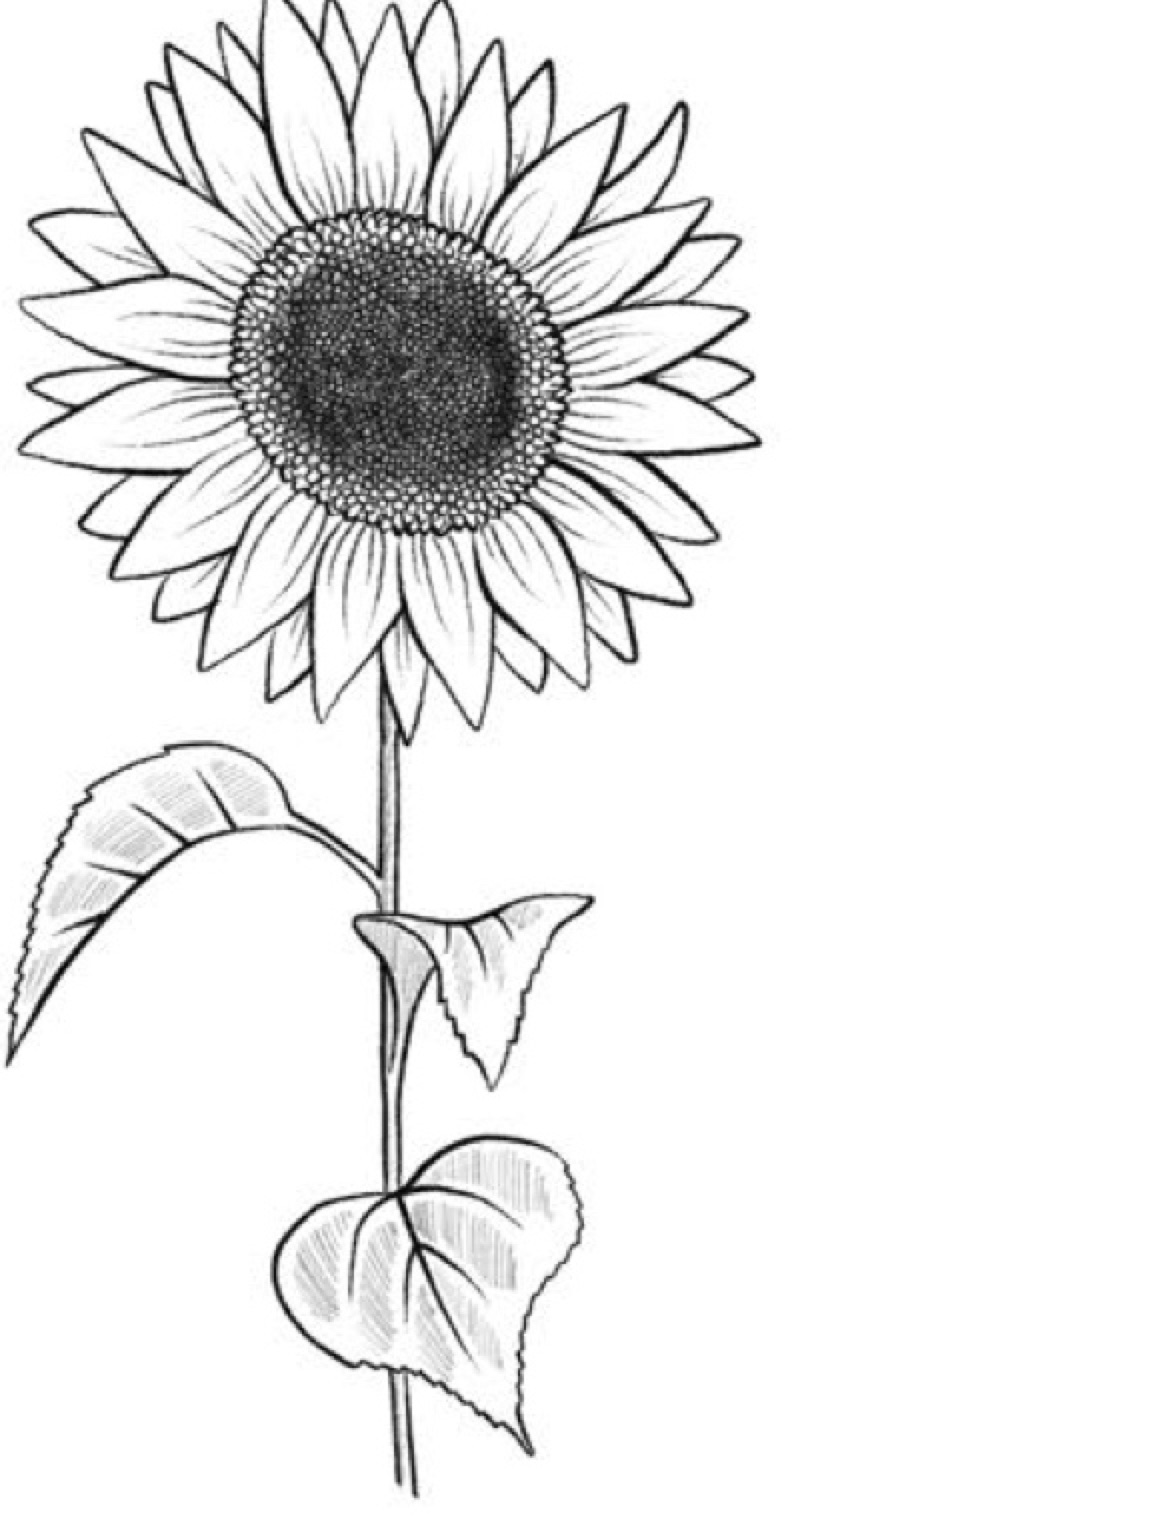
The final step transforms your pencil blueprint into fine art. Using a 0.3mm fineliner, ink the dominant outer contours. Switch to an ultra-fine 0.1mm pen to render dense stippling in the deep center disc, delicate petal striations radiating outward, and parallel directional hatching on the leaves and stem.
🎨 Watercolor & Color Palette Harmony
If you wish to add color to your inked sunflower, botanical watercolor glazes produce luminous results:
- Ray Petal Glow: Lay down a transparent, vibrant wash of Cadmium Yellow or Gamboge across the petals. For warm shadows where petals overlap, glaze in soft touches of Raw Sienna or Warm Amber.
- Fibonacci Seed Disk: Dampen the center disc and drop in velvety Burnt Umber and Sepia around the outer floret ring, transitioning to a golden-green ochre glow in the immediate center.
- Stem & Coarse Foliage: Use a rich blend of Olive Green and Sap Green. Add fine dry-brush strokes along the leaf ribs to simulate the characteristic rough texture of sunflower leaves.
📥 Free Printable Drawing Worksheet
Download our print-ready A4 practice worksheet featuring all 8 construction steps, proportional guide boxes, and dedicated sketch space for your sketchbook or classroom practice!
Explore More Nature Drawing Guides
Expand your botanical sketchbook with our other illustrated tutorials:
- Explore chalice-shaped blooms and 3D petal curvature in our Realistic Tulip Drawing Masterclass.
- Master reflexed petals and domed seed cones in our Realistic Coneflower Botanical Guide.
- Level up your inking line dynamics with The Beginner’s Guide to Line Weight (7 Inking Secrets).
- Practice quick floral sketches with our Easy Cherry Blossom Flower Doodle Tutorial.
- Discover the construction principles behind all botanical subjects in our Magic Shapes Method for Beginners.