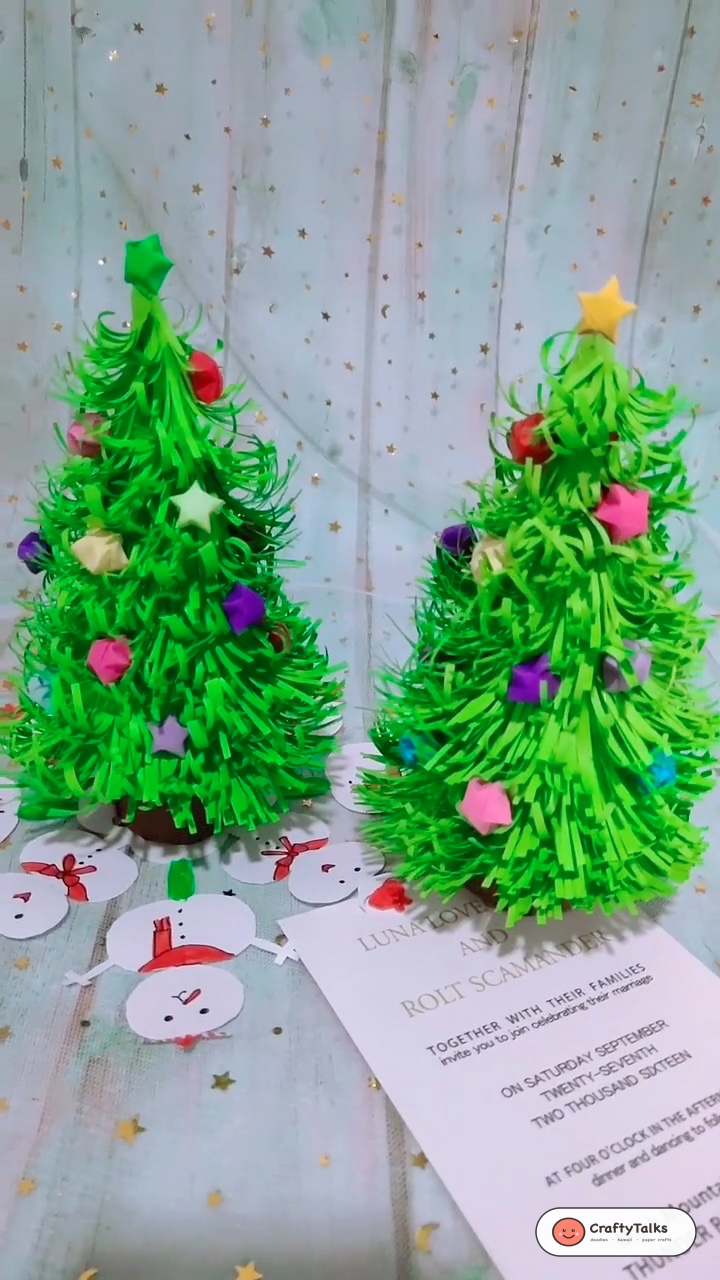
How to Make an Origami Paper Gift Box (Easy DIY Christmas Treat Basket)
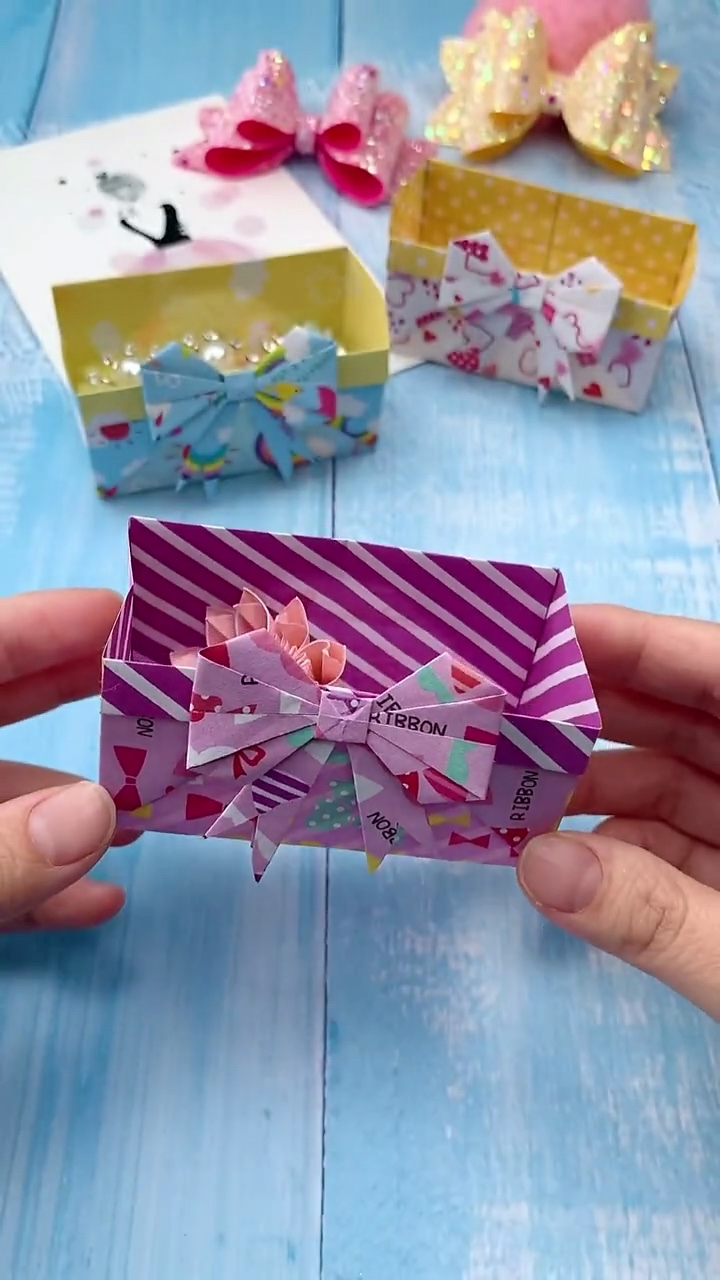
Looking for a heartwarming, handmade way to wrap tiny treasures this holiday season? This charming DIY Origami Paper Gift Box transforms a single sheet of decorative paper into an elegant freestanding treat basket topped with a miniature paper ribbon bow. Perfect for festive party favors, holiday candy treats, homemade baked goodies, or dainty jewelry gifts!
Unlike bulky store-bought gift boxes, this traditional modular basket relies on clever mathematical folds and locked corner gussets to maintain rigid rectangular walls without requiring any glue for the base structure. Whether you are assembling a holiday dinner table setting or preparing personalized Christmas party favors, this step-by-step master guide walks you through every crease, fold, and finishing flourish.
Craft Overview: At a Glance
⏱ Time Needed:
5 – 8 Minutes
🎯 Skill Level:
Beginner Friendly
📄 Recommended Paper:
80 – 120 GSM Origami Paper
🎁 Ideal For:
Christmas Treats, Jewelry & Favors
Supplies & Materials Checklist
You only need a few simple supplies to start folding these miniature holiday gift baskets:
Paper & Base Materials
- Double-Sided Origami Paper (15×15 cm or 20×20 cm): Paper with contrasting colors or patterns on either side produces a gorgeous decorative rim hem along the top border.
- Medium Weight (80–120 GSM): Standard printer weight to lightweight craft paper folds crisply without tearing or bunching up in multi-layer corners.
- Small Square Scrap (for Bow): A 6×6 cm matching paper scrap to fold the delicate ribbon bow.
Helpful Tools
- Bone Folder or Wooden Ruler: Running a hard edge over fold lines creates razor-sharp creases that give the box crisp architectural edges.
- Craft Glue Dot or Quick-Tack PVA: Just a tiny dab to securely mount the ribbon bow onto the front rim.
- Holiday Fillers: Wrapped peppermint candies, chocolates, shredded tissue grass, or handmade earrings.
Watch the Step-by-Step Video Tutorial
Follow along with our real-time video demonstration below to see how each crease and gusset is pressed into place:
Mastering the Geometry of Origami Boxes
Origami boxes look intricate, but their underlying structure relies on basic geometric symmetry. As we explore in our guide on how to construct any visual form with the 4 Magic Shapes, dividing a flat square into an exact 4×4 grid (16 equal square units) unlocks unlimited 3D architecture. The center 4 squares form your sturdy base floor, while the 12 perimeter squares become the four self-supporting walls.
Crafter Tip on Paper Selection: Avoid ultra-heavy 250+ GSM cardstock for this project. Thick cardboard cracks when folded across multiple layers. Standard 80–120 GSM paper will yield pristine, sharp seams and hold its shape effortlessly.
Step-by-Step Tutorial: How to Fold an Origami Gift Box
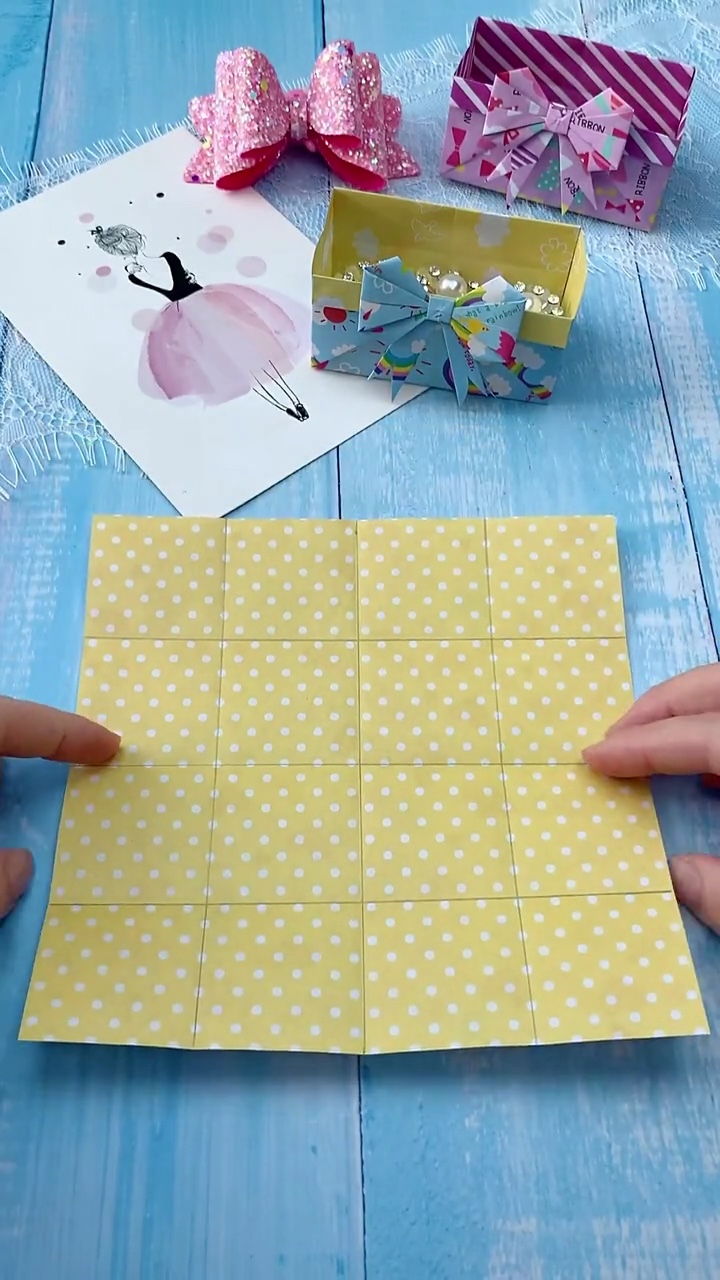
Step 1: Crease the 4×4 Foundation Grid
Begin with your square origami sheet patterned side down (the side you want inside the box facing up). Fold the paper in half horizontally and vertically, unfolding after each crease to reveal the center crosshairs.
Next, fold each of the four outer edges inward to meet the center line, creating a precise 4×4 grid of 16 miniature squares. Run your fingernail or bone folder firmly along each fold to ensure sharp, distinct guidelines.
Step 2: Fold the Corner Angles
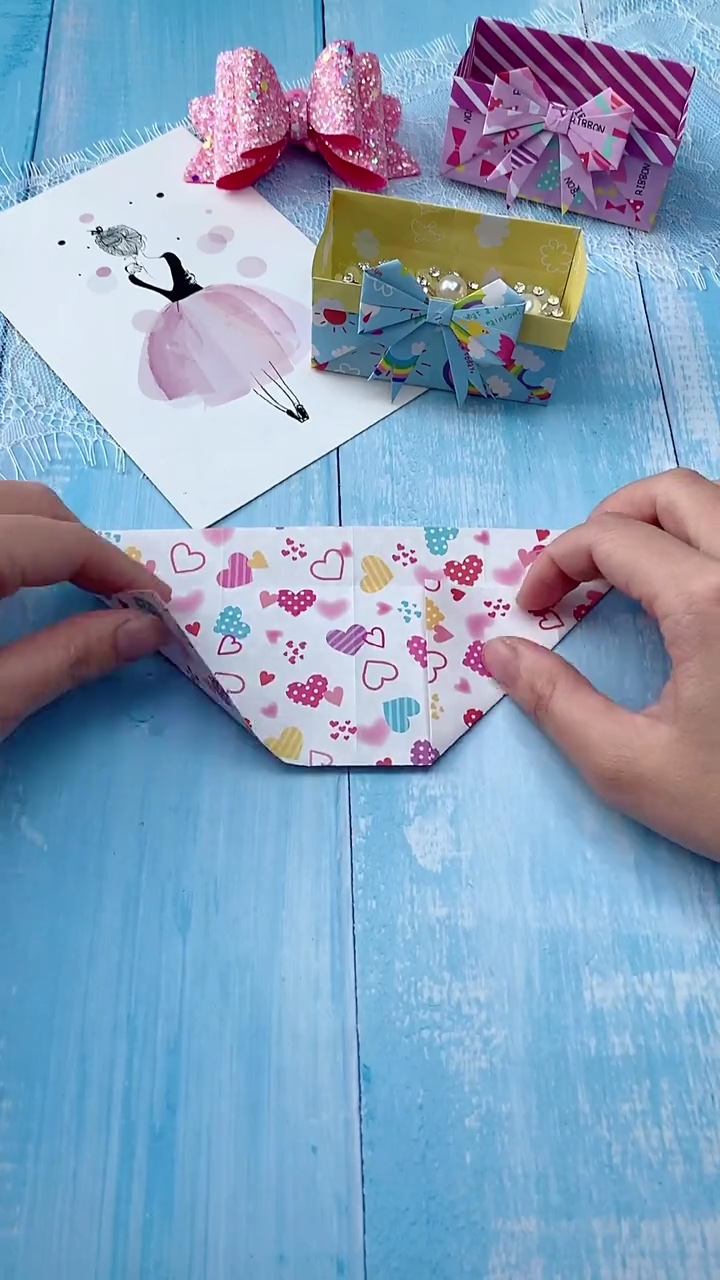
Turn the paper so the corners point toward you. Fold the top and bottom corners inward along the pre-creased grid diagonals, creating triangular guide folds that define the tapered side profiles of the basket.
Keep your folds aligned with the grid intersections. Precision here ensures that the finished gift box sits completely level without leaning to one side.
Step 3: Fold Down the Contrasting Top Rim Hem
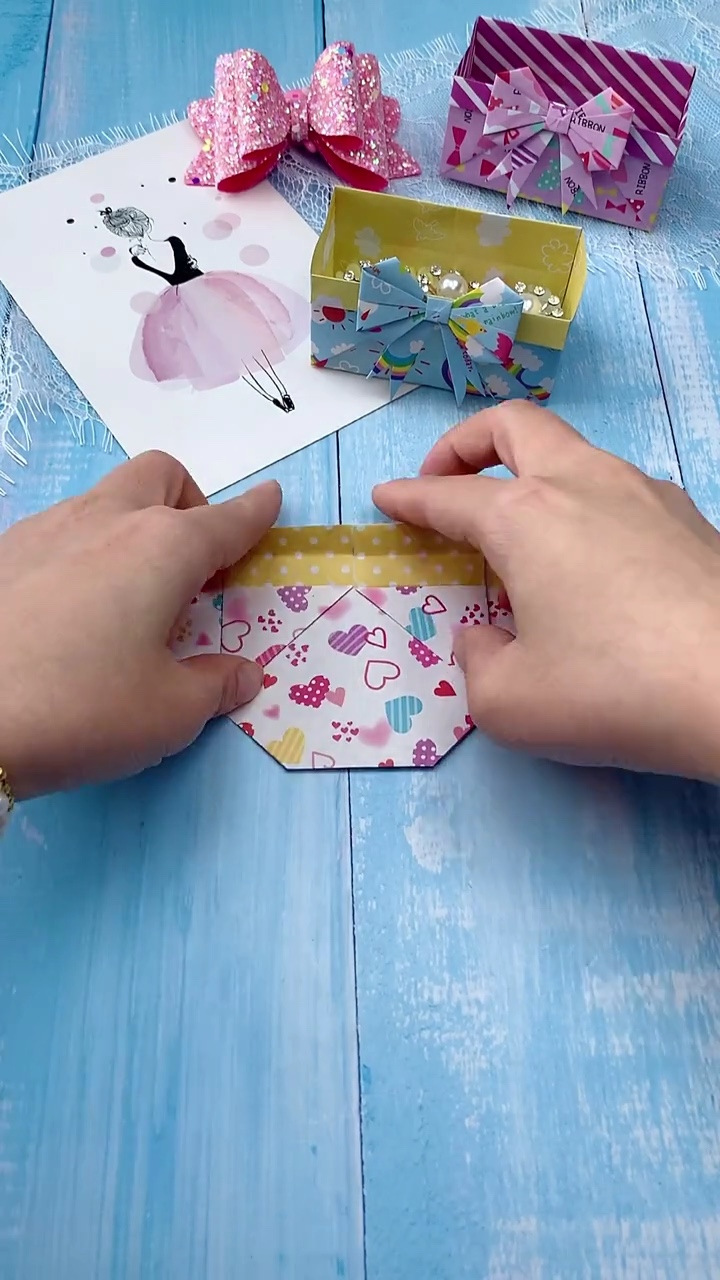
Fold the top rectangular border strip downward across the front. If you are using double-sided paper with a contrasting reverse pattern (such as cheerful polka dots or gold foil), this fold reveals an eye-catching decorative hem along the outer rim.
This folded hem also doubles the paper thickness at the top of the box, reinforcing the basket opening so it resists tearing when filled with heavier treats.
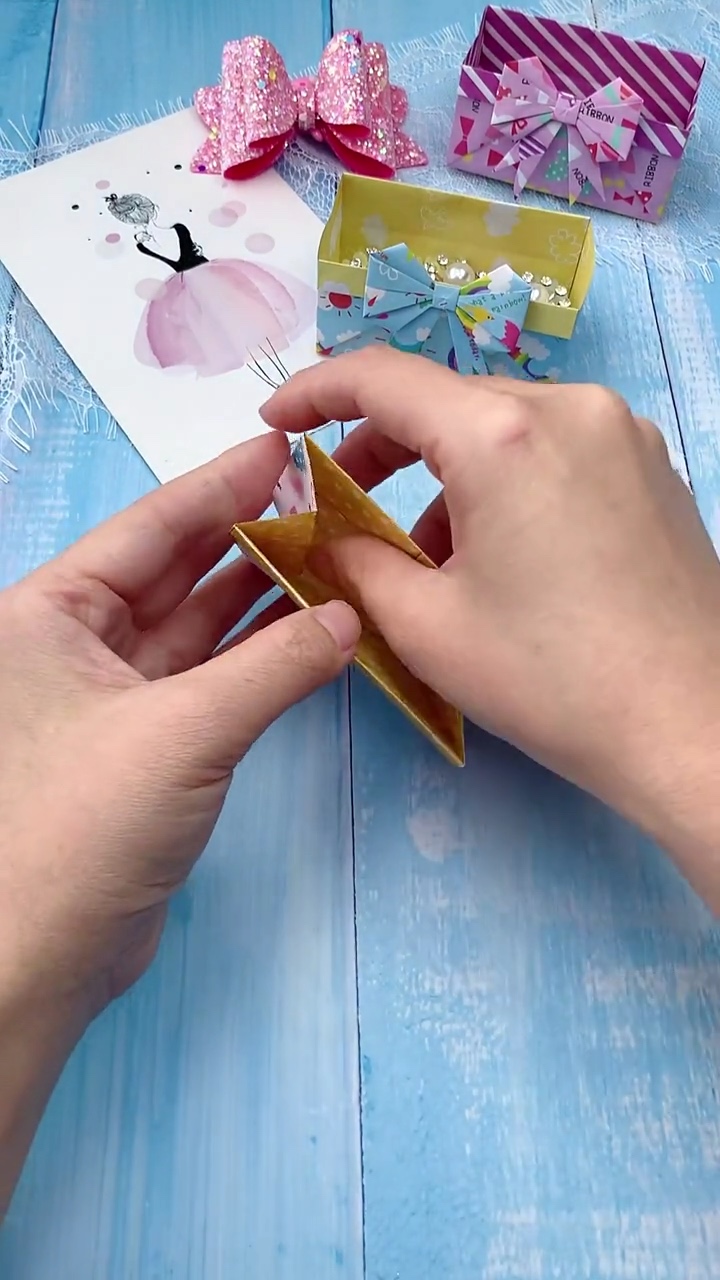
Step 4: Expand the 3D Interior Volume
Gently slide your fingers inside the center pocket and push outward against the side walls. As you separate the layers, pop the diagonal corner gussets open.
The flat 2D sheet will immediately blossom into a 3D rectangular basket volume. Take your time to guide the paper along its natural crease memories without forcing any stubborn corners.
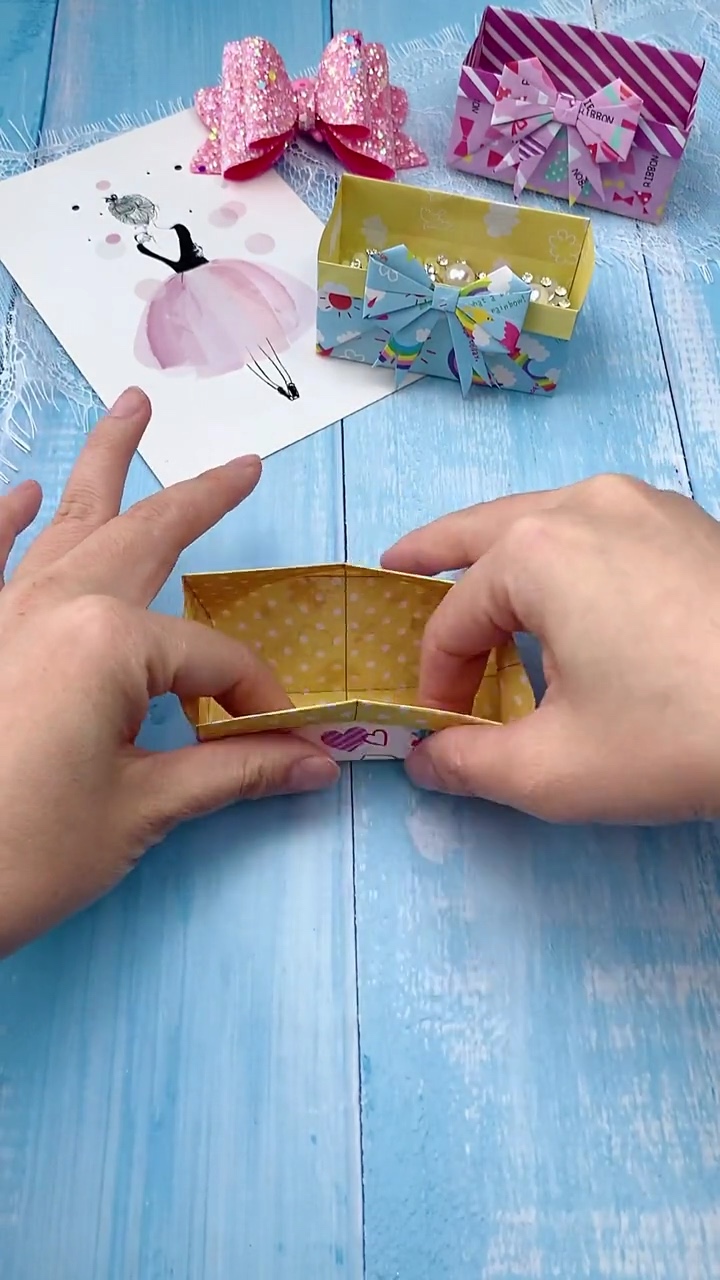
Step 5: Square the Base and Crisp the Side Walls
Place your thumbs flat against the bottom floor of the basket and pinch the four vertical edges between your fingers. Press each corner firmly to lock the 90-degree angles into place.
Set the box down on your desk and press lightly downward into the interior corners. The box will now stand rigid and perfectly upright on its own, ready to be filled.
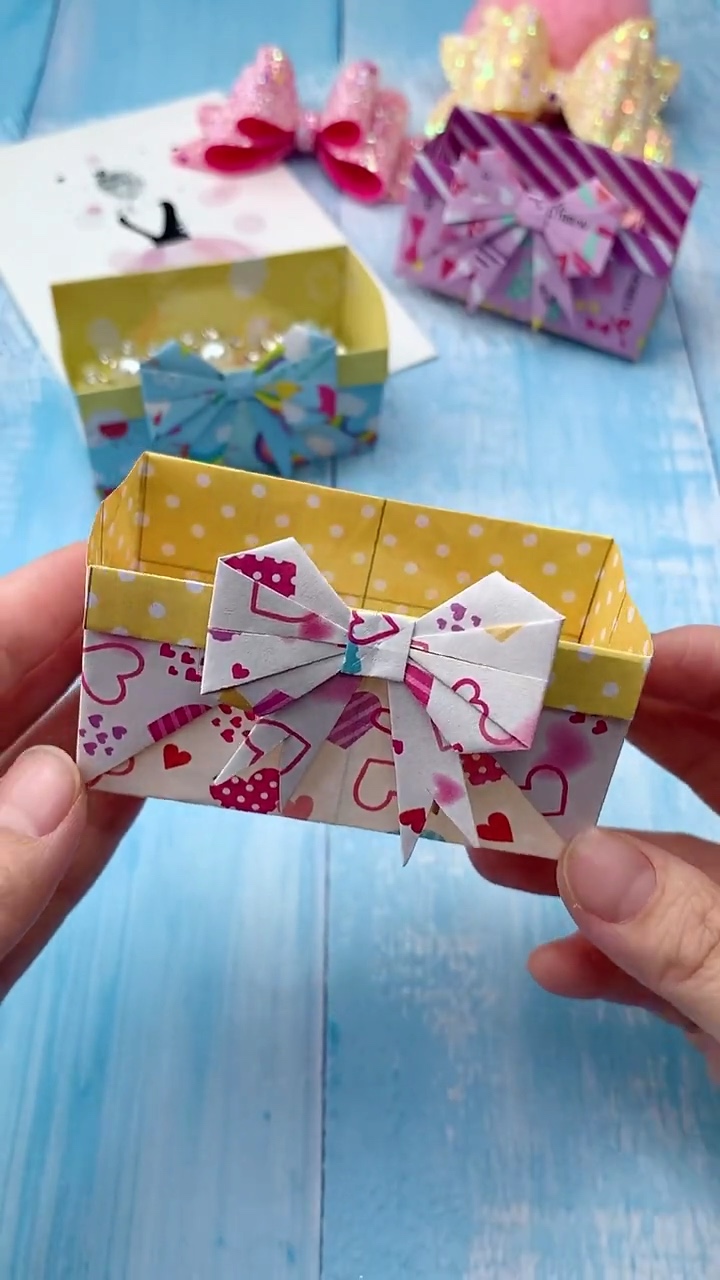
Step 6: Attach the Folded Origami Ribbon Bow
To give your gift box a boutique, finished look, fold a miniature origami ribbon bow using a smaller 6×6 cm sheet of matching or complementary paper. Apply a tiny dot of PVA glue or double-sided tape behind the center knot of the bow, and press it firmly onto the center of the front rim.
If you love doodling sweet treats and confections to accompany your gift packaging, check out our guide on drawing a cute box of chocolates doodle or sketch playful sweet faces with our kawaii food doodle tutorial!
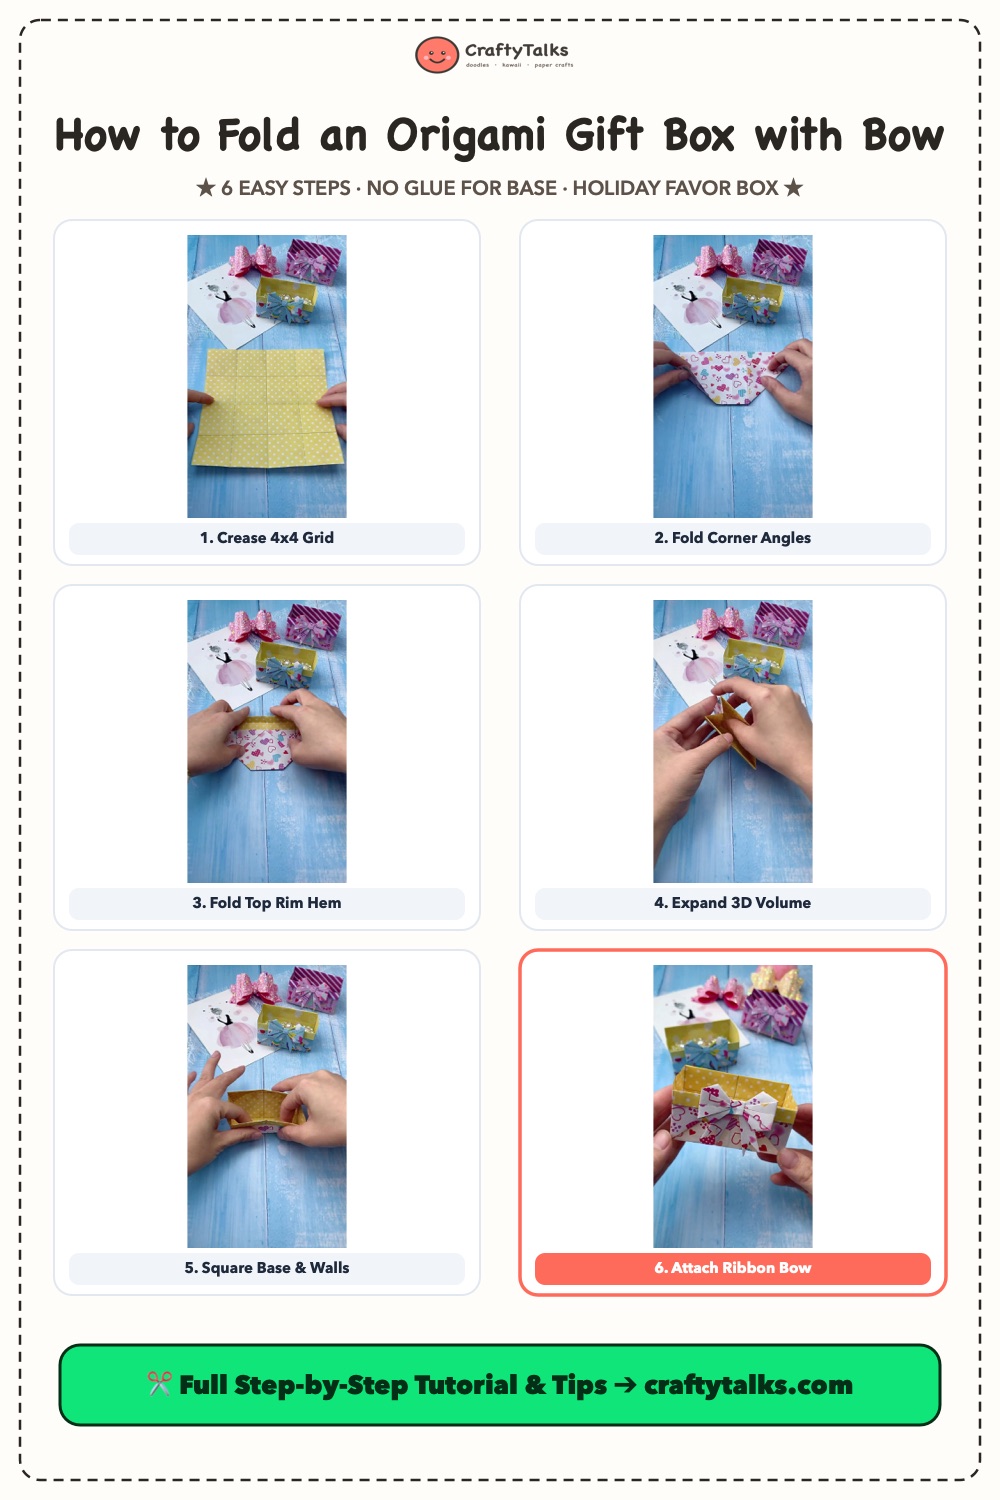
Visual Summary: All 6 Steps at a Glance
Here is the full 6-step visual infographic showing the complete folding journey from a flat sheet to a freestanding gift basket. Pin or save this guide to your Pinterest DIY board for holiday party planning!
Creative Holiday Uses for Your Origami Boxes
These petite paper baskets are endlessly versatile. Here are some of our favorite ways to use them during Christmas and holiday gatherings:
🍬 Christmas Dinner Favors
Fill each box with holiday mints, fudge, or chocolate truffles and place one at each guest’s dinner plate. Pair with our 3D Paper Cone Snowman craft for a festive holiday table centerpiece!
💍 Jewelry & Keepsake Gifting
Line the bottom with a small square of velvet, cotton batting, or shredded tissue paper to nestle rings, pearl earrings, or necklaces for an intimate, handmade gift presentation.
🎄 Advent Calendar Surprises
Fold 24 numbered gift baskets in alternating festive red, gold, and green paper. Line them along your fireplace mantel for an enchanting DIY countdown to Christmas morning.
Frequently Asked Questions (FAQ)
Do I need glue to make the box hold its shape?
No! The box structure itself is 100% glue-free origami. The interlocking corner gussets and folded rim band lock the walls firmly in place under natural paper tension. You only need a small dab of craft glue to attach the decorative ribbon bow on the front.
What size paper should I start with?
A standard 15×15 cm (6×6 inch) origami square produces a finished box approximately 7.5 cm long, 4 cm wide, and 3.5 cm high—perfect for small jewelry, mints, and candy. For larger baked treats, start with a 20×20 cm or 25×25 cm square sheet.
How can I make the box sturdier for heavier items?
You can cut a small rectangle of light cardboard (such as a cereal box liner) matching the bottom floor dimensions and slip it inside before filling. This reinforces the base so it won’t sag when carrying heavier candies or metal jewelry.
📌 Save This Christmas DIY Gift Idea on Pinterest!
Loved making this origami gift treat box? Pin this tutorial to your Christmas Crafts, Origami, or DIY Gift Ideas board so you have it ready for all your holiday gift wrapping!