How to Draw a Cute Cartoon Hippopotamus in 6 Easy Steps (Interactive Draw-Along)
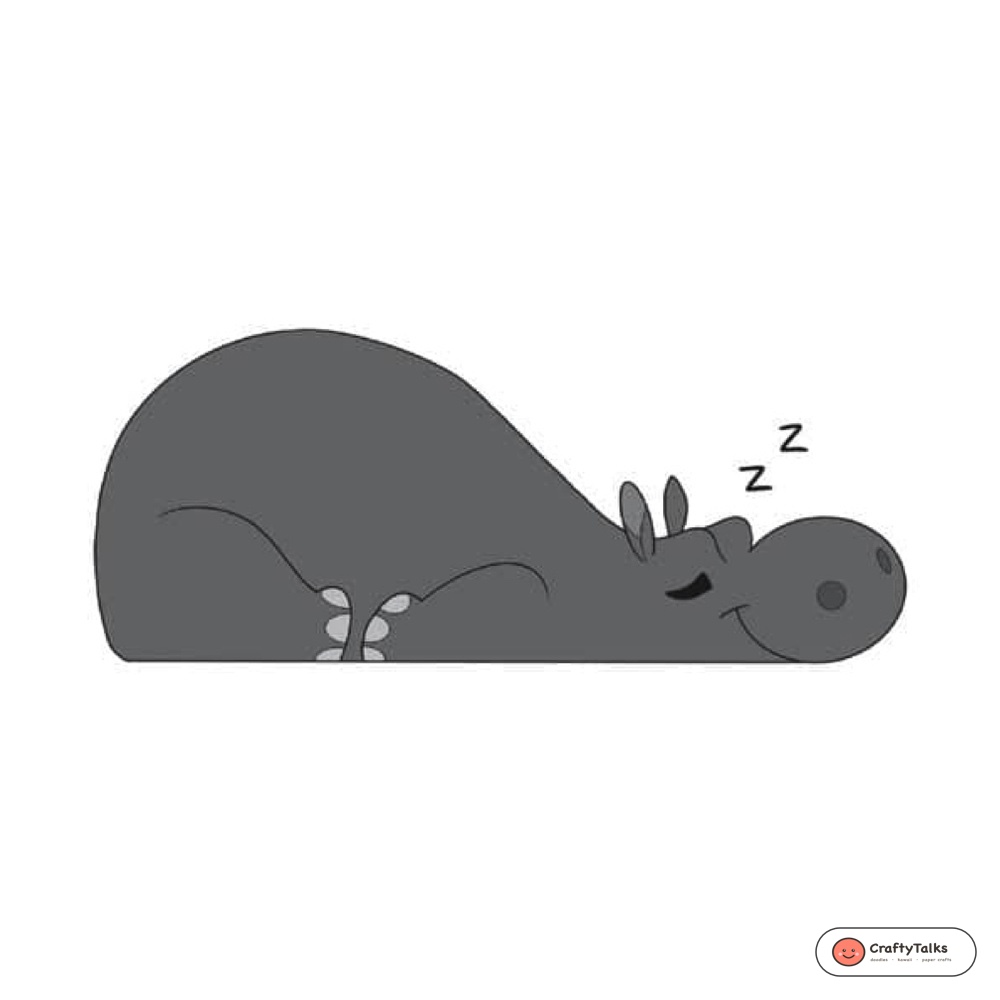
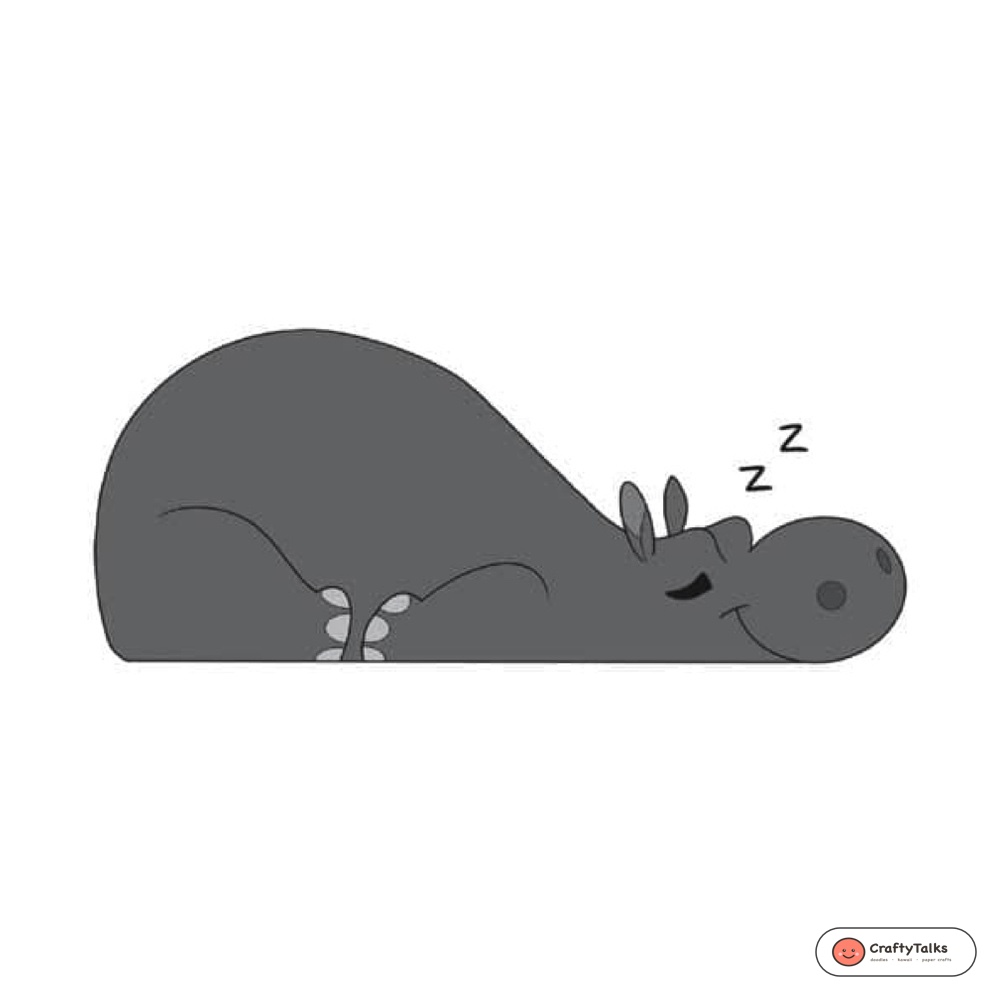
Learn how to draw a cartoon hippopotamus curled up for an afternoon nap in six simple steps. Hippos are surprisingly easy to sketch because their heavy bodies break down into three basic circles resting on a flat baseline. Once you connect the back curve and add a pair of small rounded ears, the character comes together quickly.
Interactive Draw-Along Studio: Cartoon Hippopotamus
Practice each stage right in your browser with our free drawing canvas. You can toggle the step-by-step trace guide, switch slate and stone colors, and save your sketch when you finish.
 Step Guide 🔍
Loading Step...
Loading instructions...


Switch to Another Animal
Pick any animal below to start a new step-by-step draw-along!
Step Guide

🎉 High Five, Artist!
Your custom animal illustration is ready to download and share!

How to Draw a Cartoon Hippopotamus: Proportions and Shape
Sleeping animals look calm when their weight settles into the ground. Before picking up a pen, keep these four shape details in mind:
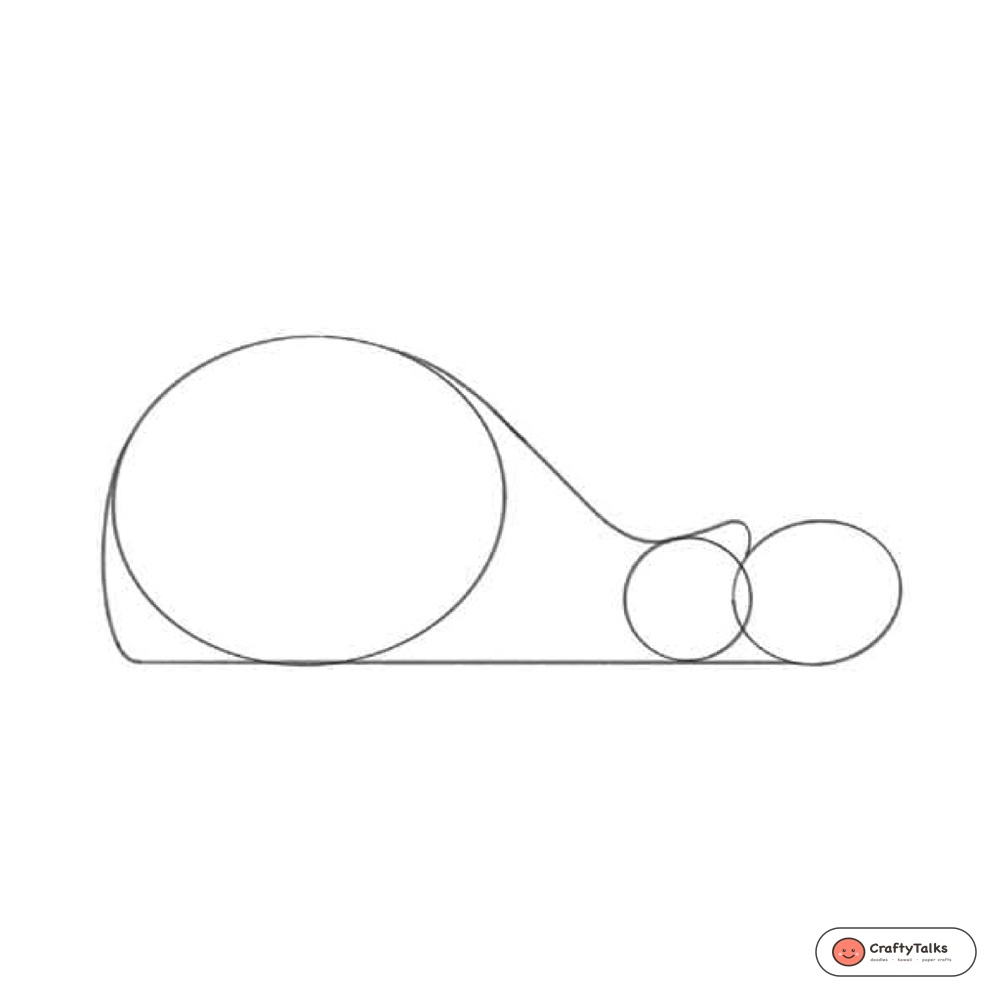
- The body circle takes up roughly two-thirds of the entire width and sits higher than the head.
- Two smaller overlapping circles on the right set the size of the forehead and broad muzzle.
- One straight horizontal line underneath connects all three circles so the hippo rests flat on the page.
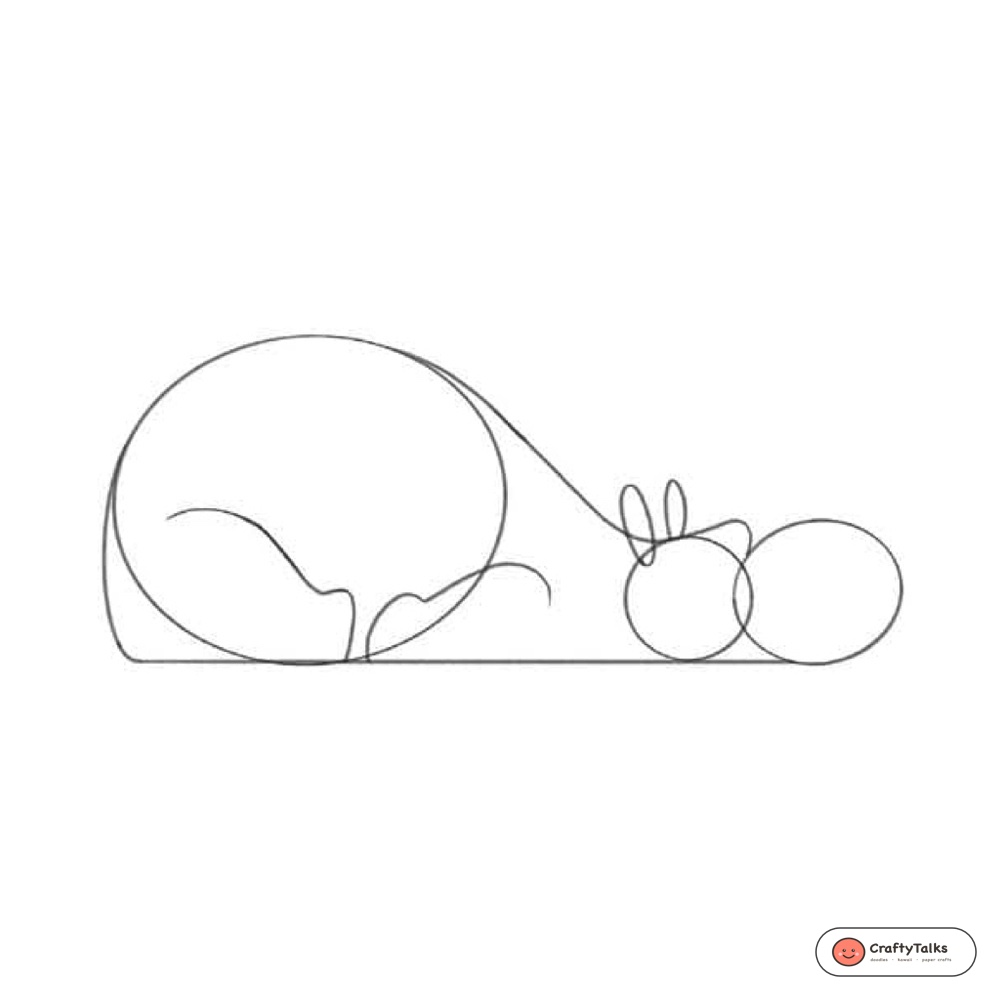
- Small, close-set upright oval ears sit on top of the head circle, giving the silhouette a recognizable hippo profile.
Drawing Materials You Can Use
Any standard sketchbook setup works well for this lesson:
- An HB or 2B graphite pencil for sketching light construction circles.
- A soft vinyl eraser to lift away overlapping guidelines once the ink dries.
- A 0.3mm or 0.5mm waterproof black fineliner for clean outer contours.
- Warm gray and stone-colored markers or colored pencils for the final coat and toenails.
Step-by-Step Cartoon Hippopotamus Tutorial
Step 1: Sketch Three Construction Circles
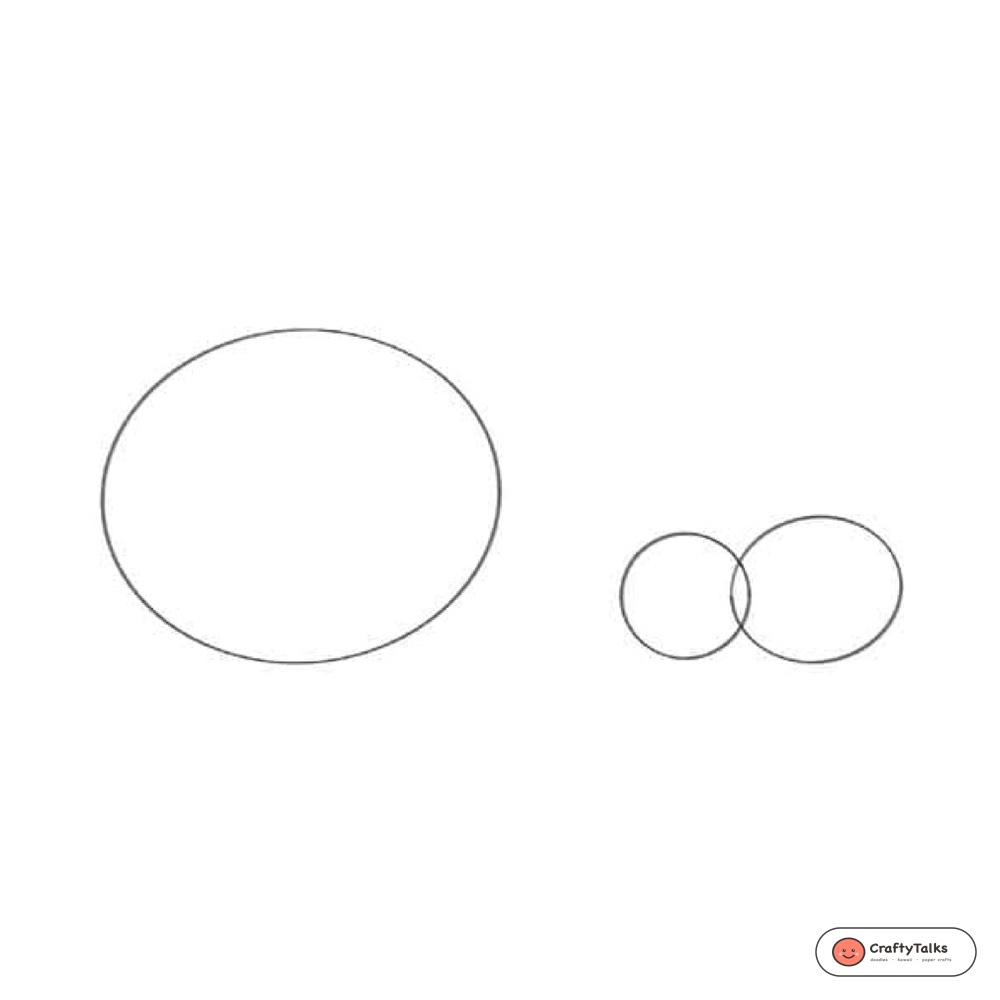
Draw a large, slightly wide circle on the left side of your page for the torso. To the right, leaving a small gap, sketch two smaller overlapping circles. The middle circle forms the head, and the rightmost circle forms the wide snout.
Step 2: Connect the Backline and Flat Belly
Draw a smooth sloping curve from the top of the large body circle down into the neck, then bump up slightly over the brow before meeting the snout circle. Across the bottom, pull one straight horizontal line tangent to the bottom edges of all three circles. Round out the far left hip slightly so the back looks cushioned.
Step 3: Add Rounded Ears and Folded Leg Curves
Place two small vertical oval ears on top of the head circle, slightly tilted toward each other. Inside the body, draw a long S-shaped thigh line sweeping down toward the middle of the belly, and add a shorter arched line beside it for the tucked front shoulder and leg.
Step 4: Draw Rounded Toes, Nostrils, and a Sleeping Smile
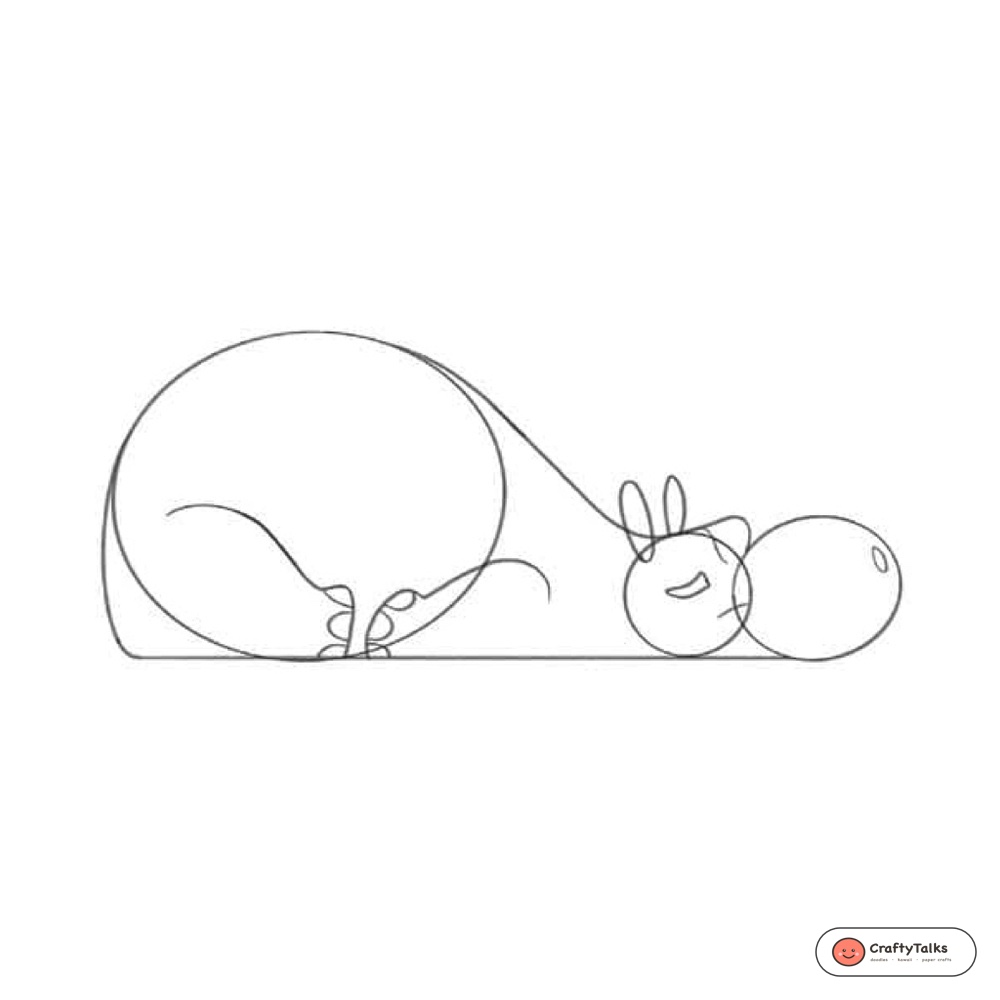
Where the hind and front legs tuck together at the base, add three small rounded toe bumps along each foot. On the head, draw a thick downward crescent for the closed eyelid, a gentle upward smile curve where the snout meets the cheek, and two small ovals on the muzzle for the nostrils.
Step 5: Ink Clean Contours and Add Sleeping Zs
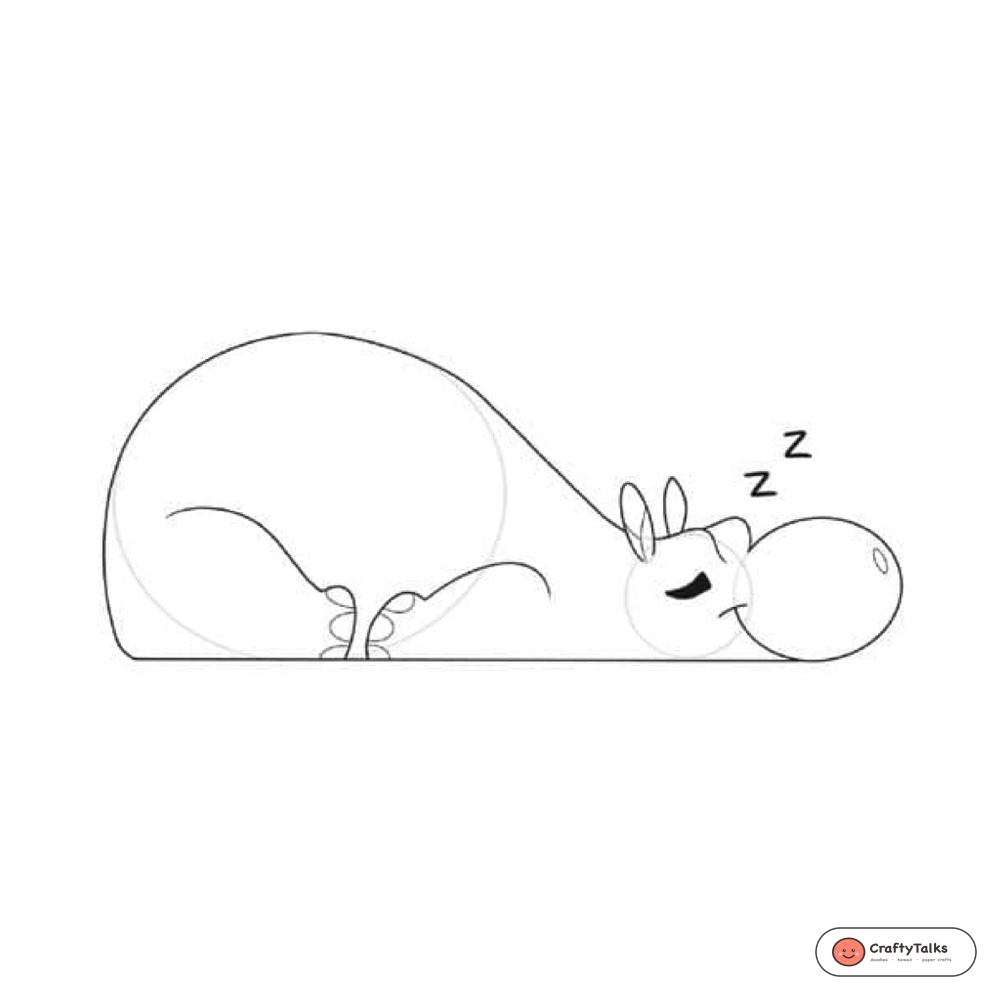
Trace your final silhouette and interior leg lines with a black fineliner pen. Fill in the closed eye shape cleanly, add small inner creases inside each ear, and write two small Z letters floating above the snout. Wait for the ink to dry, then erase the initial pencil circles.
Step 6: Shade the Coat in Warm Slate Gray
Color the hippo body and head with an even coat of warm slate gray, leaving the six small toenails a pale stone gray for contrast. Darken the nostrils and inner ear hollows slightly so those details stay visible against the gray hide.
More Savannah Animal Tutorials to Practice
If you enjoy sketching African wildlife using simple geometric shapes, try drawing a cartoon lion, a gentle cartoon giraffe, or a graceful cartoon gazelle next. You can also revisit the magic shapes method to practice building other animals from circles and ovals.
Frequently Asked Questions
How do I keep the hippo from looking like a pig?
Keep the snout circle wide and rounded rather than flat at the tip, and place the small oval ears high and close together behind the brow ridge. A wide, heavy rear circle also gives the silhouette its unmistakable hippo weight.
Can I color this cartoon hippopotamus in different shades?
Yes. Slate gray looks classic, though soft lavender-gray, dusty plum, or muted blue-gray markers all work well for storybook hippo characters.
What if my construction circles overlap unevenly?
That is completely fine as long as the bottom edges of all three circles touch the same straight baseline. Once you ink the outer contour and erase the inner lines, small variations in the starting circles disappear.