How to Draw a Cute Cartoon Rhinoceros in 6 Easy Steps (Interactive Draw-Along)
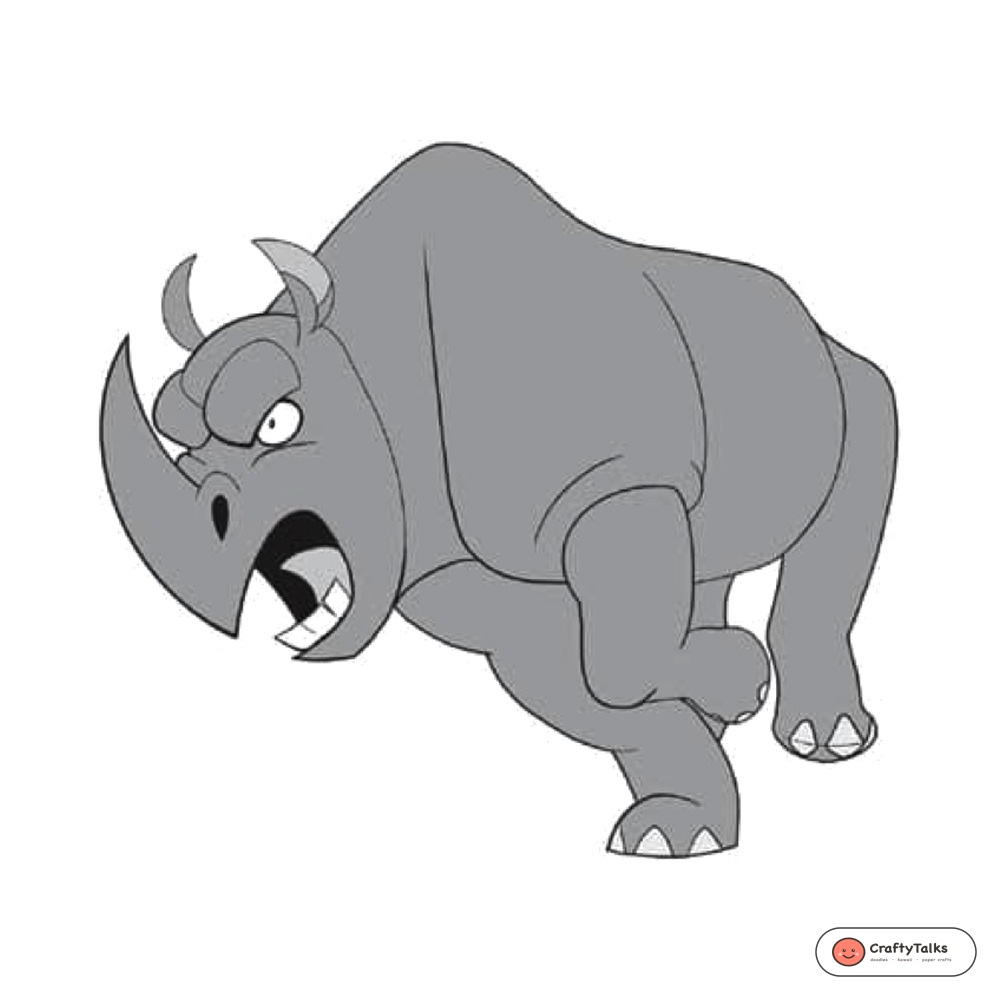
Learn how to draw a cartoon rhinoceros with sturdy proportions and expressive horns in six simple steps. Rhinos have thick bodies, columnar legs, and curved nasal horns that make their silhouette distinct. By starting with a large egg-shaped oval and a round head circle, you can construct a solid cartoon rhino without complicated anatomy.
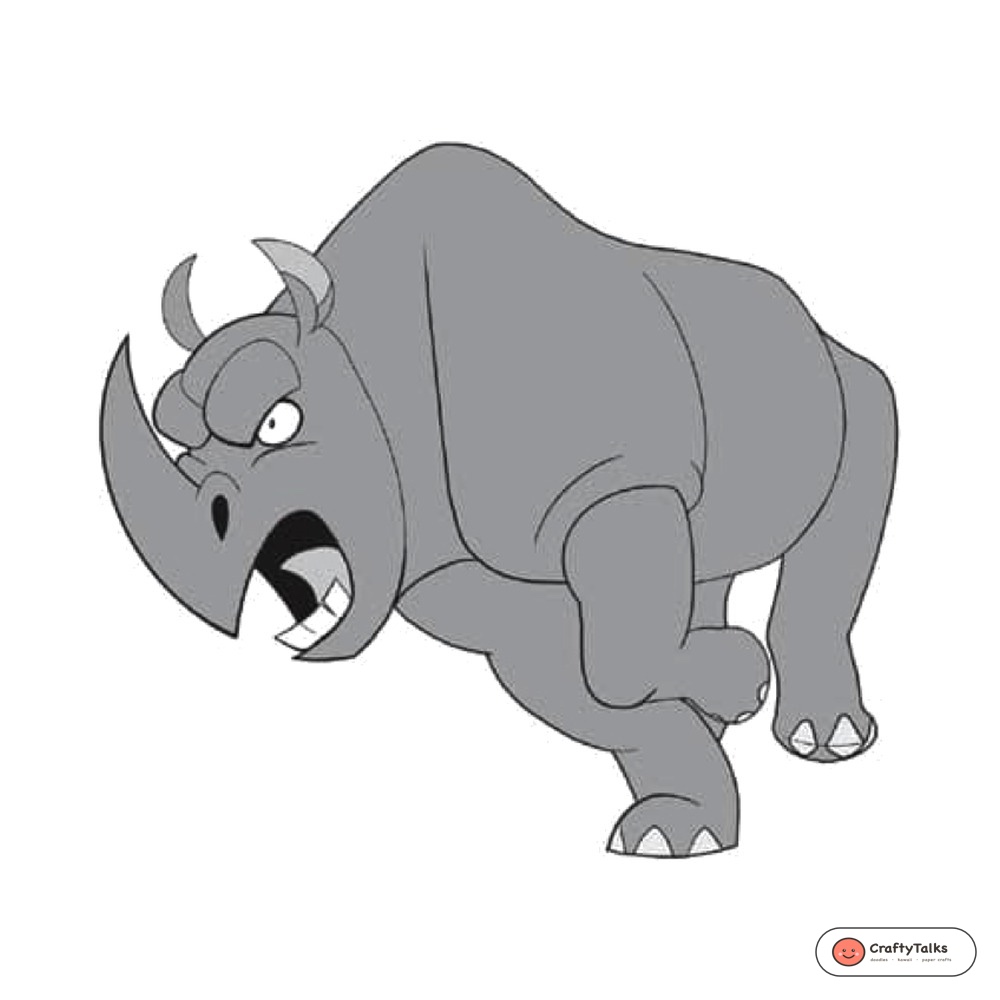
Interactive Draw-Along Studio: Cartoon Rhinoceros
Practice each stage directly in your browser with our free drawing canvas. You can toggle the step-by-step trace guide, test slate and horn colors, and download your finished sketch.
 Step Guide 🔍
Loading Step...
Loading instructions...


Switch to Another Animal
Pick any animal below to start a new step-by-step draw-along!
Step Guide

🎉 High Five, Artist!
Your custom animal illustration is ready to download and share!

Cartoon Rhinoceros Proportions and Key Shapes
Getting the basic shape relationships right early makes inking straightforward:
- The main body oval should be roughly twice as long as the head circle so the torso feels heavy.
- The head circle sits slightly lower than the top spine line, with a blunt snout extending forward.
- Four thick columnar legs drop straight down from the lower belly line to support the heavy body.
- The front nasal horn curves gently backward, with a smaller triangular horn resting behind it.
Recommended Drawing Tools
You can use standard sketchbook supplies for this drawing:
- An HB graphite pencil for drawing light initial construction ovals.
- A clean vinyl eraser to lift initial pencil guidelines after inking.
- A 0.3mm or 0.5mm waterproof black fineliner for permanent outlines.
- Warm gray markers or colored pencils for skin shading and horn tones.
Step-by-Step Cartoon Rhinoceros Tutorial
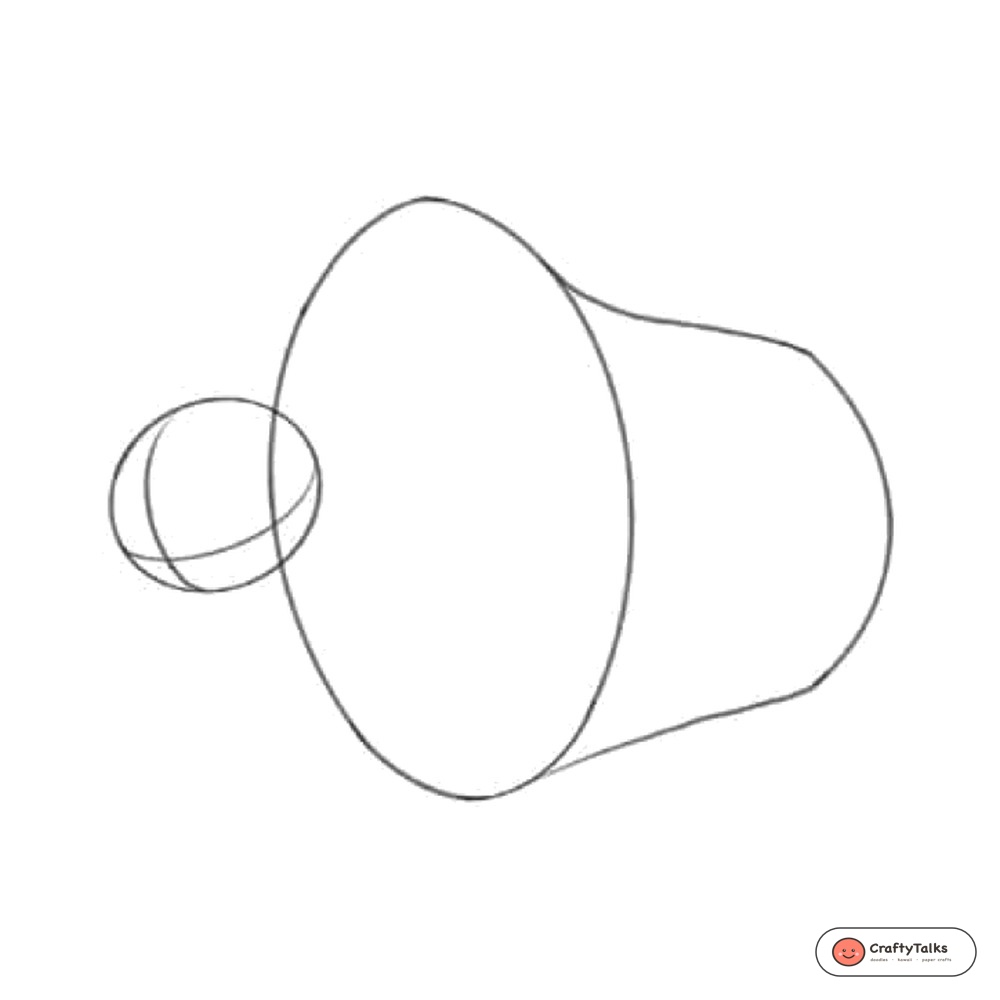
Step 1: Sketch the Head and Body Circles
Draw a large egg-shaped oval across the left side of your page to form the torso. On the right side, sketch a smaller circle for the head, leaving enough space between them to bridge the neck later.
Step 2: Connect the Neck and Muzzle Lines
Connect the top of the head circle to the back oval with an arching spine curve. Add a gentle curve along the throat, then extend a blunt squared muzzle off the lower front of the head circle.
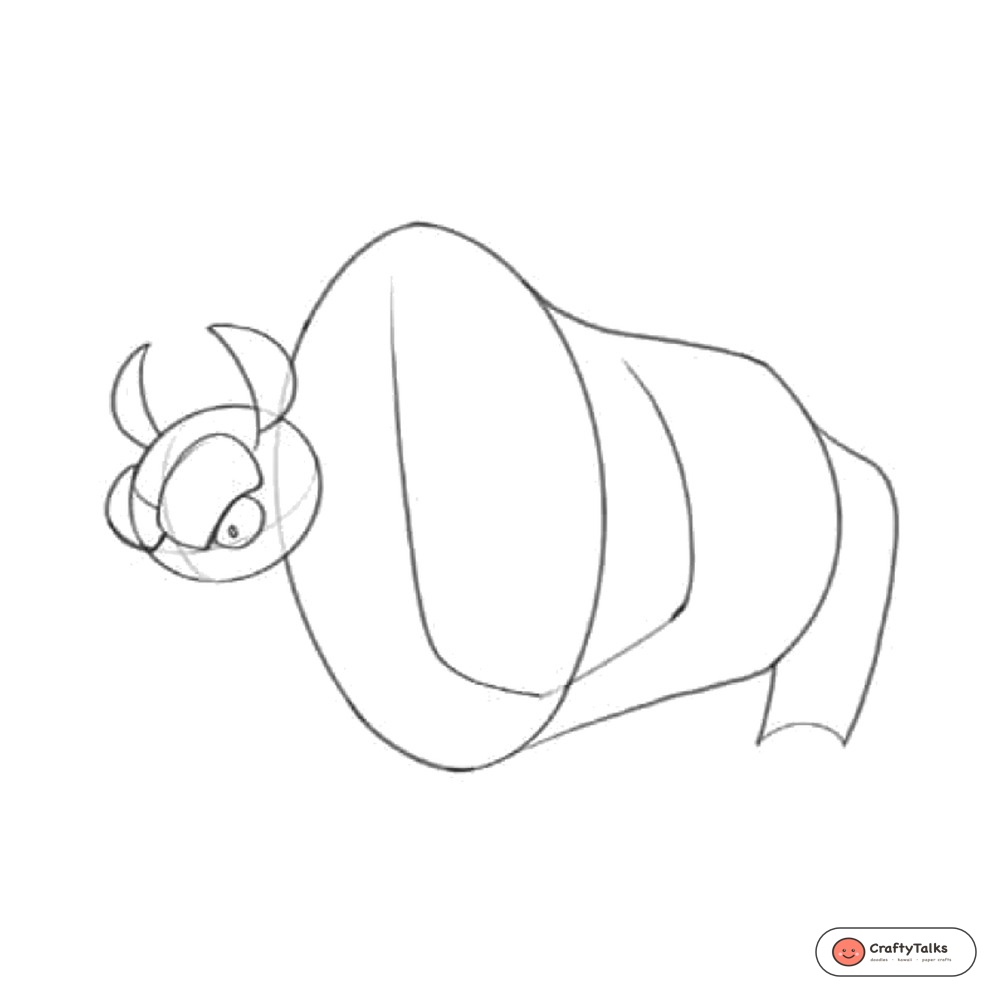
Step 3: Draw the Legs and Ears Outlines
Drop four thick, straight legs down from the body oval, keeping the feet flat at the bottom. Behind the forehead ridge, add two small pointed oval ears pointing slightly backward.
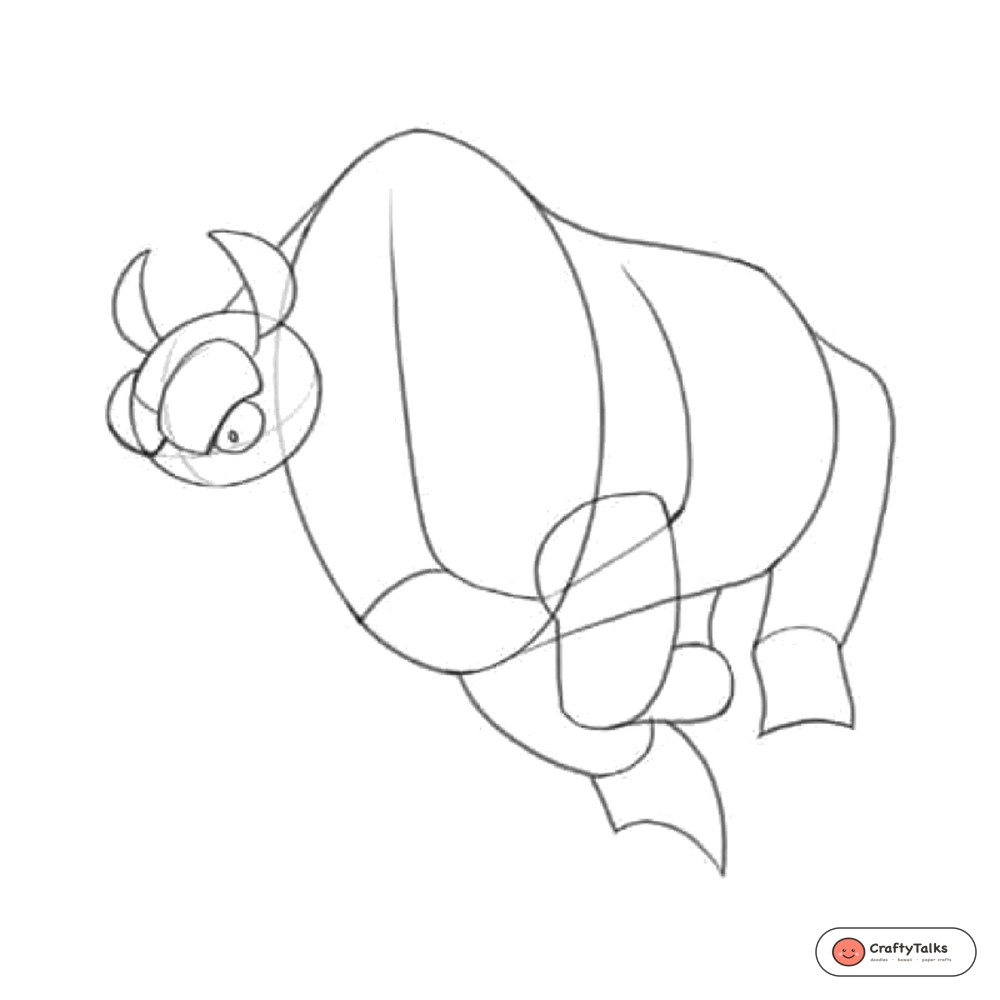
Step 4: Add the Horns and Hooves
Sketch a prominent curved horn on the tip of the snout that arcs backward toward the brow. Draw a smaller second horn right behind it, and add three small semicircular hoof lines along each foot base.
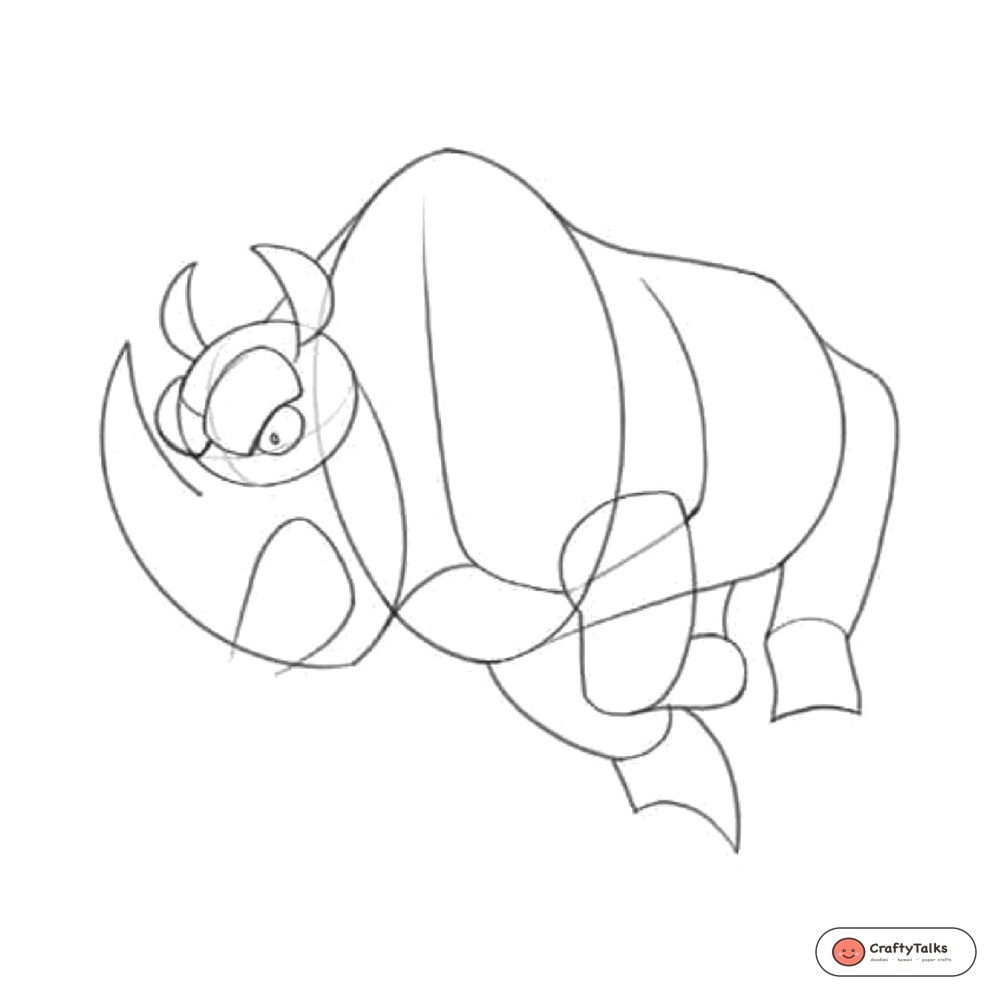
Step 5: Sketch Facial Details, Tail, and Skin Folds
Add a round cartoon eye, a small nostril slit on the front snout, and a gentle smile line. Draw a short tail with a small tuft of hair on the rear hip, then sketch curved crease lines over the shoulder and hind leg to show heavy skin folds.
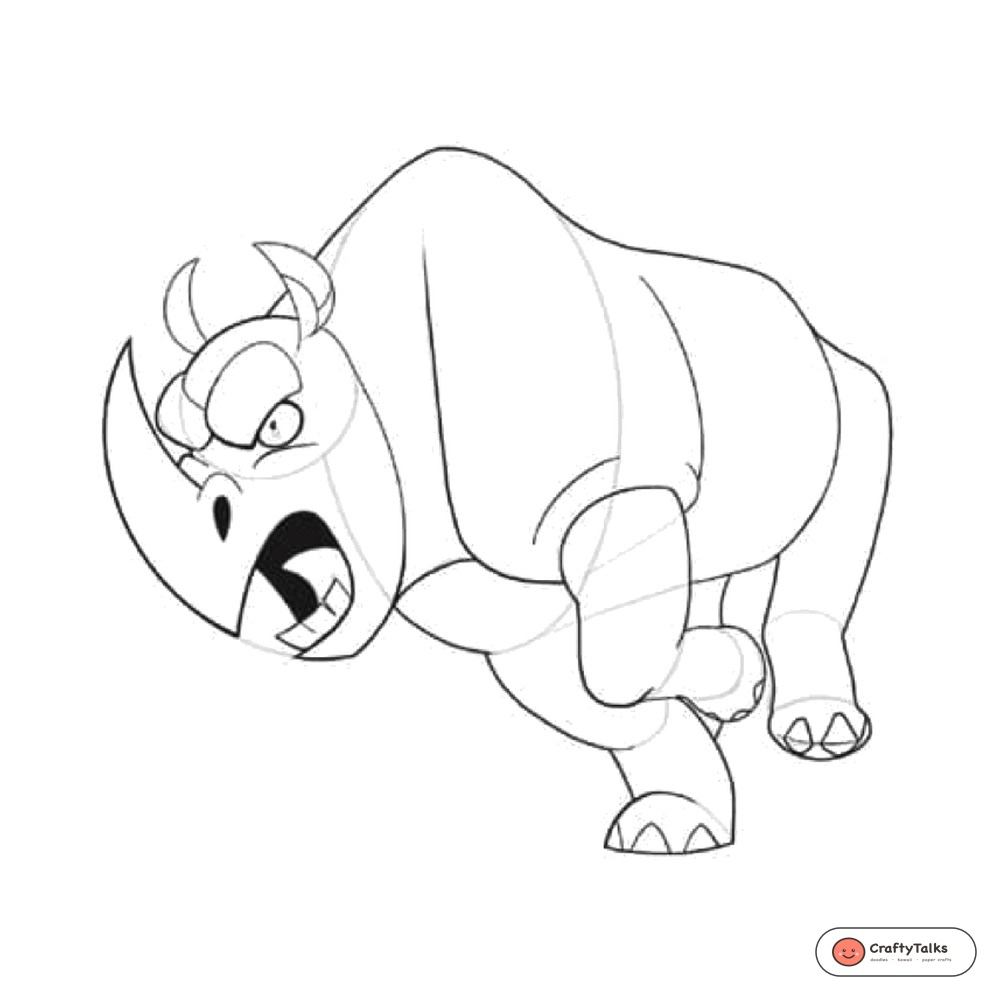
Step 6: Ink Contours and Shade in Slate Gray
Trace your final drawing with clean black ink and erase any remaining pencil lines. Shade the skin with neutral slate gray tones, tint the horns in light ivory cream, and add subtle hatching along the lower belly for dimension.
More Savannah Animal Tutorials to Practice
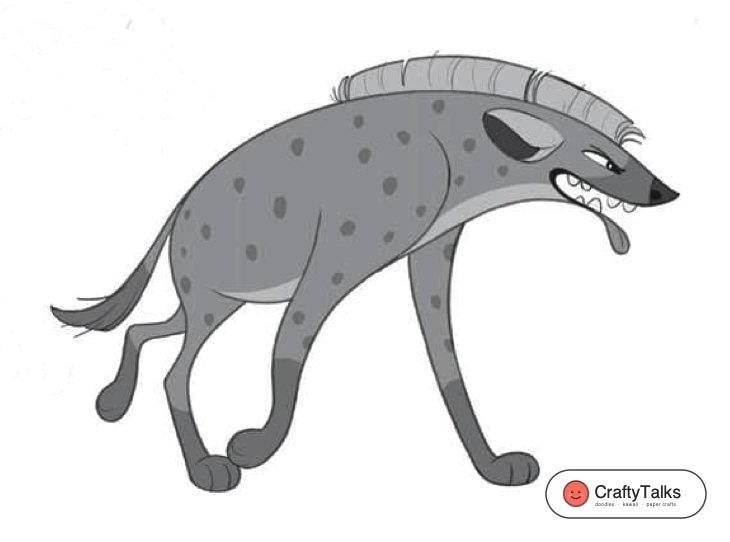
Continue practicing wildlife sketches with our step-by-step guides for a cartoon hippopotamus, a spotted cartoon hyena, or an agile African cheetah. You can also explore the magic shapes method to build other animal poses from basic geometric outlines.
Frequently Asked Questions
How big should the front horn be compared to the head?
The main front horn looks best when it is about half the height of the head circle. Keeping the second horn roughly half the size of the front horn maintains balance.
How do I draw the thick rhino skin folds?
Place one or two curved creases behind the shoulder and across the flank. Keep the lines short and follow the contour of the body to suggest heavy armored plates.
Can I color the rhino with watercolors?
Yes. If you plan to use wet media like watercolor washes, make sure to outline the drawing with a waterproof archival ink pen so the contours do not bleed.