How to Draw a Realistic Daisy in 8 Easy Steps
Learning how to draw a realistic daisy is one of the most rewarding milestones for botanical artists and nature sketchbook lovers. With its sunburst ring of pure white ray petals and vibrant golden center disc, the common lawn daisy (Bellis perennis) appears deceptively simple at first glance. However, capturing its genuine organic rhythm without making petals look rigid or cartoonish requires understanding foundational spoke geometry and layered floret construction. In this masterclass guide, you will learn the exact 8-step constructive technique used by botanical illustrators to sketch, ink, and shade a lifelike daisy from initial circular armature to finished fine-line study.
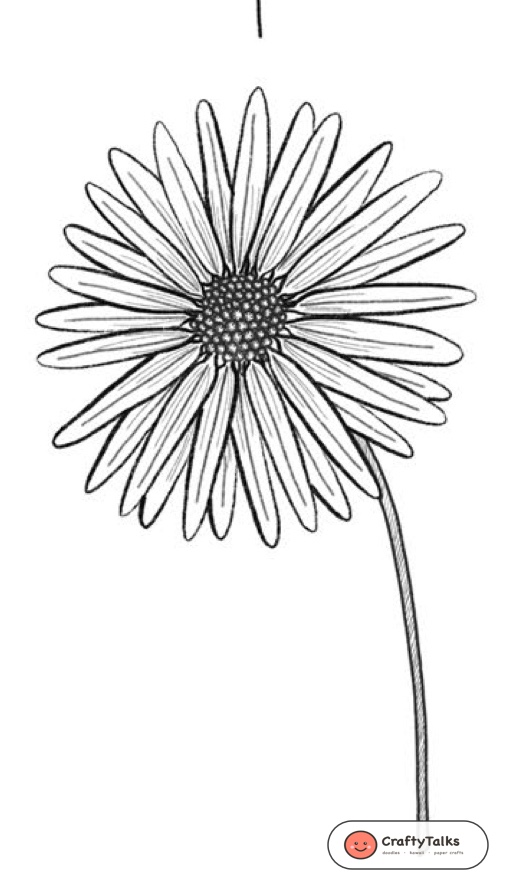
Anatomy of a Daisy: What Every Botanical Artist Needs to Know
Daisies belong to the composite plant family (Asteraceae). What looks like a single flower is actually a composite head consisting of two distinct flower types:
- Central Disc Florets: The golden yellow circular button in the center is composed of hundreds of tiny, tightly packed tubular flowers arranged in interlocking Fibonacci spirals.
- Outer Ray Florets: The surrounding white strap-like petals are specialized individual flowers designed to attract pollinators. Notice how they overlap in two subtle tiers rather than sitting on a single flat plane.
- The Receptacle & Stem: The base where petals anchor to the stem forms a gentle green dome. A natural daisy stem flexes softly under the flower’s weight.
Recommended Drawing Materials & Botanical Tools
- Graphite Pencils: 2H for light construction guides and HB for initial petal contours.
- Archival Fineliners: 0.1mm for delicate floret stippling and 0.3mm / 0.5mm for crisp outer petal lines.
- Kneaded Eraser: For lifting guidelines without leaving debris or damaging archival paper grain.
- Smooth Bristol or Watercolor Paper: 200–300 GSM hot-press paper prevents ink bleeding and preserves crisp fine linework.
🎨 Interactive Draw-Along Studio: Realistic Daisy
Prefer practicing directly on your tablet, iPad, or computer screen? Draw along using our in-browser Interactive Draw-Along Studio! Toggle traceable reference lines, select curated floral color swatches, and download your finished artwork:
 Step Guide 🔍
Loading Step...
Loading instructions...


Switch to Another Flower
Pick any flower below to start a new step-by-step draw-along!
Step Guide

🎉 High Five, Artist!
Your custom botanical illustration is ready to download and share!

How to Draw a Realistic Daisy Step-by-Step
Step 1: Concentric Circular Armature
Lightly sketch a large outer circle to establish the maximum reach of the ray petals, then pencil a smaller concentric circle in the center for the disc floret button.

Botanical Artist Tip: Use a light 2H graphite pencil with minimal pressure. These guidelines will keep your petals evenly proportioned around the seed center!
Step 2: Radiating Directional Spokes
Divide the space between the inner and outer circles by drawing radiating spoke lines like bicycle wheel spokes extending outward from the center disc.

Botanical Artist Tip: These spokes establish proper petal perspective. Keep them spaced roughly 15 to 20 degrees apart around the entire circle.
Step 3: Anchor the First Slender Ray Petals
Using the spokes as central guidelines, draw the first few slender elliptical petals on the upper-left quadrant. Each petal tapers softly at the base and rounds at the tip.

Botanical Artist Tip: Daisy ray petals are narrow and strap-like (ligulate florets). Avoid making them too wide or pointed like sunflower petals.
Step 4: Complete the Primary Radiating Petal Ring
Continue tracing petals along all radiating spokes until the entire front circle is filled with a symmetrical ring of delicate daisy petals.
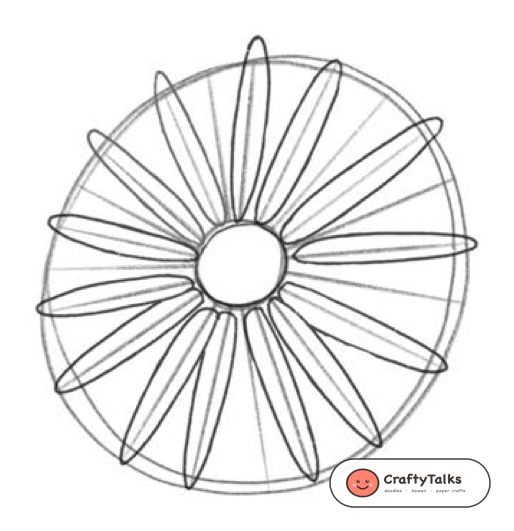
Botanical Artist Tip: Vary the lengths slightly by 1-2 mm. Organic flowers are never machine-perfect, and subtle length variations add lifelike charm.
Step 5: Drop the Graceful Arching Stem
From behind the lower petals, sweep a graceful, slightly curved vertical line downward to establish the flower stem gesture.
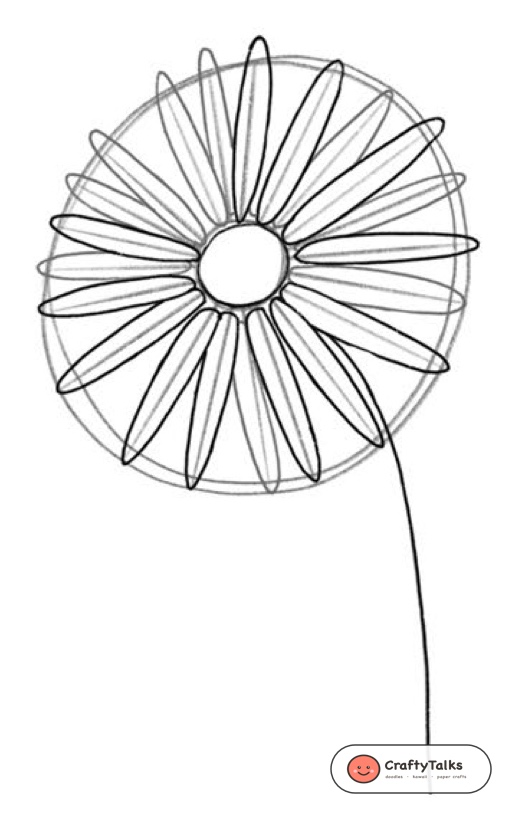
Botanical Artist Tip: Never draw a daisy stem ruler-straight! A gentle natural curve suggests the weight of the flower head swaying in a summer breeze.
Step 6: Stipple Central Florets & Peek Layered Back Petals
Fill the center circle with tightly packed miniature bead circles representing disc florets. Peek secondary pointed petal tips behind the gaps of the front petals.
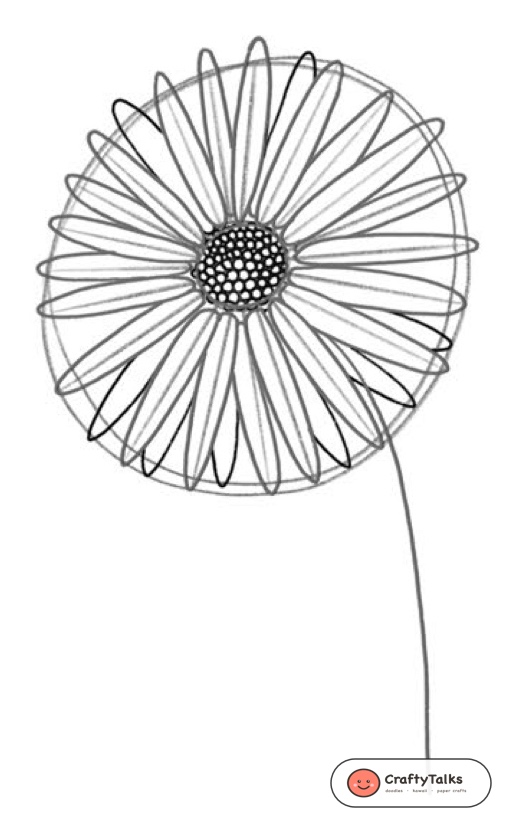
Botanical Artist Tip: These background petals create authentic two-tier depth, making the bloom look lush and three-dimensional.
Step 7: Inking Contours & Erasing Guide Armature
With an archival fineliner (0.3mm or 0.5mm), trace clean dark contour outlines along the petals and stem, then gently erase all underdrawing pencil circles.
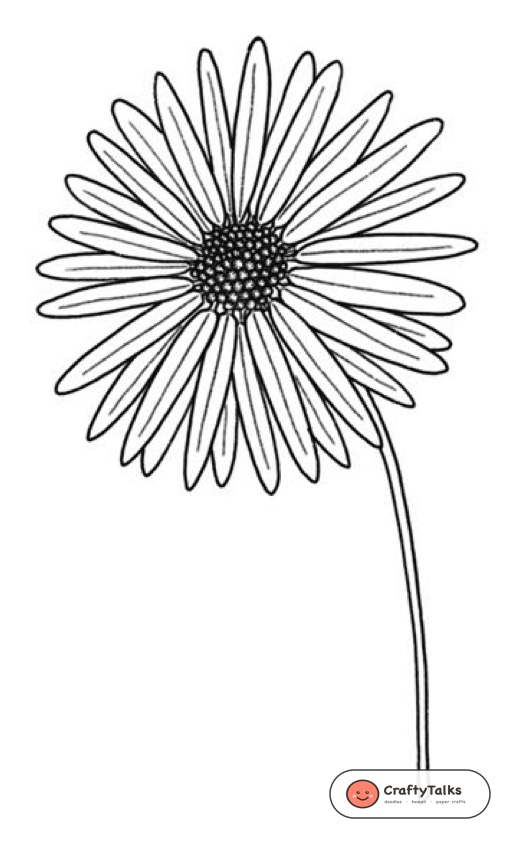
Botanical Artist Tip: Ensure your ink is completely dry for at least 60 seconds before erasing to avoid any ink smudges across the white petal zones.
Step 8: Botanical Shading, Petal Veins & Finished Study
Add delicate longitudinal hatch lines along each petal crease, shade the recessed edge of the center disc, and stipple the curved stem silhouette for finished botanical realism.
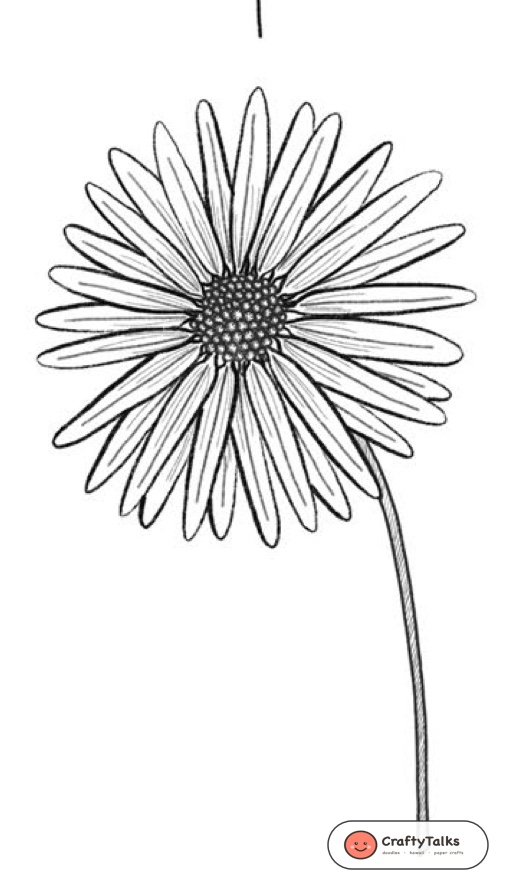
Botanical Artist Tip: Keep shading lines very fine and feathery. Light shading at the petal bases pushes the golden floret disc forward dramatically!
Botanical Color Palette & Watercolor Tinting Guide
When tinting a white flower like a daisy, never paint the petals pure flat white! Layer soft cool slates and warm yellows to create luminous depth:
- Golden Yellow (#FACC15): Base wash for the central disc florets.
- Warm Ochre (#D97706): Shading for center spirals and floret shadows.
- Soft Slate Grey (#94A3B8): Cast shadow wash at petal overlaps and under the center disc rim.
- Meadow Stem Green (#16A34A): Fresh lively green for the stem highlights and sepal dome.
- Deep Forest Green (#14532D): Longitudinal stem shadow lines on the shaded side.
Explore More Botanical Drawing Tutorials
Continue developing your floral sketchbook with our companion botanical masterclasses:
- How to Draw a Realistic Sunflower (Helianthus Annuus) in 8 Steps — Master complex Fibonacci disc spirals and broad ray petals.
- How to Draw a Botanical Coneflower (Echinacea) — Learn drooping petal perspective and spiky central cones.
- How to Draw a Realistic Tulip (Tulipa) in 6 Steps — Cup-shaped floral anatomy and petal fold shading.
- The Beginner’s Guide to Line Weight in Drawing — Secrets to making delicate floral contours pop off the page.
Frequently Asked Questions About Drawing Daisies
How do I draw white petals on white drawing paper?
Leave the pure paper surface as your brightest highlight and paint very dilute, soft slate grey or warm yellow-grey washes along the petal seams and cast shadows. The contrast between shaded crevices and blank paper creates luminous white petals.
How many petals does a real daisy have?
Common field daisies typically have between 21 and 34 ray petals, following Fibonacci numbers. In your drawing, aim for 20 to 28 petals to give full, lush coverage without cluttering your linework.
What is the secret to drawing a natural daisy stem?
Always draw the stem with a gentle, continuous S-curve rather than a rigid vertical line. Taper the stem slightly just below the green receptacle to reflect how the flower connects naturally in the wild.