How to Make a Rocking Paper Santa (Easy DIY Christmas Paper Craft)
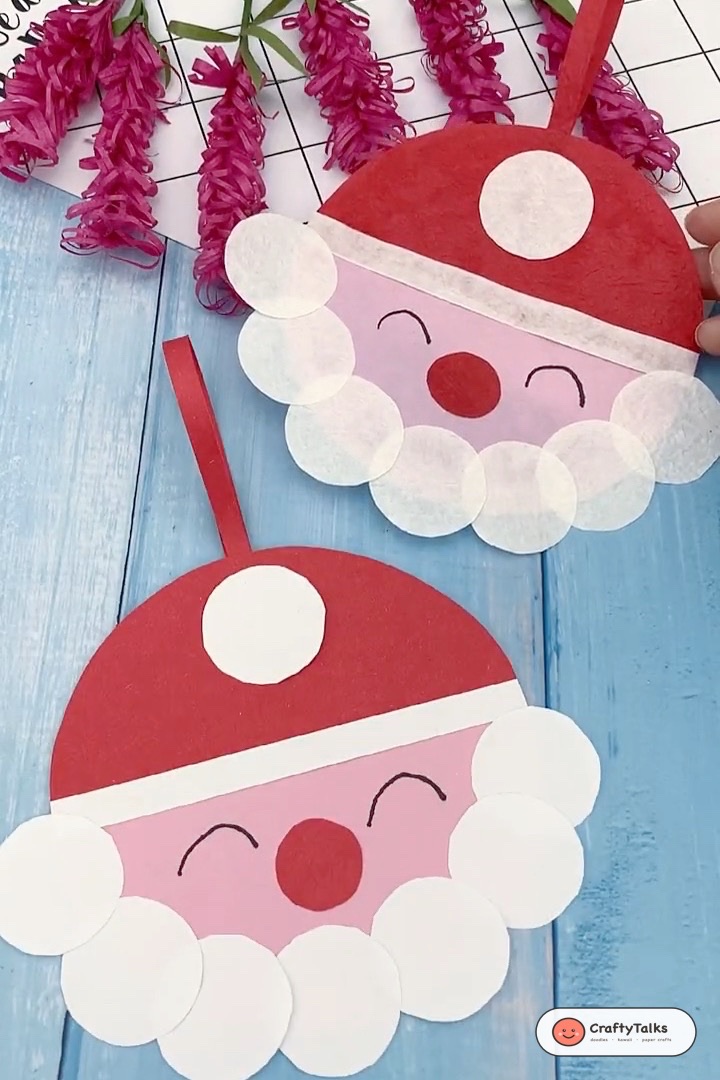
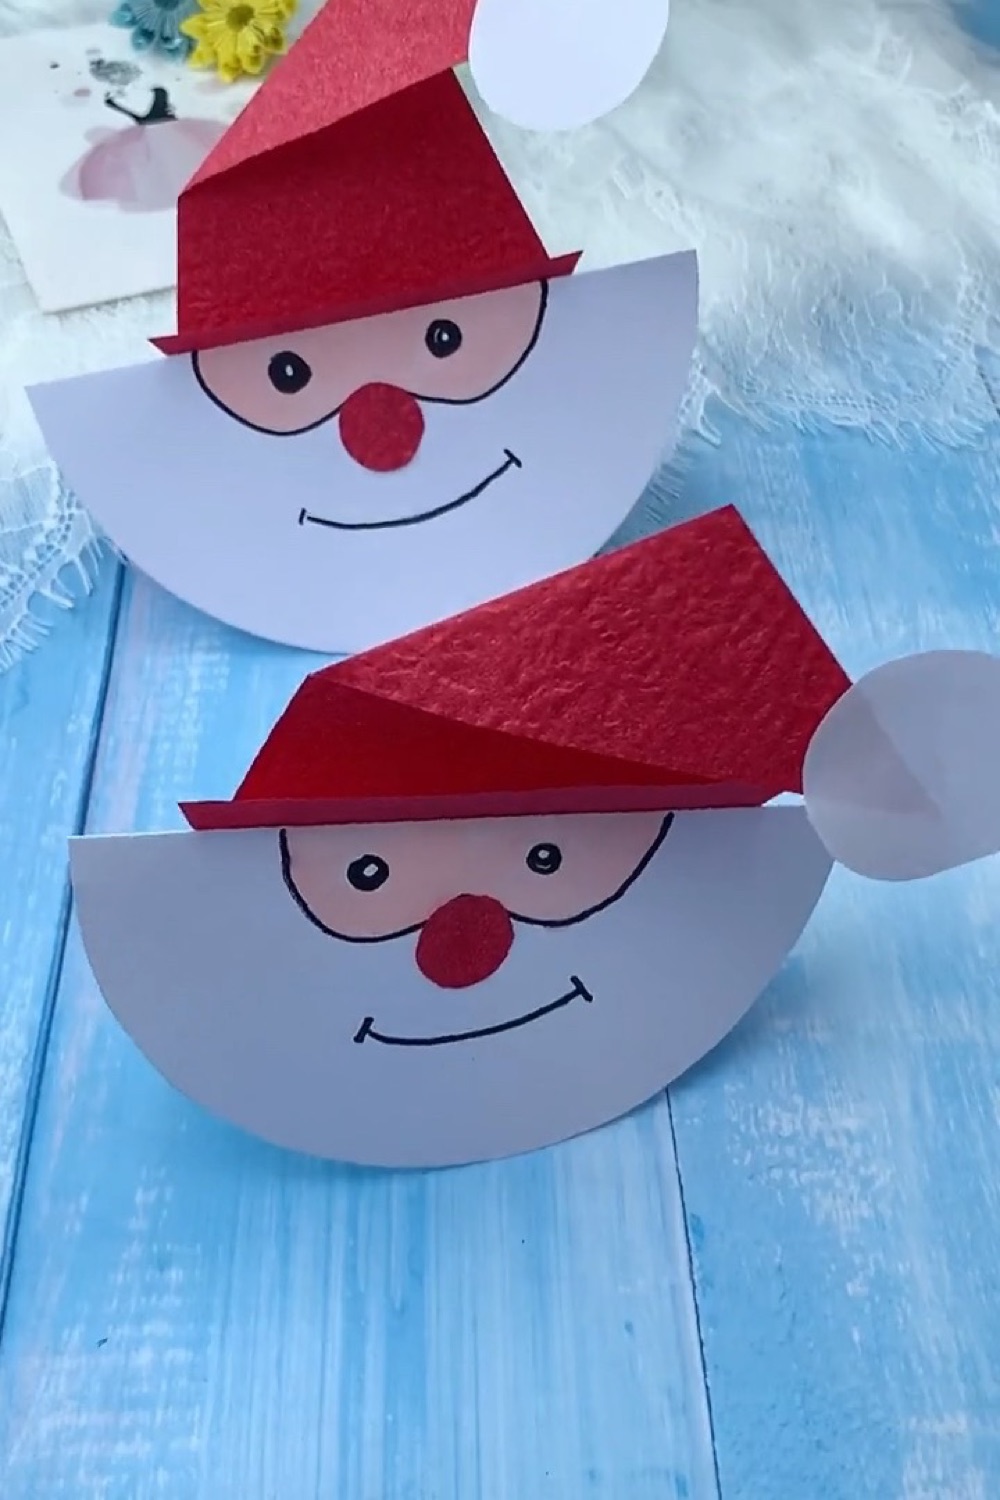
Bring interactive holiday charm to your craft table with this delightful DIY Rocking Paper Santa! With his curved folded base, textured red hat, and jolly smiling face, this easy paper craft doesn’t just sit on a shelf—give his hat a light tap and he rocks cheerfully from side to side like a merry holiday pendulum!
In this simple 8-minute tutorial, you will discover how to turn a basic circle of white cardstock into a self-balancing rocking toy. It requires minimal supplies, no complex tools, and is an ideal seasonal craft project for toddlers, preschoolers, and elementary school classrooms.
Craft Supplies & Materials
- 1 Sheet of Sturdy White Cardstock: Lightweight paper is too floppy; a 160–200 gsm cardstock circle holds its semicircular arch perfectly and provides the smooth rolling edge needed for rocking.
- Red Paper or Textured Scrapbooking Paper: For Santa’s pointed hat and round button nose. Textured paper adds wonderful tactile warmth!
- Small White Paper Scrap: For cutting out the round hat pompom.
- Black Marker or Gel Pen: For outlining the beard, expressive cartoon eyes, and jolly smile line.
- Peach Marker or Colored Pencil: For coloring Santa’s rosy skin tones.
- Glue Stick or Double-Sided Craft Tape: For securing the hat and nose in place.
- Scissors & Circle Compass (or round bowl to trace): To cut a clean circle (approx. 12–15 cm diameter).
Watch Video
Step-by-Step Folding & Assembly Instructions
Step 1: Fold White Circular Cardstock in Half into a Rocking Base
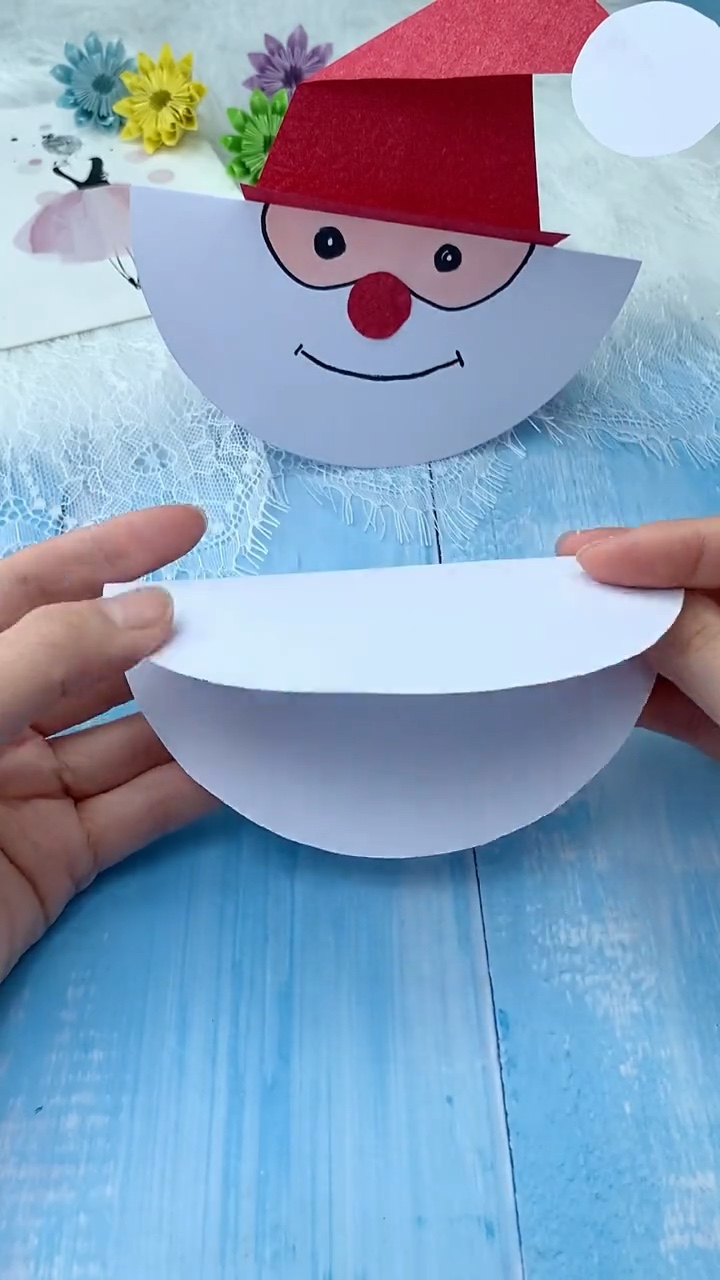
Trace and cut a smooth circle of white cardstock (around 12 to 15 cm in diameter). Fold the circle precisely in half along the center diameter, matching the outer curved rims. Press firmly along the straight top crease. When placed on a flat tabletop, the curved bottom acts as a smooth rocker that sways back and forth smoothly.
Step 2: Sketch Curved Face Mask & Beard Outline
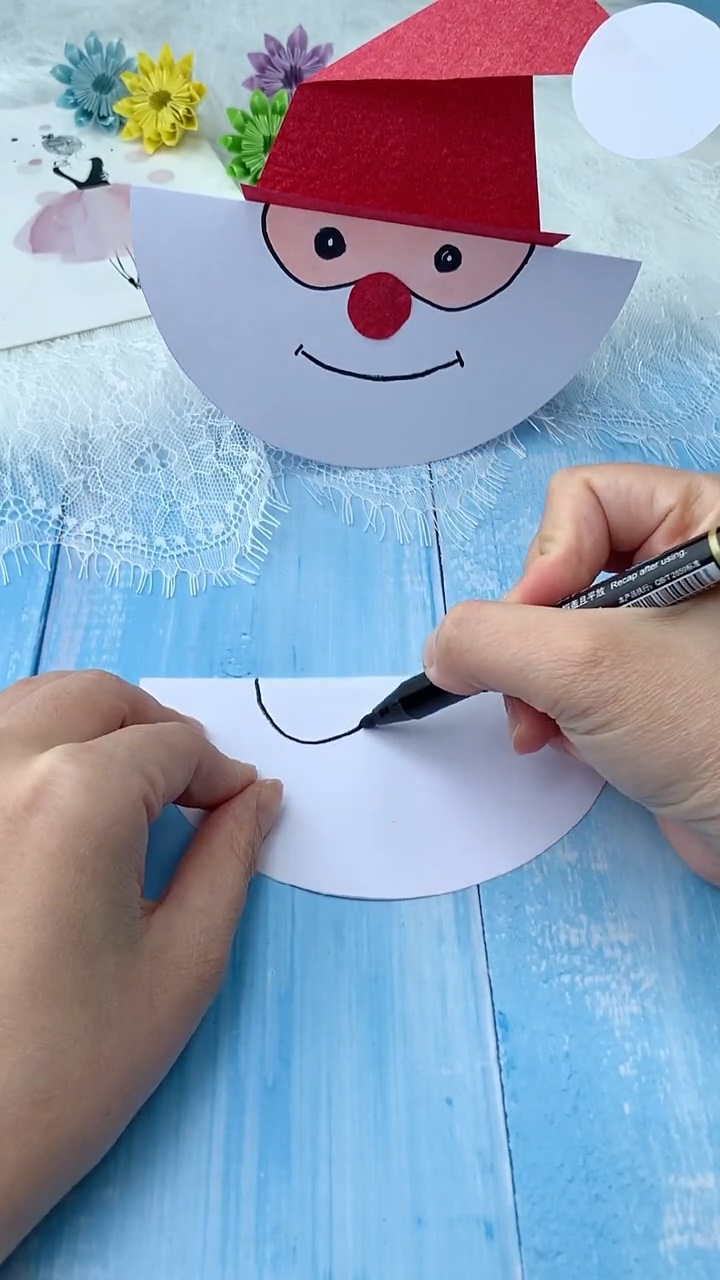
With the straight fold at the top and the rounded curve at the bottom, use a black fine-liner or marker to sketch Santa’s face area. Draw a downward curving heart-like or double-scallop arch in the upper half of the folded semicircle. The area underneath the line will stay white, forming Santa’s fluffy beard!
Step 3: Draw Jolly Cartoon Eyes with Catchlight Highlights
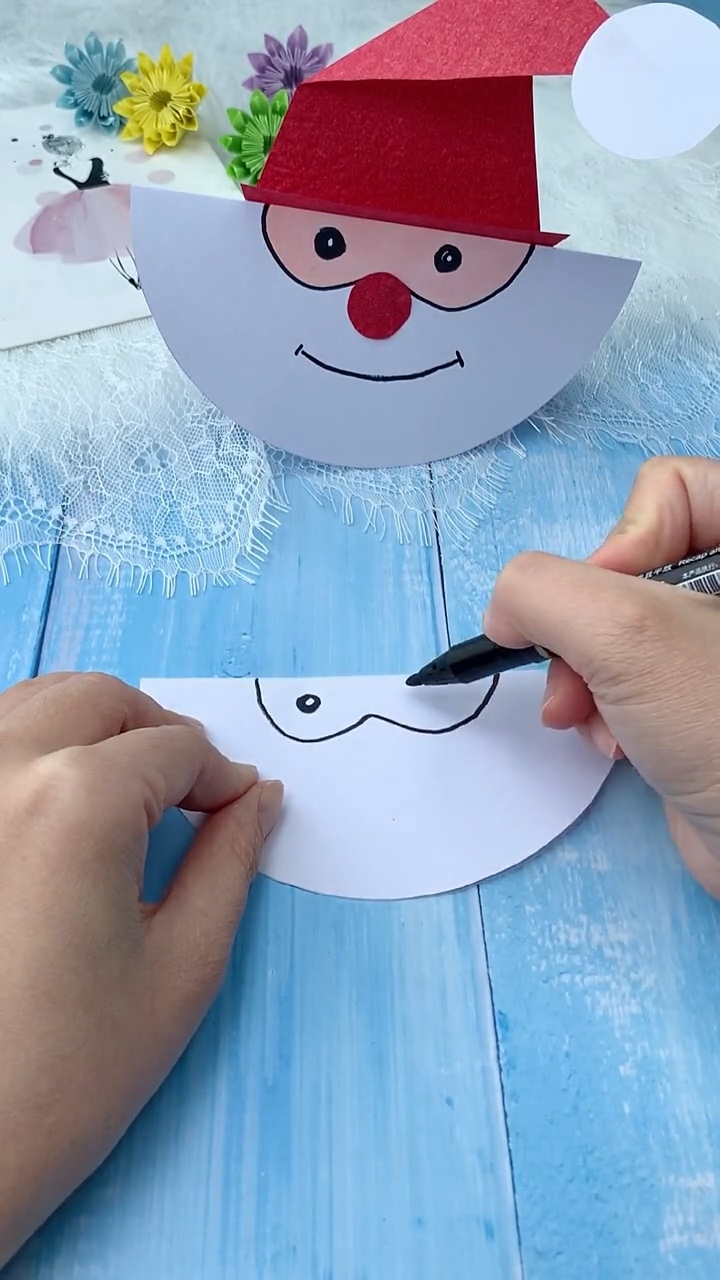
Inside the face boundary, draw two large, round cartoon eyes. Leave tiny white circle dots in the upper corner of each pupil as “catchlights” (light reflections) to give Santa an animated, joyful, and friendly gaze.
Step 4: Color Soft Peach Tone for Santa’s Face
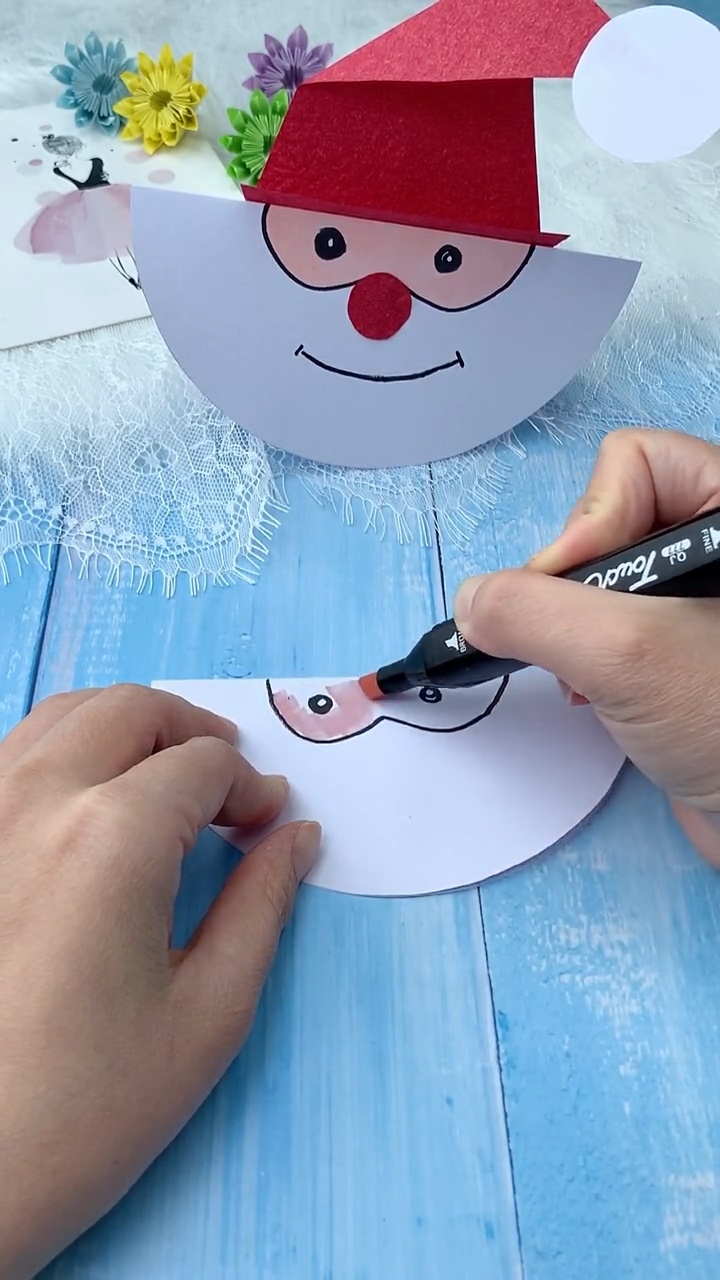
Using a soft peach marker, pastel pen, or colored pencil, gently shade within the eye-mask boundary. Be careful not to color over the white beard area below. The warm skin tone provides a lovely contrast against Santa’s crisp white beard and vibrant red hat.
Step 5: Glue Red Button Nose & Draw Cheerful Smile
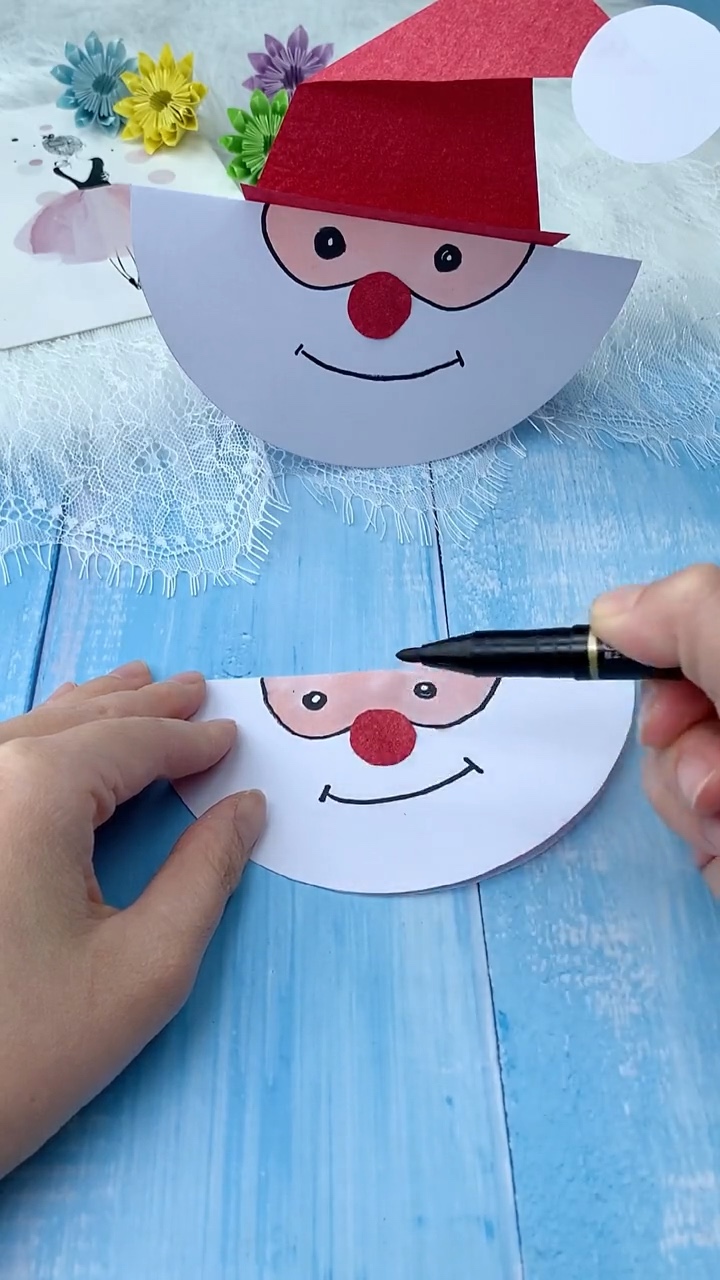
Cut a small round circle from red paper (about 1.5 cm across) and glue it right between and slightly beneath the eyes as Santa’s signature cherry nose. Beneath the nose, draw a wide, happy curved smile with small upward tick marks on each end for jolly rosy dimples!
Step 6: Attach Folded Red Hat with White Pompom & Test Rocking Motion
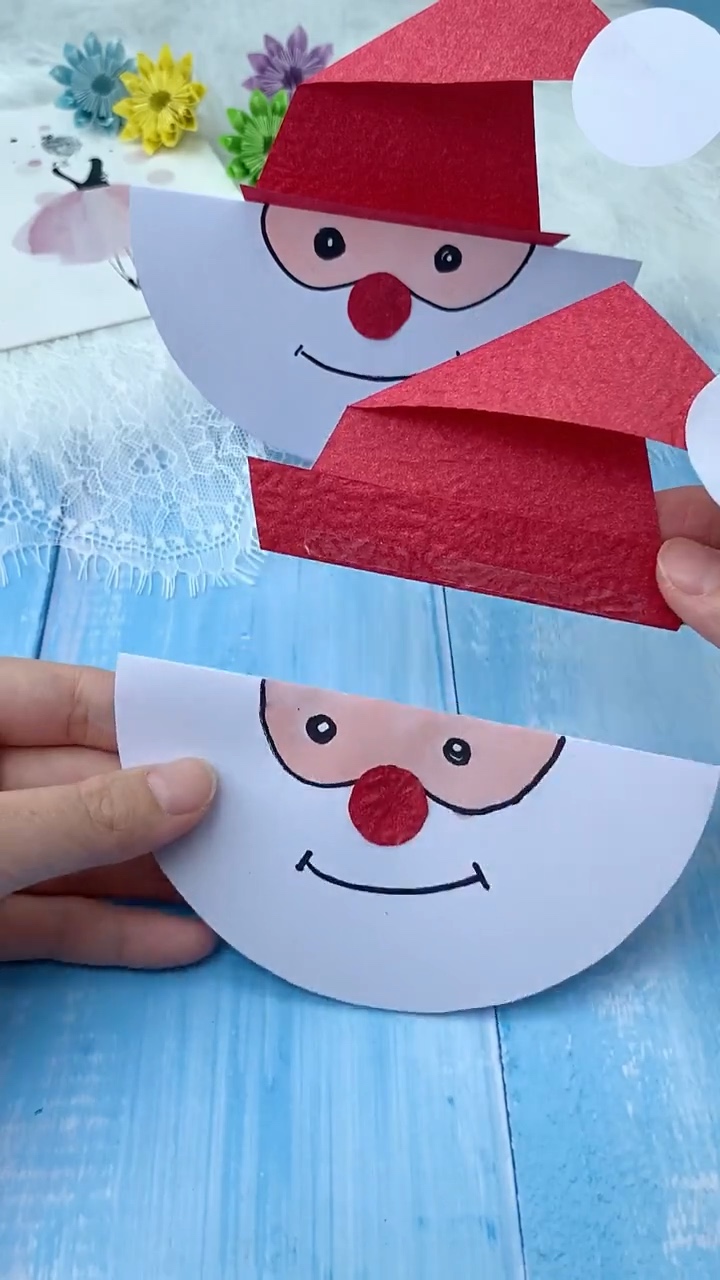
Cut a red paper trapezoid or triangle, fold the lower brim up, and slant the tip to the side to create Santa’s pointed hat. Glue a crisp white paper circle to the drooping point for the pompom. Apply glue along the straight top crease of your folded semicircle and attach the hat. Place your completed Santa on the table, tap his hat, and watch him rock merrily!
The Science Behind the Rocking Motion
This simple craft is also a wonderful hands-on lesson in center of gravity and balance:
- Because the bottom edge is a perfect circular arc, tipping Santa in either direction slightly raises his center of gravity.
- Gravity naturally pulls the lowest point of the arc back toward the tabletop, creating a self-centering pendulum motion.
- For optimal rocking, keep the hat lightweight so Santa doesn’t become top-heavy. If your Santa tips over, trim a little excess paper off the back of the hat to re-center the balance!
Looking for more seasonal craft inspiration? Explore our full collection of holiday projects:
- 🎅 How to Make an Accordion Paper Spring Santa — Bouncy pop-up holiday toy with folded paper springs.
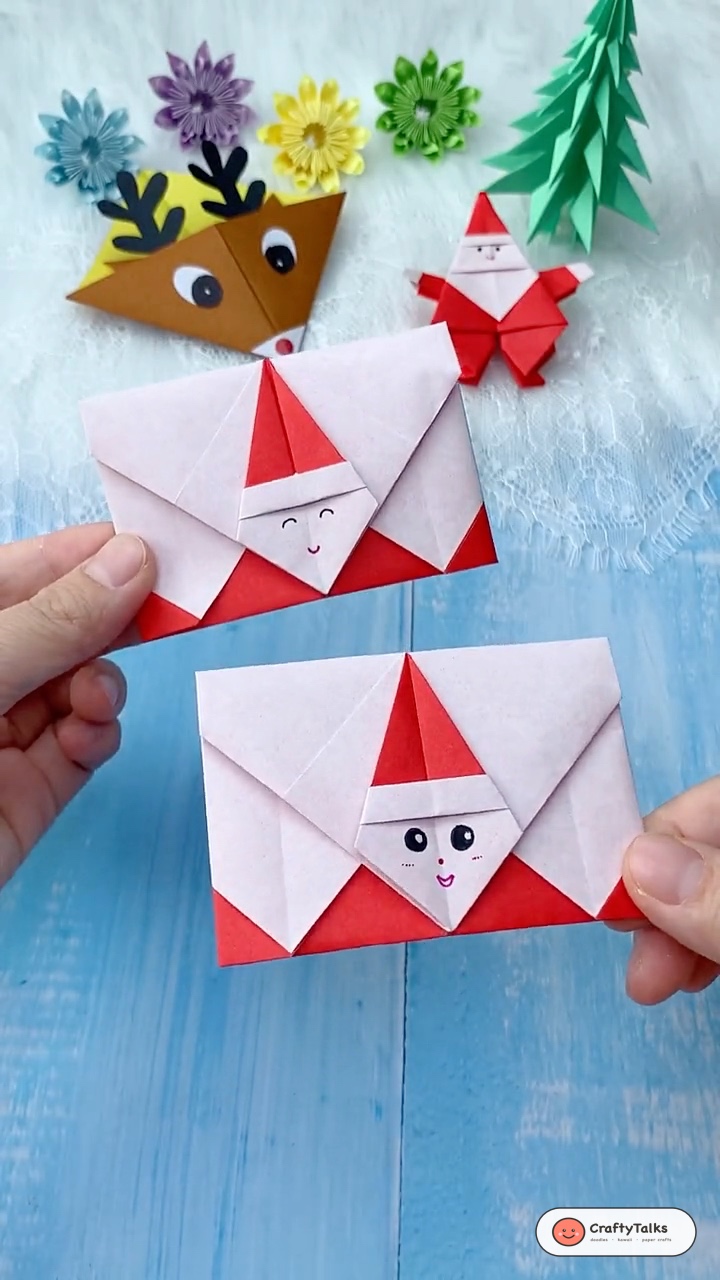
- 🦌 How to Make an Origami Reindeer Corner Bookmark — Fold an adorable Rudolph bookmark for cozy winter reading.
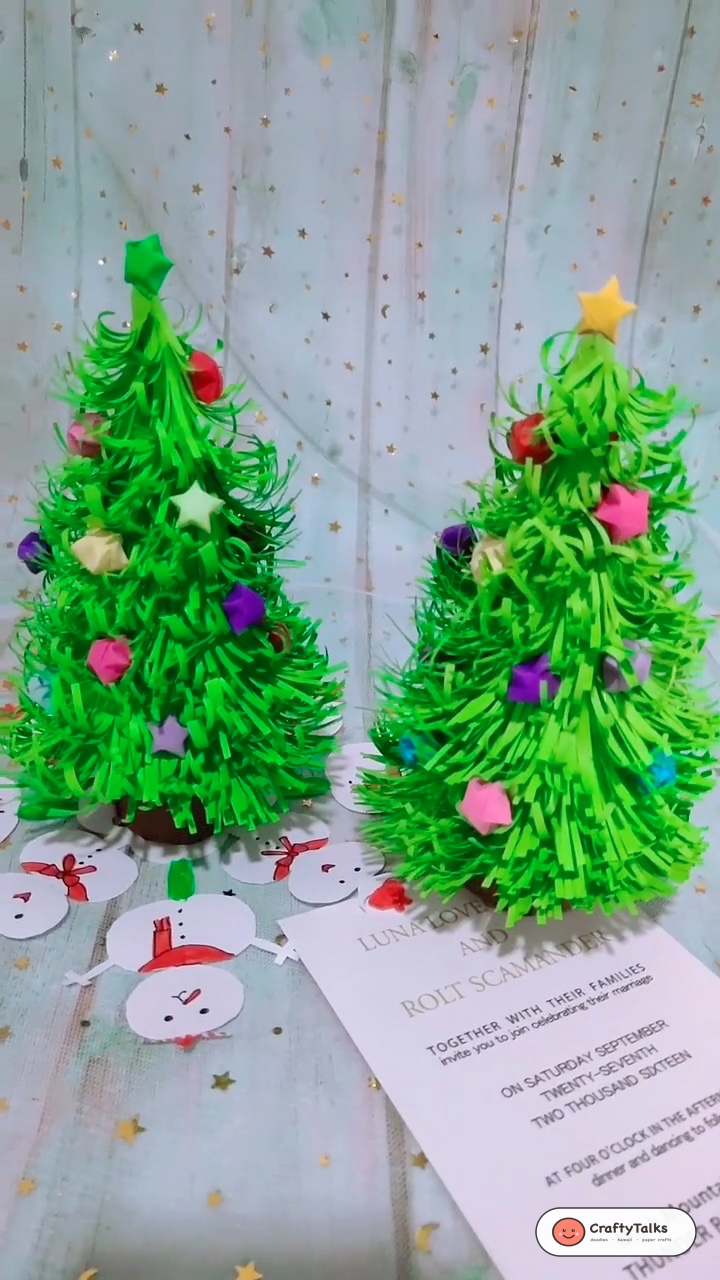
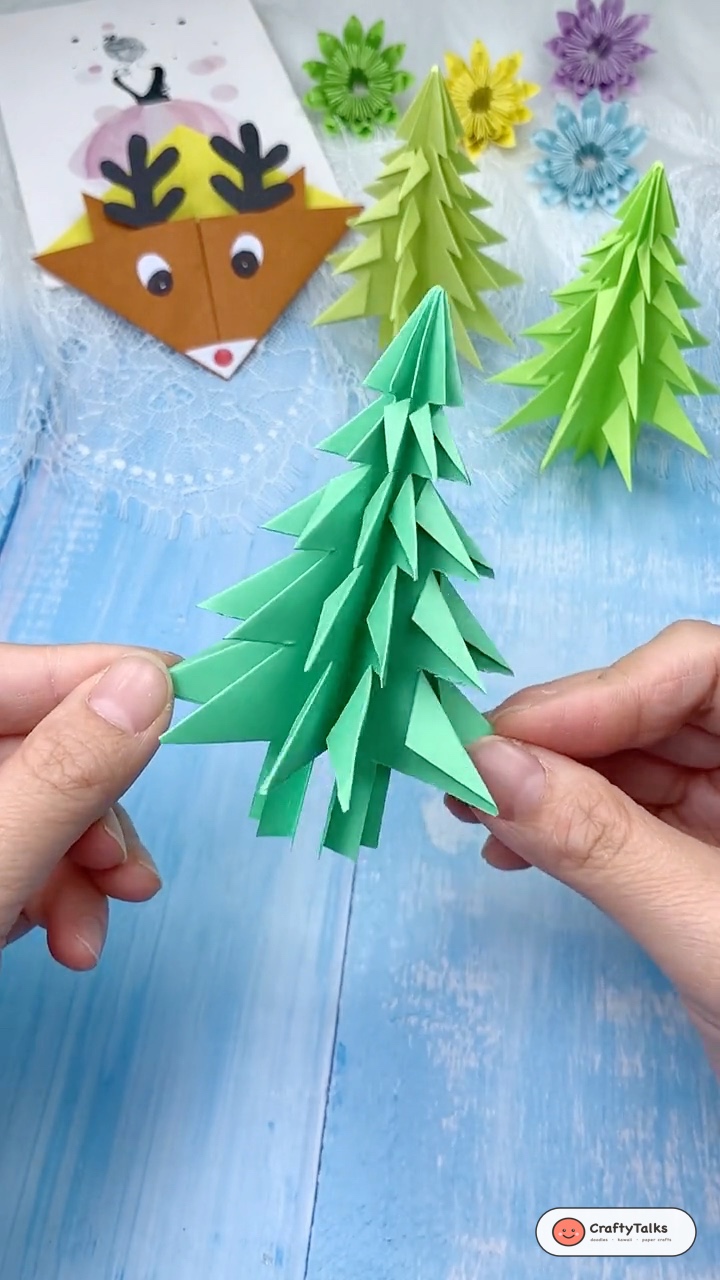
- 🎄 How to Make a 3D Fringed Paper Christmas Tree — Standing paper fir tree with paper fringe branches.
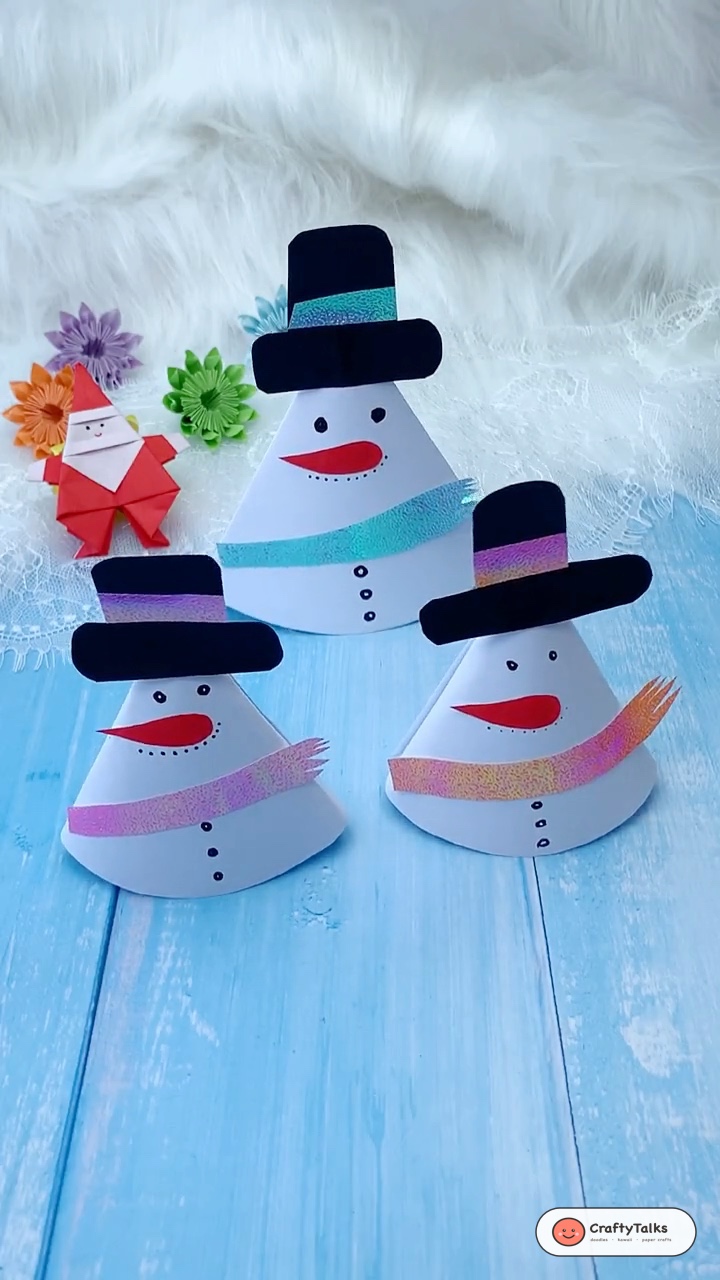
- ⛄ How to Make a 3D Paper Cone Snowman — Cute tabletop snowman with cozy scarf and top hat.