How to Make an Origami Santa Claus (Easy DIY Christmas Paper Craft Step-by-Step)
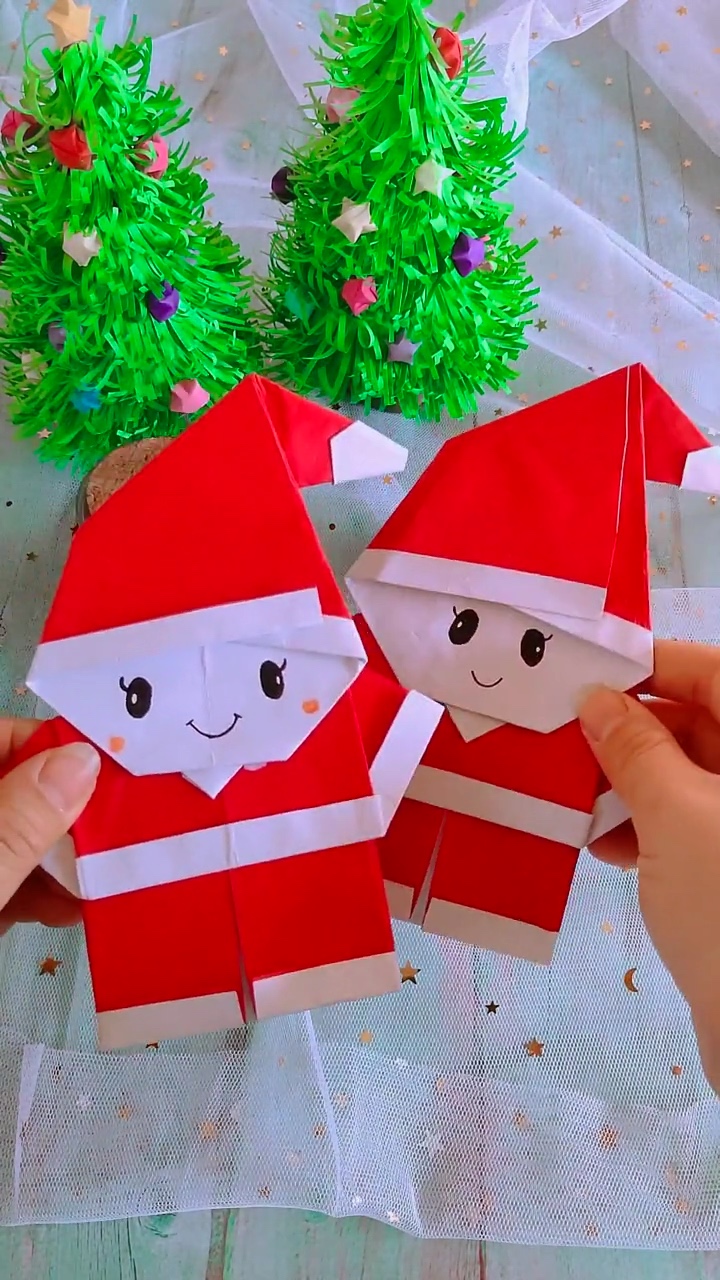
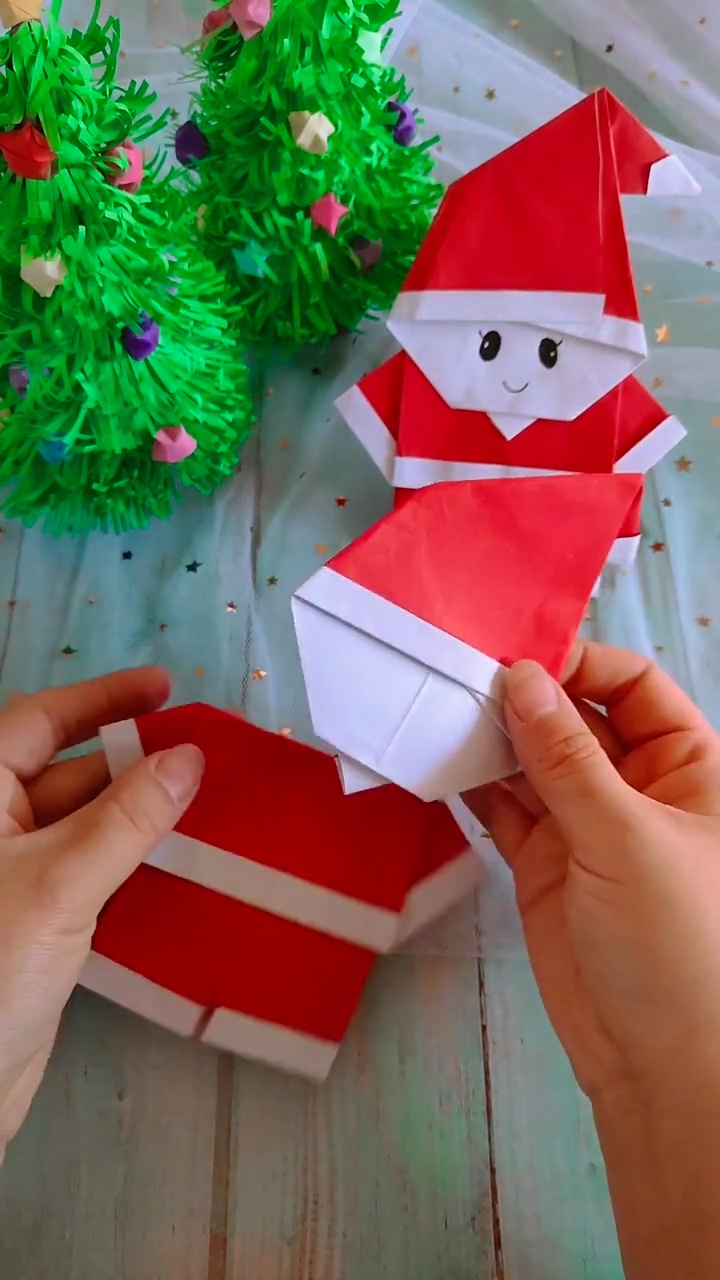
Ho ho ho! Bring festive holiday cheer to your home with this delightful DIY Origami Santa Claus! Folding a freestanding paper Saint Nick is one of the most heartwarming Christmas crafts you can make. With his classic pointed red hat tipped with white fur trim, cozy jacket with snowy cuffs, little paper trousers, and a cheerful smiling face, this standing Santa makes a charming addition to your holiday decor, Christmas tree, or handmade gift packages.
Unlike complicated traditional modular origami that requires dozens of intricate folds, this beginner-friendly design uses just two sheets of standard red-and-white origami paper—one for the head and hat, and one for the body and suit. In less than 10 minutes, you will have a proud, adorable Santa standing right on your desk!
Craft Overview: At a Glance
⏱ Time Needed:
8 – 10 Minutes
🎯 Skill Level:
Beginner / All Ages
📄 Recommended Paper:
2 Squares (15×15 cm) Red/White Origami Paper
🎄 Occasion:
Tabletop Decor, Tree Ornament & Gift Tags
Supplies & Materials Checklist
Here is everything you will need to fold your own origami Santa:
Paper & Essentials
- 2 Sheets of Square Origami Paper (15×15 cm / 6×6 in): Single-sided red paper with a plain white reverse side is essential! The white backing naturally becomes Santa’s beard, hat brim, belt trim, and cuffs.
- Black Gel Pen or 0.5mm Fineliner: For drawing Santa’s kind eyes and warm storybook smile.
- Pink Colored Pencil or Highlighter: For dabbing two gentle blushing cheek ovals.
Optional Enhancements
- PVA Craft Glue or Glue Stick: A tiny dab to firmly secure the head unit into the jacket collar so Santa stays sturdy when handled.
- Gold Ribbon or Twine: If you’d like to hang your origami Santa on your Christmas tree as a lightweight handmade ornament!
- Bone Folder or Ruler: For burnishing sharp, crisp seams along the suit folds.
Complete Visual Step-by-Step Overview
Step-by-Step Origami Santa Claus Tutorial
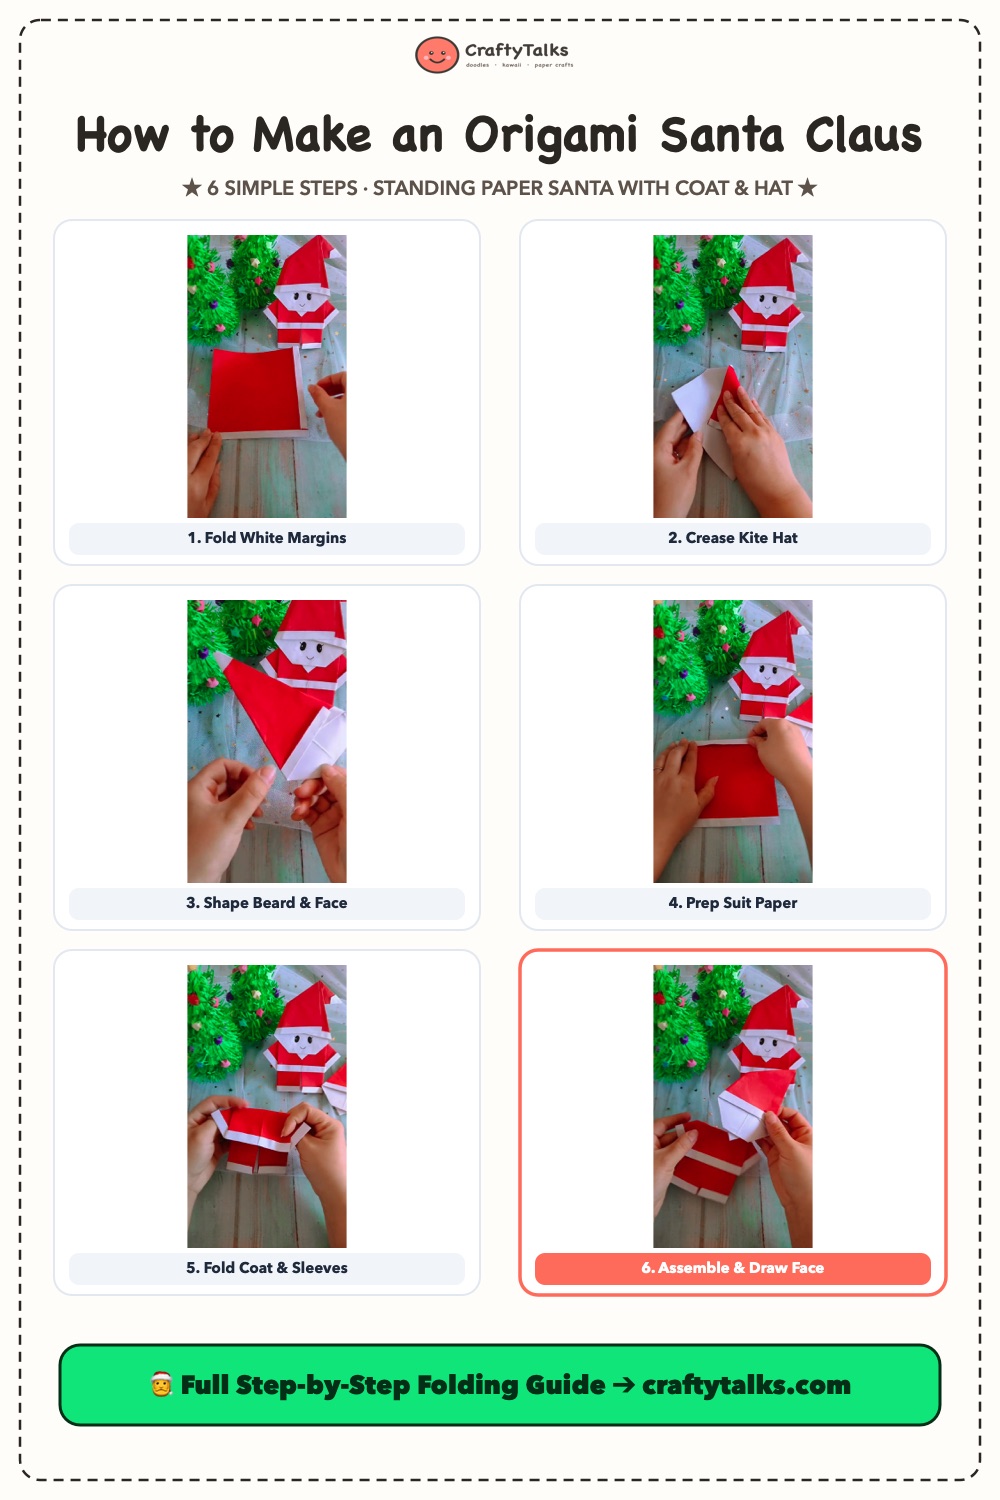
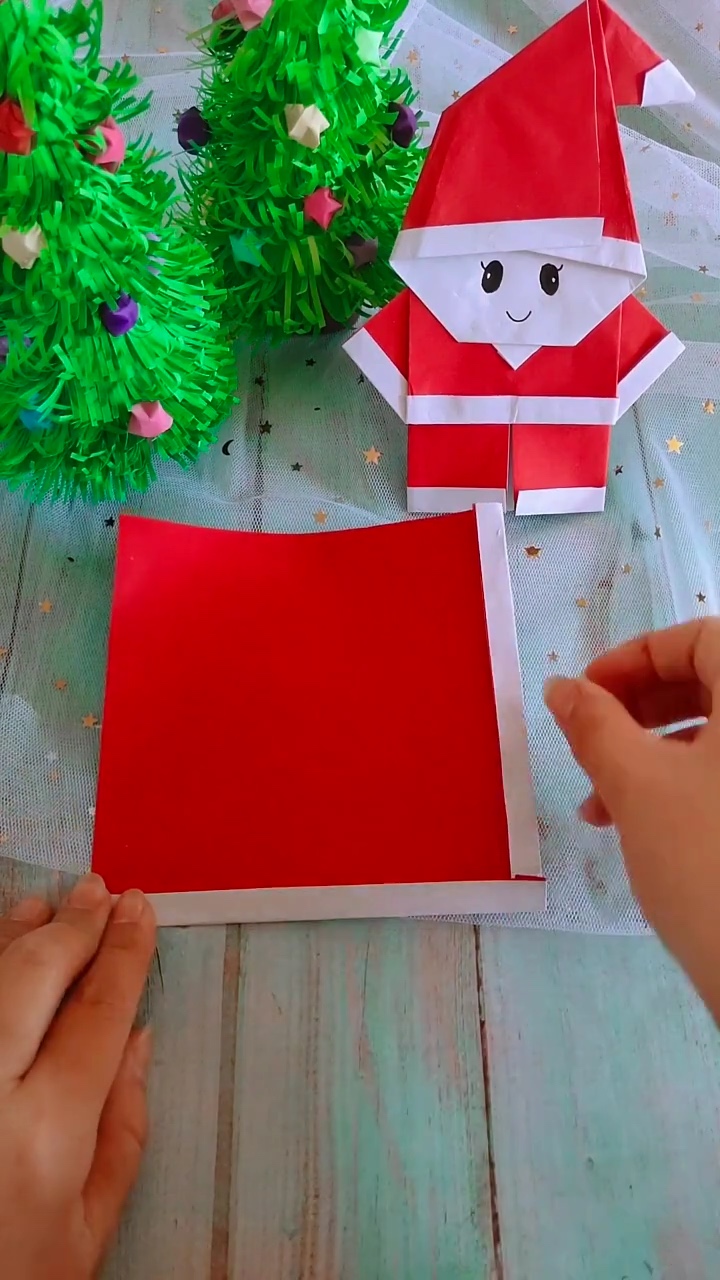
Step 1: Crease the White Fur Hat Brim & Margins
Place your first square of origami paper on your work surface with the red side facing upward. Along two adjacent edges, fold a slender strip (approximately 5mm to 8mm wide) backward so the clean white reverse side is exposed.
These narrow white strips will become the fluffy fur trim on Santa’s pointed hat and the white collar of his holiday suit. Press firmly along the edge to ensure a straight, even crease.
Step 2: Fold into a Pointed Kite Hat Shape
Flip the paper over to the white side. Locate the corner where the two white border strips meet at the top point. Fold the left and right diagonal sides inward to meet along the center vertical crease, creating an elongated kite shape.
Notice how the red color now envelopes the conical upper peak, creating Santa’s classic tall stocking cap while keeping the white fur rim crisply framed below!
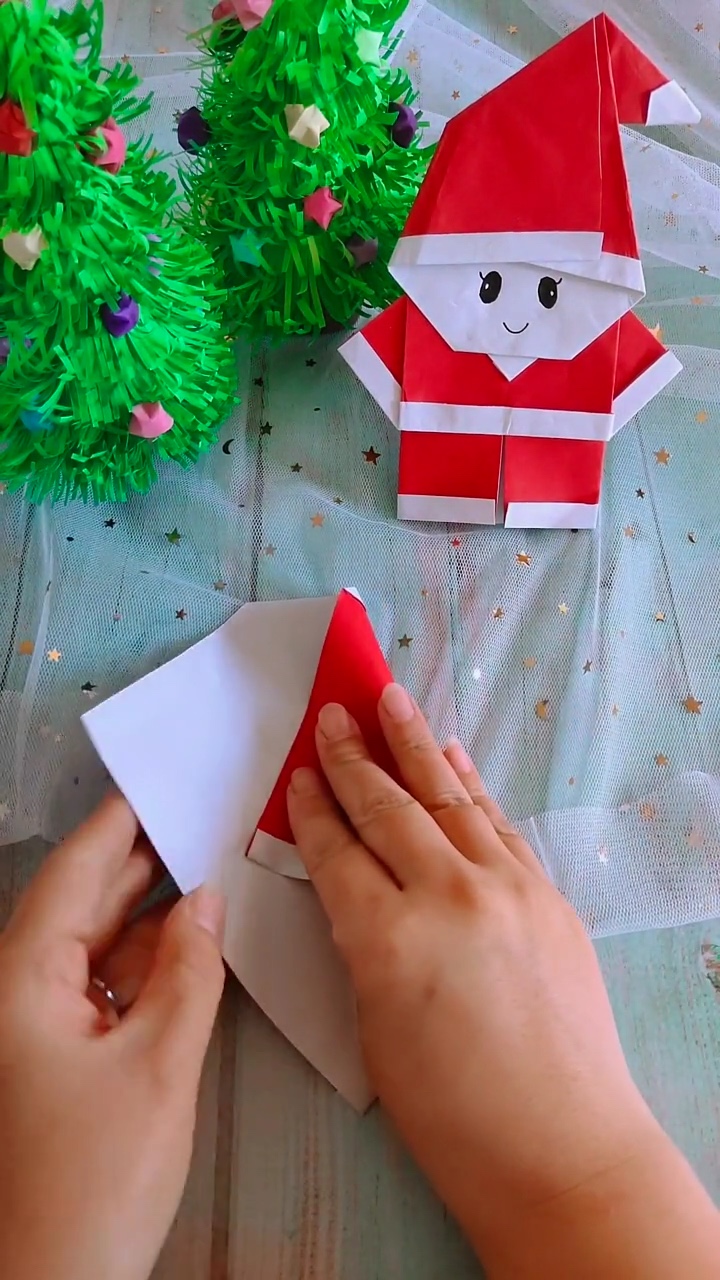
Step 3: Fold Upward to Shape the White Beard & Face
Take the bottom pointed tip of your kite and fold it upward toward the top peak. Then, fold the very tip slightly back downward in a small zigzag accordion fold.
This reveals a bright white pentagon in the center that forms Santa’s face and fluffy beard, framed neatly underneath the red stocking cap. Fold the very top tip of the hat sideways at a playful angle to give Santa his iconic bent pom-pom cap!
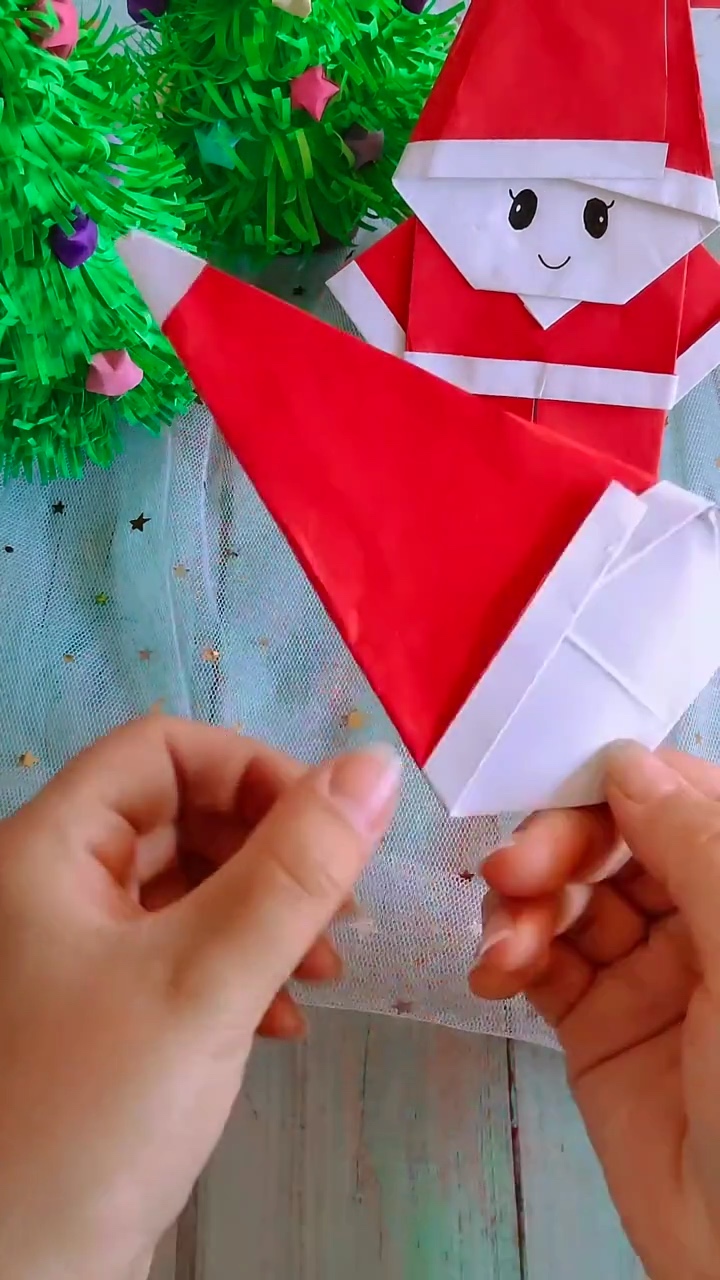
Step 4: Crease the Suit & Trouser Paper
Now take your second sheet of red square origami paper to build Santa’s jacket and body. Place the red side face down. Fold a narrow white strip (about 6mm) along both the top and bottom horizontal edges.
These two snowy white bands will form the waistband trim of Santa’s holiday coat and the cuffs of his trousers. Crease the center vertical line lightly to act as an alignment guide.
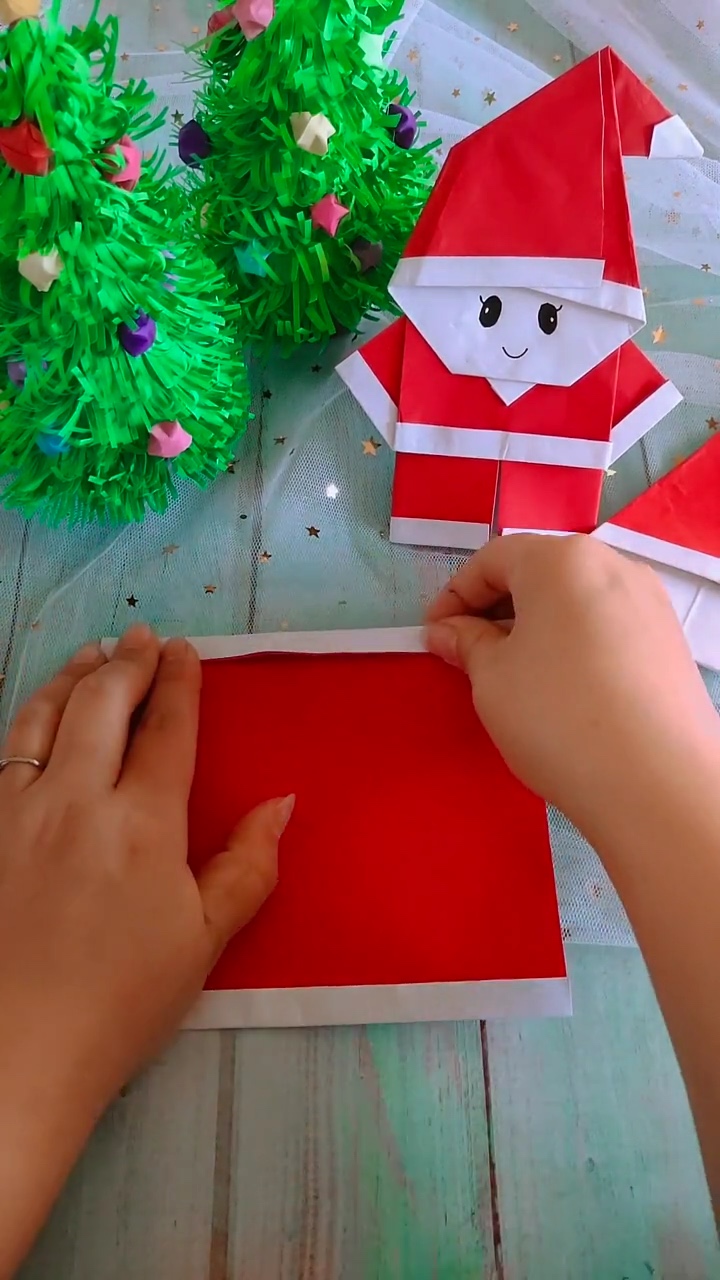
Step 5: Fold Coat Sleeves, Belt & Pants
Fold both outer vertical edges inward to meet at the vertical midline. Then, fold the top corners diagonally outward at a 45-degree angle to create Santa’s perky jacket sleeves with white cuff accents.
Fold the lower half upward and tuck the inner seam to separate Santa’s two sturdy red pant legs. The white border aligns horizontally across the middle, forming the snowy fur trim of his holiday coat!
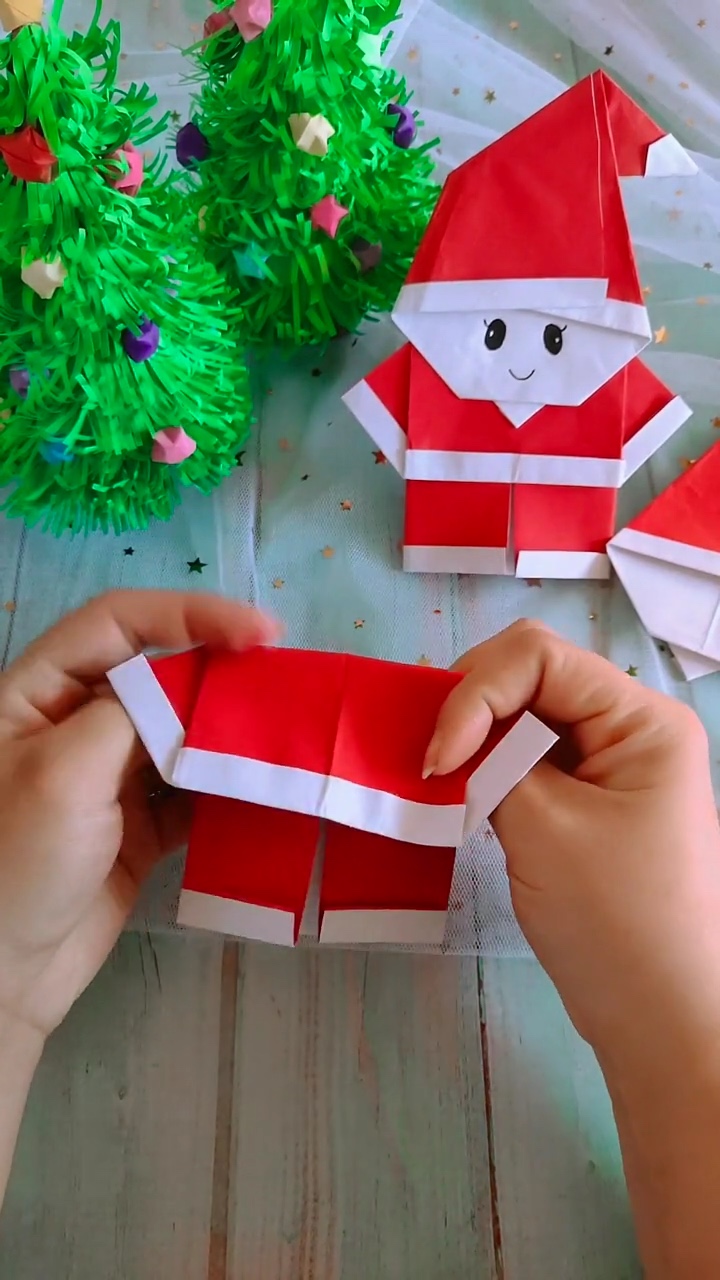
Step 6: Assemble Head to Body & Draw Facial Charm
Slip the bottom triangular tab of Santa’s head into the top collar slot of the body unit. Apply a small dab of glue inside the seam to keep the two parts firmly locked together.
With a fine-point black pen, draw two wide cheerful oval eyes with shiny white highlight specks and a sweet smiling mouth on the white face area. Lightly tint two round blushing cheeks with a pink pencil. Your delightful Origami Santa Claus is now complete!
4 Delightful Ways to Display Your Origami Santa
1. 🌲 Pair with Paper Christmas Trees
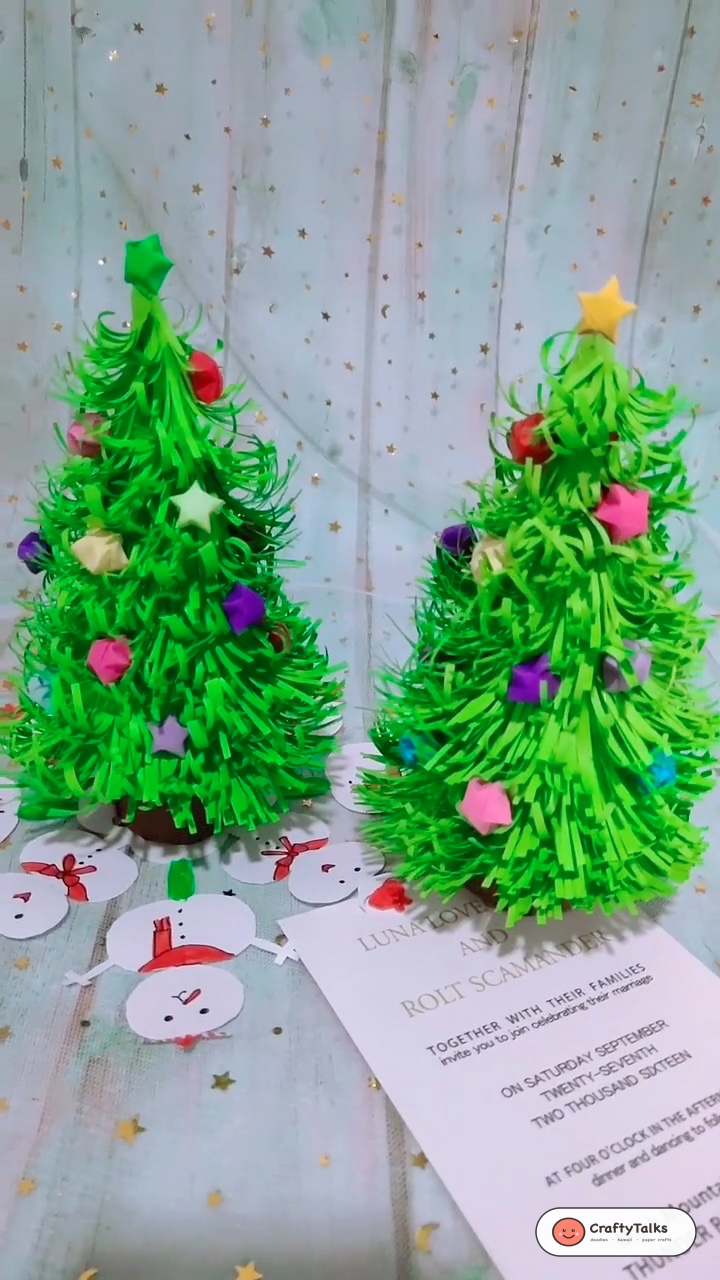
Display Santa standing beside our 3D fringed paper Christmas trees on your holiday mantel, windowsill, or bookshelf for an enchanting winter village scene!
2. 🎁 Festive Gift Box Topper
Tape or glue Santa onto the front of our DIY origami paper gift boxes or wrapped Christmas packages as an adorable personalized gift tag.
3. ⛄ Winter Character Trio
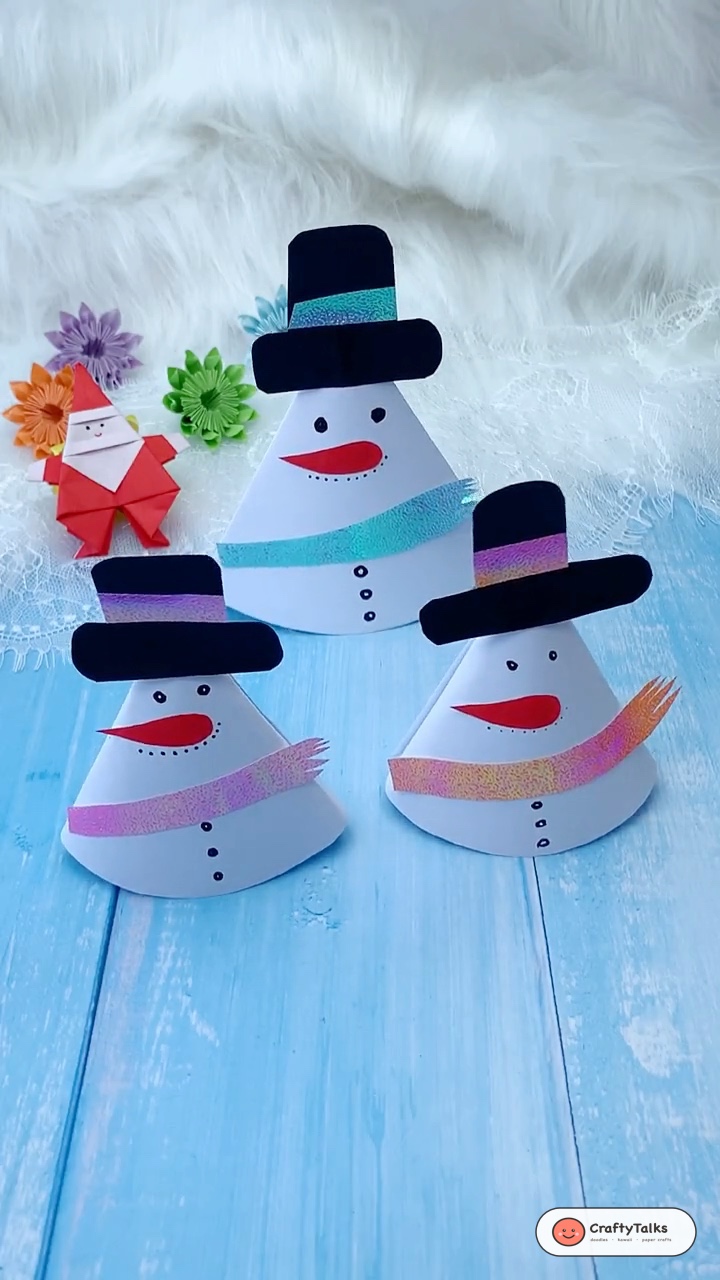
Group Santa together with our 3D paper cone snowmen for a charming handmade holiday trio that kids and adults will adore.
4. 🏷️ Holiday Dinner Place Cards
Because these Santas stand completely upright on their own, write guest names across the white coat trim for memorable Christmas dinner place cards!
📌 Save This Holiday Paper Craft on Pinterest!
Loved folding this adorable origami Santa Claus? Pin this tutorial to your Christmas Crafts, Origami Ideas, or Holiday DIY board to inspire your festive season!