How to Make an Origami Reindeer Corner Bookmark (Easy Christmas Paper Craft)
Bring holiday magic into your cozy winter reading sessions with this darling DIY Origami Reindeer Corner Bookmark! Corner bookmarks are one of the most delightful and practical paper crafts you can make: unlike traditional flat bookmarks that easily slip out, a folded corner bookmark hugs the corner of your page snugly like a little triangle pocket, ensuring you never lose your place in your favorite storybook or journal.
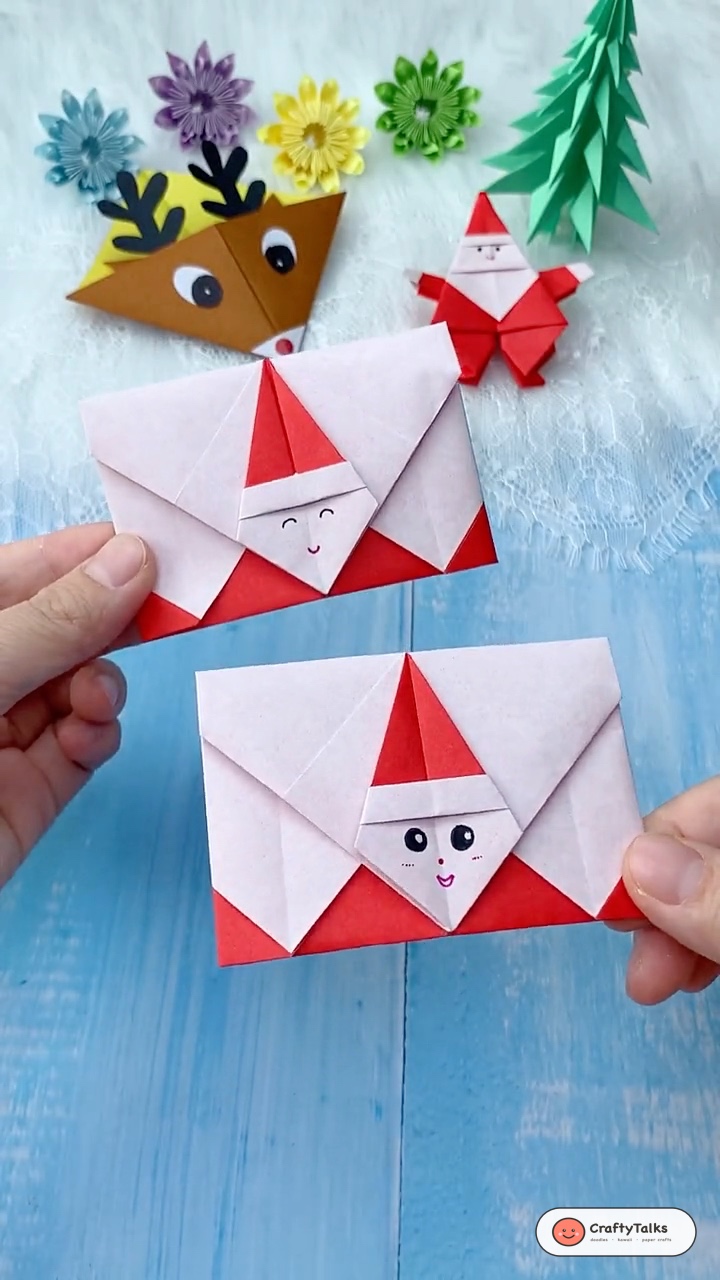
In this easy 8-minute tutorial, you will discover how to transform a single square of kraft or brown origami paper into Santa’s favorite scout, complete with sprouted pointed ears, delicate paper antlers, and Rudolph’s iconic shiny red nose. It’s a wonderful Christmas paper craft for kids, students, and book lovers of all ages!

Craft Supplies & Materials
- 1 Square Sheet of Brown / Kraft Origami Paper (12×12 cm or 15×15 cm): Standard lightweight origami paper or brown craft paper folds crisply and stays flat without adding bulk between book pages.
- Small Scrap of Black Paper or Cardstock: For cutting out a pair of branching reindeer antlers.
- Small Red Circle Sticker or Red Paper Scrap: For Rudolph’s cheerful round red nose.
- Black Gel Pen or Fineliner: To draw cartoon pupils and twinkling eye expressions.
- Glue Stick or Double-Sided Tape: For attaching the antlers and nose securely.
- Scissors: For cutting out the antler silhouettes.
Watch Video
Step-by-Step Folding Instructions
Step 1: Fold the Base Triangle
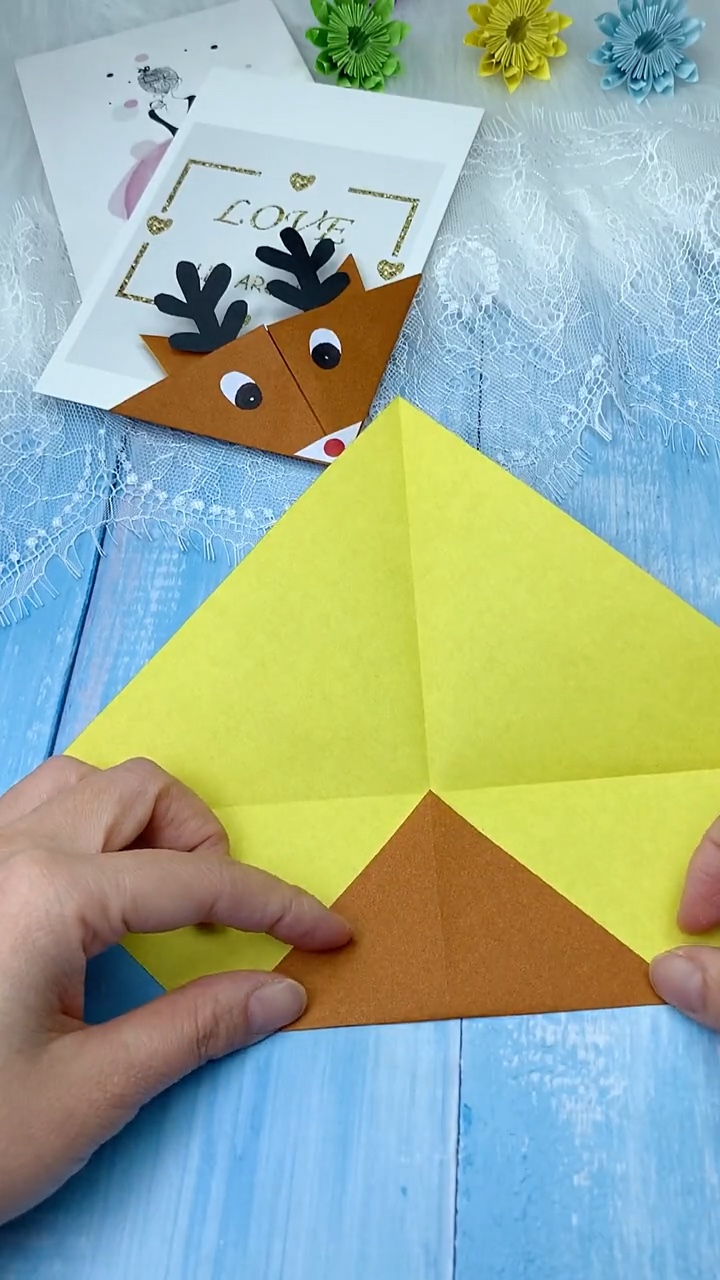
Lay your square origami sheet flat on your crafting table with the brown side facing down if using double-colored paper. Fold the paper diagonally in half from bottom corner to top corner, aligning the edges with care. Press firmly along the bottom folded crease with your fingertip to create a wide triangle base.
Step 2: Fold Side Wings Inward to Form the Diamond Center
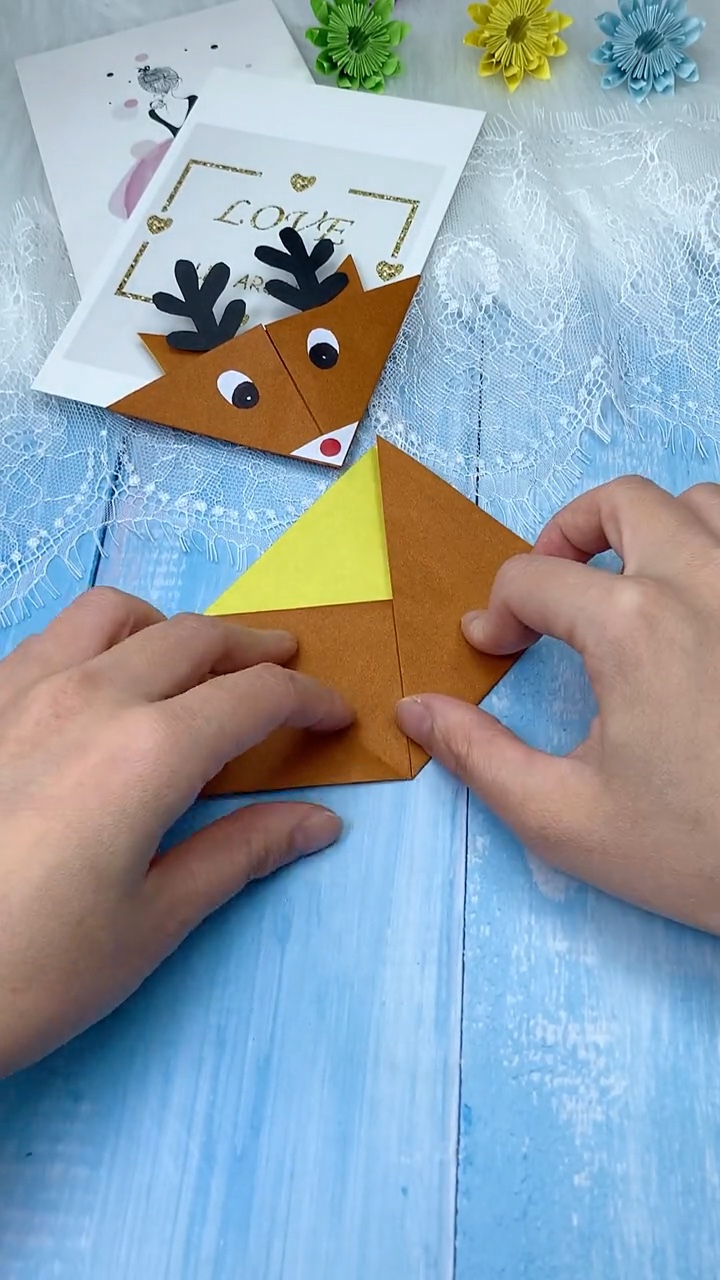
Take the bottom-left corner and fold it upward so its point touches the top center peak of the triangle. Repeat this exact fold with the bottom-right corner. Press both creases firmly. Your paper will now look like a compact diamond with two vertical folded flaps meeting along the center line.
Step 3: Fold Front Flap Down & Tuck Wings into the Pocket
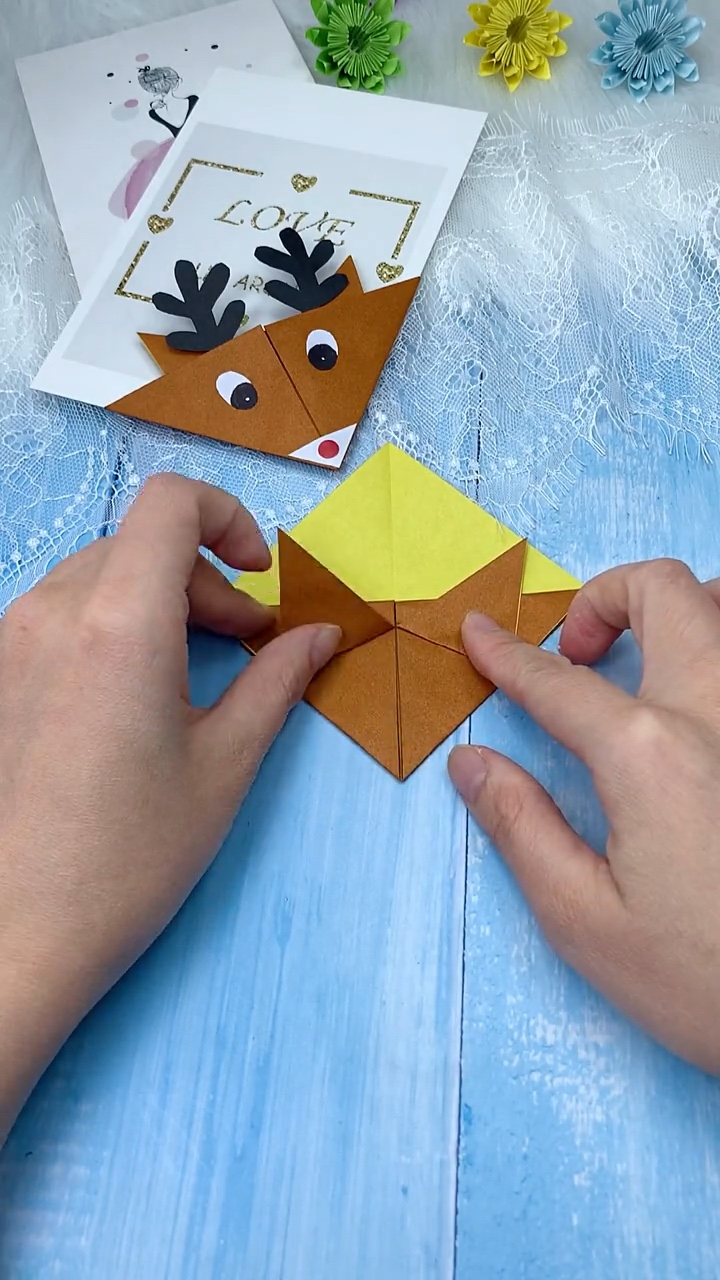
Unfold the two side wings back outward temporarily. Take only the top layer of the apex point and fold it downward so its tip touches the bottom center fold. This creates the entrance to your corner bookmark pocket! Now, take each side wing flap, fold it back upward, and tuck it completely inside the interior pocket chamber. Smooth flat with your thumb—you now have a sturdy triangular corner bookmark pocket!
Step 4: Fold Pointed Reindeer Ears
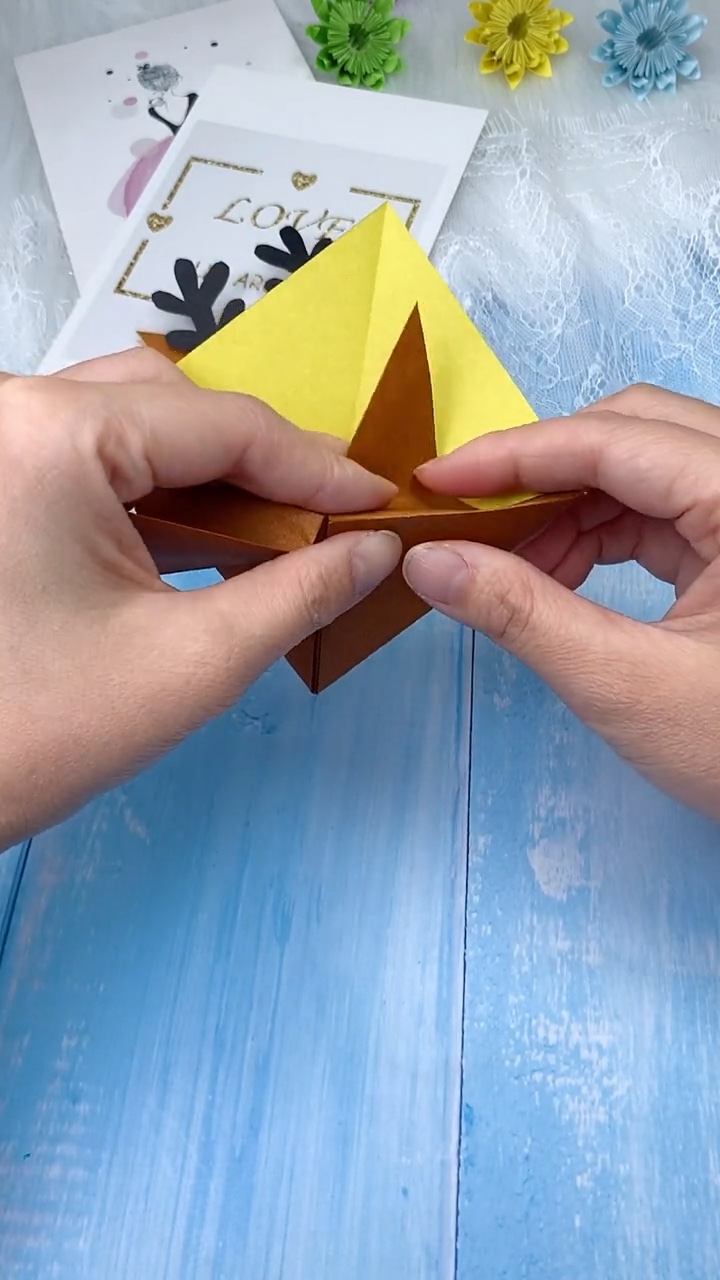
To give our reindeer cute perky ears, fold the outer left and right corner tips slightly backward and angled upward. Make sure both ears are folded symmetrically so your reindeer has a sweet, alert storybook posture!
Step 5: Cut & Attach Black Paper Antlers
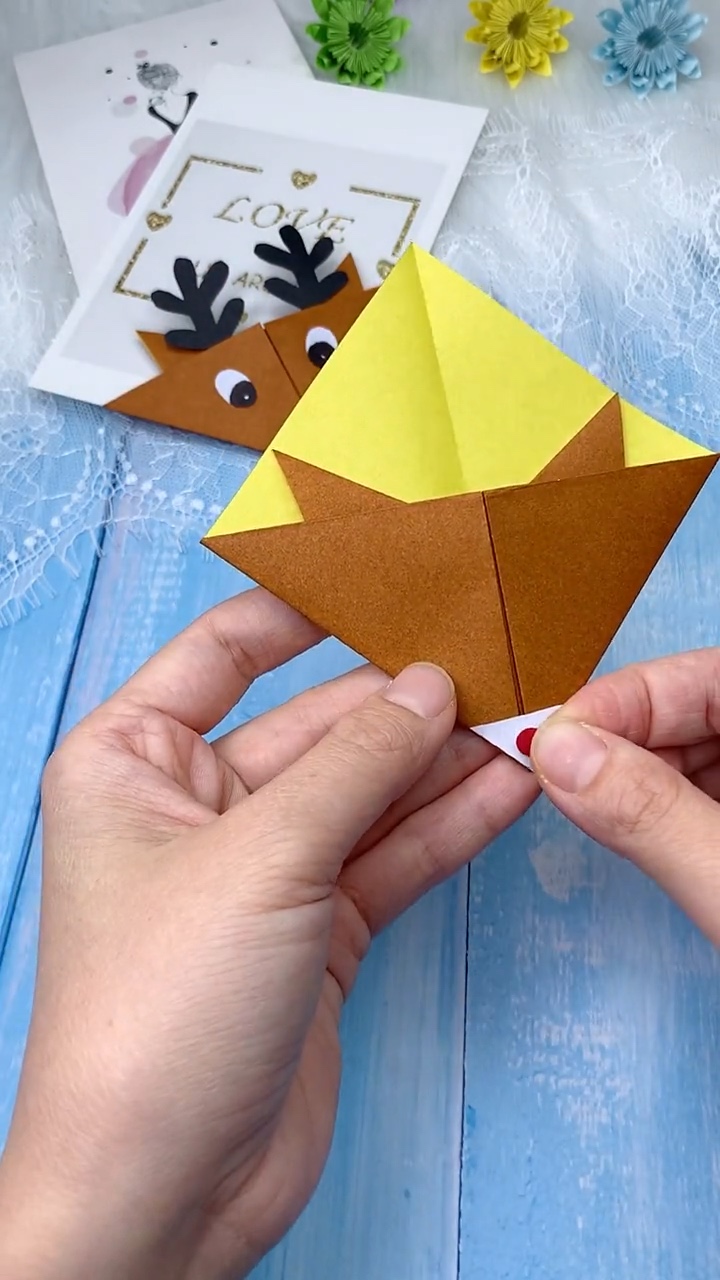
From your scrap of black paper, sketch and cut out two miniature branching antlers (each about 3–4 cm long). Apply a dab of glue stick to the base of each antler, and slide them just inside the back rim of the pocket so they branch proudly above the reindeer’s head.
Step 6: Add Rudolph’s Red Nose & Expressive Eyes
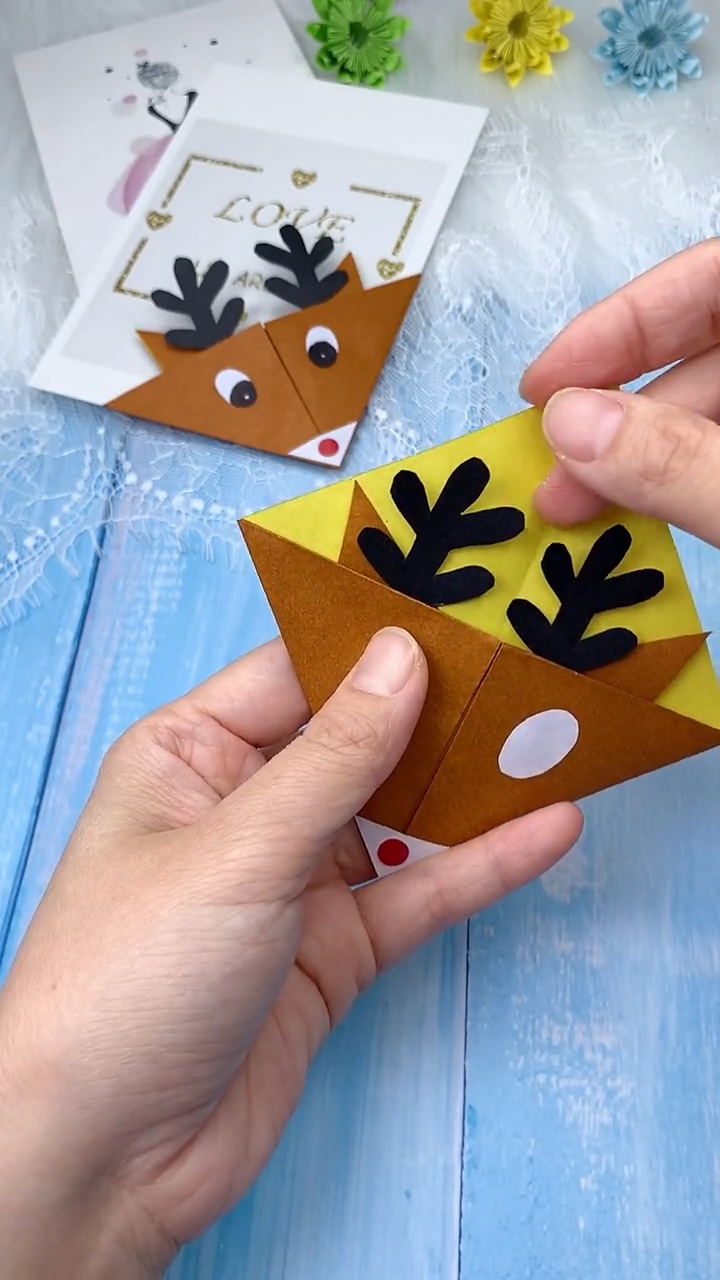
Every holiday reindeer needs a joyful face! Glue a small bright red paper circle or sticker right onto the bottom triangular point to create Rudolph’s famous glowing nose. Next, cut two small white paper ovals for the eyes, glue them in place, and use your black gel pen to draw smiling pupils with tiny white highlight reflections.
How to Use Your Holiday Corner Bookmark
Simply slip the triangular pocket over the top or bottom corner of the page you are reading! The cute reindeer face will peek over the top of the book, keeping your spot safe and bringing a warm smile every time you open your book.
Creative Variations & Gift Ideas
- Holiday Stocking Stuffer: Tuck an origami reindeer bookmark inside a book as a heartfelt handmade gift for friends, teachers, or family members.
- Festive Classroom Activity: This fold is easy enough for elementary school crafters and makes a fun, quiet winter holiday art station.
- Glittery Golden Antlers: Swap black paper for gold glitter cardstock to give your reindeer an extra touch of Christmas sparkle!
Happy folding! Save your favorite pins to your Christmas crafts boards and follow @Craftytalksart on Pinterest for more daily DIY holiday projects!